Rubber Base vs Builder Gel: The Ultimate Guide to Choosing the Right One
Let’s be real. You’ve stood in that nail aisle, or maybe it was 11 p.m. and you were deep in an online shop, three tabs open, totally stuck: rubber base, builder gel, BIAB. They all sound like they do the same thing, and nobody explains the difference like a normal human.
I’ve been there. Everyone has. These products overlap so much that even people who do their own nails every week mix them up.
So let’s fix that. Plain language, no salon-speak. You’ll get the quick answer, a full side-by-side table, exactly how to apply and remove both, what to do when things go wrong, and a simple guide to picking the right one for YOUR nails. By the end, the rubber base vs builder gel question will feel a lot simpler.
Quick Answer: Rubber Base vs Builder Gel
Short on time? Here it is.
Rubber base is your pick if your natural nails are pretty healthy, you want something flexible and light, and you like a formula that basically levels itself out. It is forgiving stuff.
Builder gel is your pick if your nails are thin, soft, or peeling, if you need real strength, or if you want to actually build length or shape.
One sentence version: rubber base bends WITH your nail. Builder gel gives your nail a backbone. Plenty of people own both and grab whichever the day calls for.
What Is Rubber Base Gel, Really?
It’s a thick, flexible gel base coat. It goes between your natural nail and your color. Thicker than a regular base coat, which is why it can smooth out little ridges and give you a nicer surface to paint on.
The name? It literally acts a bit like rubber once it’s cured. It has give. It moves with your nail instead of sitting there stiff. That flexibility is the whole point of it.
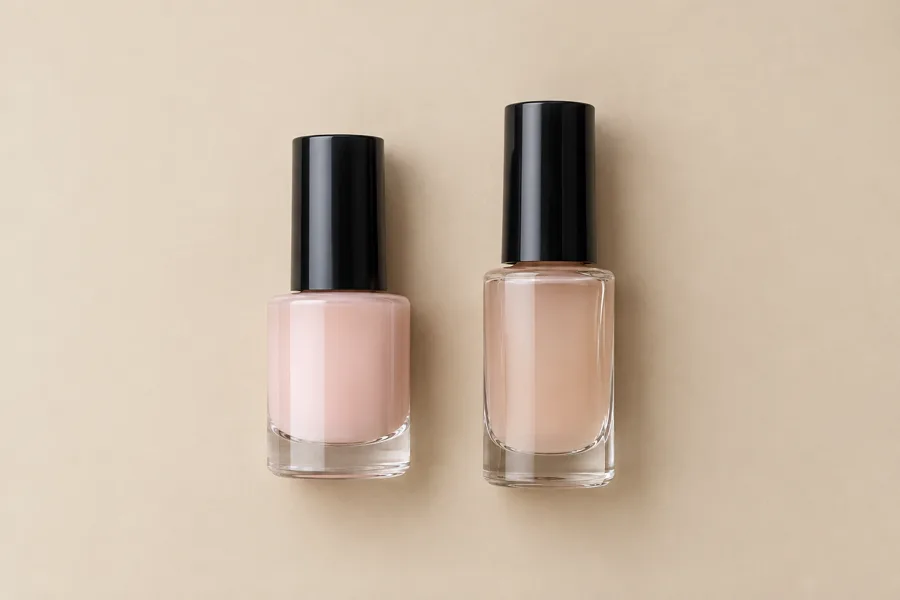
Most rubber bases soak off in acetone. Lots come in bottles with a brush, some in pots. And brands make them in sheer pink, nude, and milky shades too, so your nail bed looks even before color even goes on.
People reach for rubber base to:
- Smooth a bumpy nail surface
- Add a little backup strength to healthy nails
- Make color last longer
- Get a clean base before nail art
And Builder Gel?
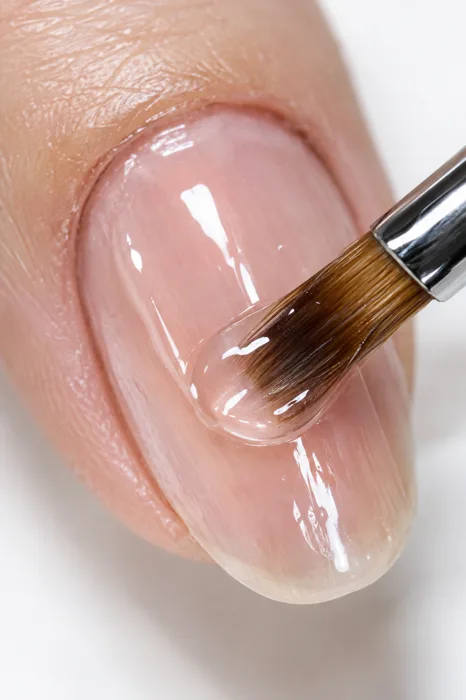
Thicker. Sturdier. Made to BUILD. The name gives it away: you use it to construct something. A stronger nail. A bit of length. That gentle curve with the strength sitting right in the middle, where nails love to snap.
Here’s where it gets confusing, because builder gel comes in flavors:
Soft builder gel soaks off in acetone, slower than regular gel polish, but it does dissolve.
Hard gel is the tough one. Doesn’t soak off: you file it off. Always check your label, formulas differ.
Builder in a bottle is just builder gel in a bottle with a brush. Easier for beginners than wrestling with a pot of thick gel.
It’s thicker than rubber base and actually holds its shape. That’s exactly why it’s the go-to for extensions and serious reinforcement.
Wait, So What’s BIAB Then?
Let’s kill this confusion once and for all.
Builder gel = the category. Strong, thick gel for structure.
Builder in a bottle = builder gel… in a bottle. It is packaging, not a different product.
BIAB = literally just the abbreviation for builder in a bottle. Some people say it like it’s a special brand or a magical third thing. It’s not. (Names vary by brand, so when a label confuses you, read the instructions, not the marketing.)
Rubber base = a genuinely different product: a flexible base coat, thinner than builder gel, and not built for serious length.
So the rubber base vs builder gel question really comes down to two things: how flexible it is and how thick it is.
Rubber Base vs Builder Gel: The Full Comparison
Every brand is a little different, so treat this as your general map and always follow your product’s instructions.
| Feature | Rubber Base | Builder Gel |
|---|---|---|
| Consistency | Medium-thick, self-leveling | Thick, holds its shape |
| Flexibility | Bendy, moves with your nail | Firm, more rigid |
| Strength | Light to moderate | Moderate to high |
| Curing time | Usually 30-60 seconds per layer in LED (check your brand) | Similar or a bit longer (check your brand) |
| Removal | Soak-off with acetone | Soft: soak-off. Hard: file off |
| How long it lasts | Around 2-3 weeks | Around 3-4 weeks with good prep |
| Best nail length | Short to medium natural nails | Short to long, extensions too |
| Cost | Usually cheaper per bottle | Usually pricier, hard gel especially |
| Beginner friendly? | Very forgiving | Needs a bit more technique |
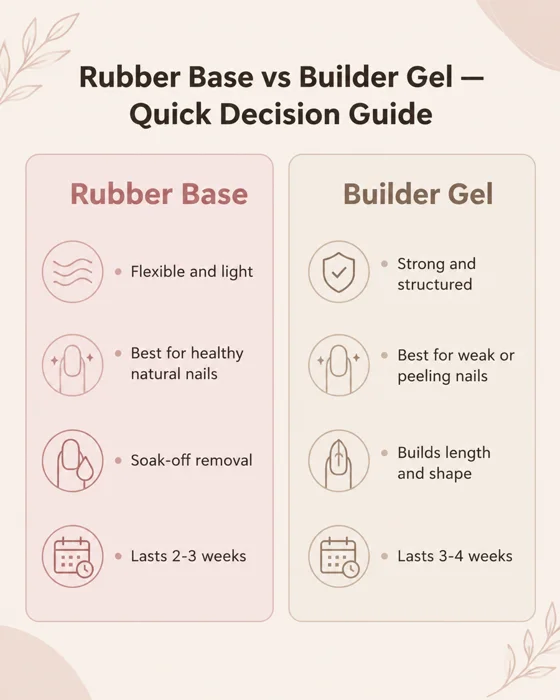
Wear time depends on your prep, your life, and how fast your nails grow. Treat these as ballpark numbers, not promises.
Rubber Base vs Builder Gel: The Differences That Actually Matter
Flexibility
This is the big one in the rubber base vs builder gel comparison. Rubber base flexes. If you use your hands all day, type, garden, whatever, that give can stop a nasty snap. Builder gel is stiffer. Great for strength. But slap it on thick over a super thin nail and it can feel unforgiving.
Strength
Builder gel wins, no contest. Nails that split and peel? That extra structure protects them. Rubber base helps, sure, but it can’t rescue a nail that bends and breaks if you look at it wrong.
Thickness
Rubber base is thicker than a normal base coat but still easy to control. Builder gel is thicker AND holds its form, that’s how you can sculpt an apex and have it stay put.
Best use
Healthy natural nails, smooth color, light feel? Rubber base. Reinforcement, repair, length? Builder gel. Think supportive sneaker versus light running shoe. Both great. Different days.
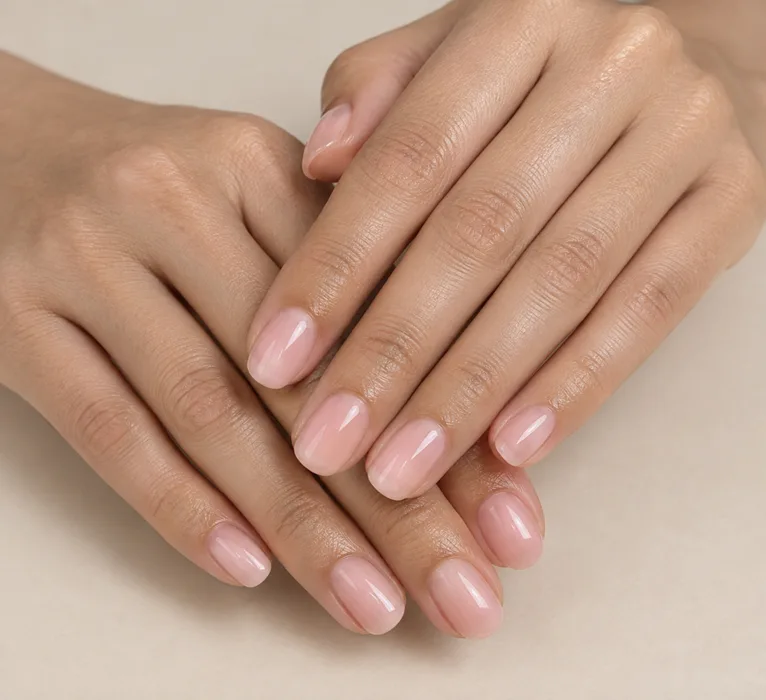
Rubber Base: The Honest Pros and Cons
What’s good:
- Flexible, comfortable to wear
- Smooths out little ridges like a champ
- Forgiving to apply, beginners, this is your friend
- Soaks off in acetone
- Usually kinder to your wallet
What’s not:
- Less structure than builder gel
- Useless for building real length
- Might not cut it for very weak, breaking nails
- Looks bulky if you pile it on
Builder Gel: The Honest Pros and Cons
What’s good:
- Real reinforcement for weak, thin nails
- You can build length and shape
- Lasts longer with good prep
- Durable, structured finish
What’s not:
- Takes practice to apply neatly
- Can feel stiff, especially thick
- Hard gel needs filing off, risky if you’re rough
- Usually costs more
How to Apply Rubber Base (Step by Step)
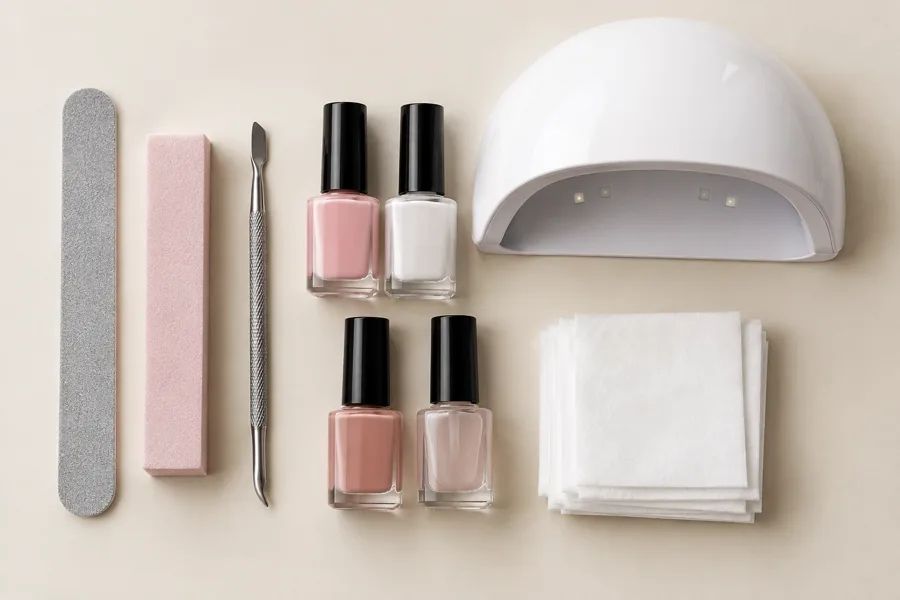
Grab your stuff: file, buffer, cuticle pusher, lint-free wipes, cleanser or alcohol, primer or dehydrator if your brand wants one, rubber base, LED or UV lamp, color, top coat.
- Prep. Push cuticles back gently. Get the dead skin off the nail plate. Lightly buff the surface. Matte is the goal, not thin.
- Cleanse. Wipe every nail with a lint-free wipe and cleanser or alcohol. Dust and oils gone. Now stop touching them.
- Primer if your brand says so. It helps adhesion for some people. Not every system needs it.
- Thin first layer. And I mean thin. Brush it across, keep it OFF your skin and cuticles. Gel on skin before curing = lifting and sensitivity later. Clean up any mess now.
- Cure. LED lamps usually need 30-60 seconds, but your label wins. Always.
- Second layer. Apply a slightly thicker bead in the center. Let it self-level a few seconds, then guide it to the sides.
- Cure again.
- Color and top coat. Follow your normal routine, curing each layer.
- Wipe if your top coat leaves a sticky layer.
How to Apply Builder Gel (Step by Step)
Same supplies, plus a stiffer brush if your gel is in a pot, and a base coat if your brand asks for one underneath.
- Prep and cleanse. Same as above, and with builder gel, prep matters even MORE because the product is heavier.
- Base coat if your system directs it. Cure it.
- Slip layer. A super thin layer, cured. This is what the thick gel grips onto.
- Place your bead. Center of the nail, a bit closer to the cuticle than the tip. Let it settle.
- Build the apex. The apex is that slight high point over the stress area, just past center, where nails break. Guide the gel gently toward the cuticle (stop before the skin) and out toward the free edge.
- Cap the free edge. Brush along the tip to seal.
- Flash cure thick layers, a few seconds in the lamp, hand out, repeat. Tames heat spikes.
- Cure fully. Your brand’s time. Thicker layers can need longer.
- Shape. File and refine. Soft builder might want a gentle buff after curing.
- Color and top coat. Usual routine, cure everything.
One tip that will save you repeatedly: thin layers beat one giant thick layer, every time. They cure more evenly and don’t burn.
How to Remove Each One Safely
This is the part most posts skip, and it’s where nails actually get hurt. The secret is boring: patience. Never pry or peel. You’ll take layers of your own nail with it.
Removing rubber base
- File through the top coat and color surface so acetone can get in.
- Acetone-soaked cotton pads on each nail. Foil wrap or clips.
- Wait. Roughly 10-15 minutes for most soak-off formulas, but check your product.
- Gently push the softened gel off with a cuticle pusher. Resisting? Re-wrap and wait more. Do not scrape.
- Lightly buff leftovers, wash your hands, cuticle oil and moisturizer, and you are done.
Removing builder gel
Soft builder (soak-off):
- File down the top coat and most of the bulk first. Evenly, and stop before your natural nail.
- Soak like above. Soft builder is slower: 15-20 minutes or more is normal.
- Push off gently. Still stuck? Soak again.
Hard gel (file-off):
- Acetone won’t touch it. This comes off by filing, e-file or hand file.
- Slow and even. Leave a thin layer at the end rather than filing down to your nail.
- Not confident with an e-file? Get a professional to remove it. There is zero shame in that.
And if your nails look thin, sore, or patchy afterward, take a break and let them recover. Something worrying you? A doctor or dermatologist is the right call. This is general guidance, not medical advice.
If your nails feel weak once everything is off, learning how to strengthen nails after acrylics and other enhancements starts with gentle, patient removal like this, never forcing the product off.
Which One Should YOU Choose?
Let’s match the rubber base vs builder gel decision to your actual nails.
Weak, thin, or peeling nails: Builder gel. That structure is a protective shell. Keep it thin, though, because thick gel on a weak nail feels stiff and weird.
Healthy nails, keep it simple: Rubber base. Flexible, easy, smooths everything out.
On a growth journey: Either. Builder gel protects more while they grow. Rubber base is gentler if your nails are already decent. And no, gel doesn’t make nails grow faster. It just stops them breaking while they do.
Extensions or added length: Builder gel, ideally a firm one or hard gel. Rubber base was never designed for heavy length.
Natural, barely-there look: Rubber base in a sheer shade. Builder can look natural too, just usually a touch thicker.
Sensitive or allergy-prone skin: Careful with both. See the safety section below.
Total beginner: Rubber base. Gentler learning curve. Graduate to builder gel when you’re ready.
Can You Use Both Together?
Yes, people do it all the time. When the rubber base vs builder gel choice feels like both, a favorite combo is rubber base as the smoothing layer, then builder gel just where strength is needed, like the stress area mid-nail. Some do it the other way around.
Just remember:
- Thin layers, or the total build gets bulky
- Cure every layer properly
- Same brand/system when you can, compatibility varies, so test on one nail first
Too much layering = heavy nails, more heat spikes, and more lifting, so keep it moderate.
Aftercare and Fills
Aftercare is the difference between a manicure that lasts and one that doesn’t, whichever side of the rubber base vs builder gel choice you land on.
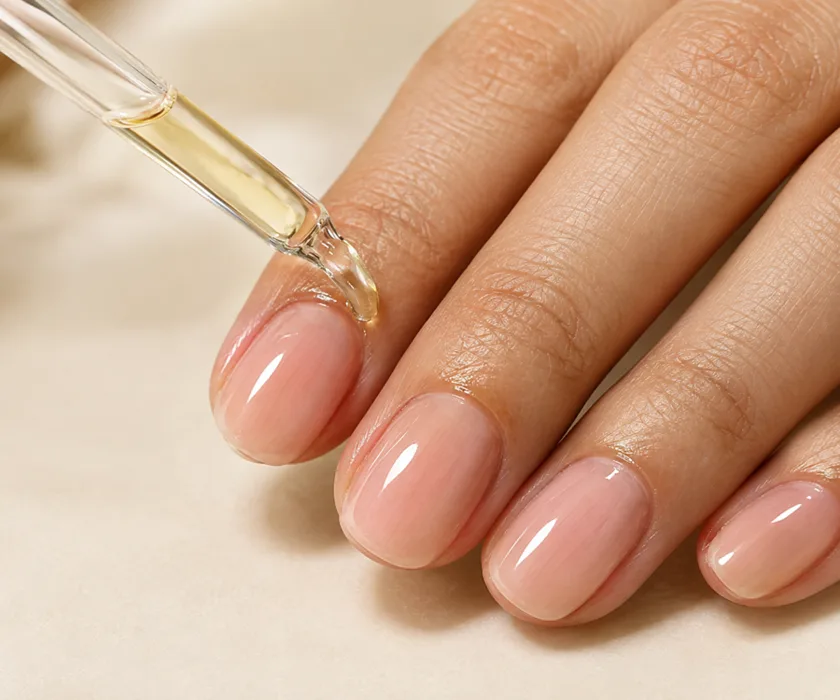
- Cuticle oil daily. Soft skin, less lifting at the edges.
- Hand cream. Dry skin around nails cracks and looks rough fast.
- Gloves for dishes and cleaning. Water and chemicals chew at the seal over time.
- Nails are not tools. Prying lids and scratching labels crack gel. Stop it.
- File snags immediately. A tiny catch becomes a big break if you ignore it. If it does snap, here’s how to fix a broken nail without glue.
Fills usually happen every 2-3 weeks, when regrowth shows at the cuticle. A fill = file the old product down to a thin layer, add fresh product near the cuticle. But if it’s lifted or cracked? Don’t fill over a weak spot. Remove fully and start fresh.
Your growth speed decides your schedule, so treat these numbers as flexible.
Safety Stuff: HEMA, Allergies, Thin Layers
Worth knowing, no scare tactics, and it applies to both sides of the rubber base vs builder gel choice.
HEMA is in tons of gel products. It’s also a known contact allergen for some people. “HEMA-free” on a label helps, but doesn’t guarantee you won’t react to something else in there. Read ingredient lists if this matters to you.
Skin contact is the big one. Keep uncured gel OFF your skin. Repeated contact with uncured product is how sensitivity develops. Leave a hairline gap at the cuticle, clean mistakes before curing.
Reaction signs: itching, redness, swelling, peeling skin around the nails. See any of those? Stop using the product and talk to a doctor or dermatologist. Don’t push through it.
Thin layers cure more evenly and are kinder to your nails. Thick layers are the usual suspect behind heat spikes and under-curing.
Lamp match matters. Not every gel cures in every lamp. Check what your brand recommends.
Troubleshooting: When Things Go Wrong
Lifting. This usually comes from oils on the nail, gel on skin, lazy prep, or product that is too thick near the cuticle. Re-prep properly, keep gel off skin, cap that free edge. Been fighting it forever? Audit your prep steps before you blame the product. For a closer look at gel nails lifting from the cuticle, see our dedicated guide.
Cracking. Either the layer’s too thin at the stress point (not enough structure) or the product’s too rigid for your nail. A well-placed apex in builder gel helps. Rigid product keeps cracking? Something flexible like rubber base might suit you better.
Heat spikes. That sudden burn mid-cure. Thick layers cause it. Go thinner, or flash cure, few seconds in, hand out, repeat.
Under-curing. Gel stays tacky, wrinkles, feels soft. Check your lamp, check your cure time, check your layer thickness. Don’t ignore it, under-cured gel can irritate skin too.
Bubbles. These come from shaking the bottle, rushing, or overworking the gel. Let it settle. Stop pumping the brush.
Bulky look. This is simply too much product. File it down, go thinner next round.
FAQs
What’s the main difference in the rubber base vs builder gel debate?
In the rubber base vs builder gel comparison, rubber base is a flexible, medium-thick base coat that moves with your nail. Builder gel is thicker and stronger, built for structure and length. Flexibility versus strength, that’s the whole thing.
Is BIAB the same as builder gel?
BIAB means builder in a bottle, so yes, it’s builder gel in bottle form — not a third option in the rubber base vs builder gel debate. Brands play fast and loose with the term though, so check the product details.
Which is better for weak nails?
In the rubber base vs builder gel choice, builder gel usually wins for weak nails. More structure for thin, peeling nails. Keep layers thin and never force it off during removal.
Can beginners use builder gel?
Yes. In the rubber base vs builder gel choice for beginners, rubber base is the easier start. Going straight to builder? Pick a bottled version and work in thin layers.
Does either one make nails grow faster?
Nope. Neither side of the rubber base vs builder gel choice changes your growth rate. They just protect your nails from snapping while they grow out.
Do I need a special lamp?
You need a lamp your product likes. Plenty cure in LED, some want UV or a specific wavelength. Your brand’s instructions decide.
Can I put regular gel polish over both?
Generally, yes. Most gel polishes are made to go over a gel base. Check compatibility notes, test one nail first.
Are they damaging to nails?
Not automatically. In the rubber base vs builder gel choice, what damages nails is rough removal, over-filing, and thick layers. Gentle prep and patient removal are what actually matter. Persistent pain, thinning, or skin reactions? See a healthcare professional.
The Bottom Line
The rubber base vs builder gel choice doesn’t have to be stressful. Rubber base: flexible, forgiving, perfect for healthy natural nails. Builder gel: stronger, better for weak nails, repairs, and length. And using both together is absolutely a thing if your nails need a bit of each. If you’d like a polished look without committing to either one, press-on nails are a no-commitment alternative for weak nails.
Match the product to your nails and your goal. Thin layers. Careful prep. Patient removal. Your nails will thank you for all three. Builder gel’s longer wear is easier to plan around when you know how long gel nails last.
Tried one of them? Tell me in the comments which side of the rubber base vs builder gel debate you picked and what your nails are like. I genuinely want to know.