Fall Halloween Nails Ideas for 2026 (Cute, Classy & Spooky)
Fall Halloween nails are the easiest way to join in the spooky season without a full costume. Sometimes ten small, glossy canvases are all you need. Fall (or autumn, if you’re in the UK) is the one time of year when burgundy, burnt orange and black all look right together, so your manicure can be festive and still look put-together.
This guide shares 30 fall Halloween nails ideas, grouped by mood: cute, classy, spooky, pumpkin-themed, short-nail friendly and finish-focused. Each idea includes a difficulty level and a suggested nail shape. You’ll also find colour pairings, a beginner’s guide to ghosts and spiderwebs, a salon vs press-on vs DIY comparison, and tips for wearing fall Halloween nails into November.
Fall Halloween Nail Colors to Try in 2026
The easiest way to make fall Halloween nails feel seasonal rather than costume-like is to start with an autumn colour. Then add one small Halloween detail on top.
| Base colour | Halloween accent | Mood |
| Black (glossy or matte) | Silver or white web lines | Classic and dramatic |
| Burgundy / oxblood | Gold foil or tiny bats | Moody and elegant |
| Burnt orange / terracotta | Black dots or a thin web | Warm and playful |
| Chocolate brown | Small white ghost | Soft and cosy |
| Olive green | Gold flecks or a single pumpkin | Earthy and understated |
| Witchy plum | Black chrome or star details | Mysterious and glam |
These pairings are a reliable starting point for almost any fall Halloween nails design. If you only remember one rule, make it this: one autumn base colour, one Halloween accent.
Finishes That Change the Look
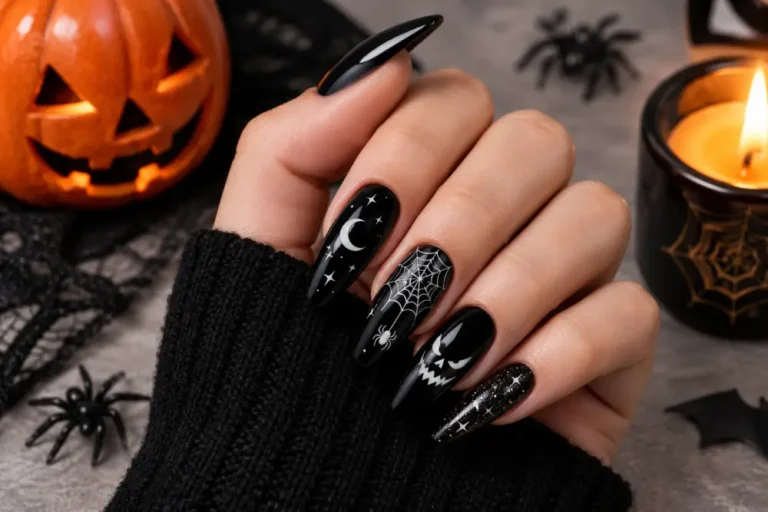
The finish you choose can change how your fall Halloween nails look, even when the colour stays the same.
- Matte: A velvety, modern look, especially on black, brown and burgundy. A glossy detail on top adds contrast.
- Jelly: Sheer, glassy colour that suits short nails and shades like orange, red and plum.
- Chrome: A mirror-like powder finish. Black or dark silver chrome works well for gothic looks.
- Cat-eye (magnetic): A shimmering line that moves with the light, popular in deep green, plum and wine shades.
Fall Halloween Nails Ideas (30 Designs)
Pick the section that matches your mood. These fall Halloween nails ideas assume you’re painting your own nails with basic tools, so the difficulty ratings are based on that.
Cute and Not Scary Fall Halloween Nails (1-6)
If you want fall Halloween nails that look sweet rather than scary, start here.
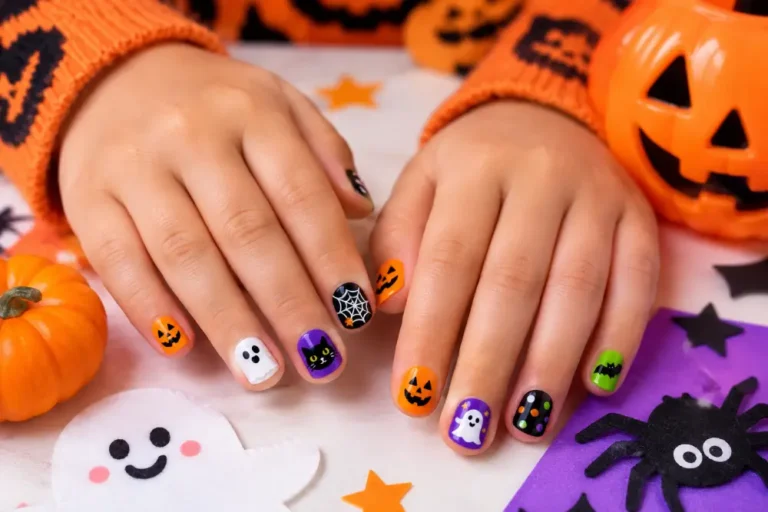
1. Ghost accent nail
One white ghost on a single nail, with the rest in a soft neutral or autumn shade. Add two tiny dots for eyes and you’re done.
Difficulty: Easy | Best shape: Short squoval
2. Candy corn tips
Layered stripes of yellow, orange and white across the tip of each nail, inspired by the classic Halloween sweet. Keep the bands thin so it stays neat.
Difficulty: Medium | Best shape: Square or short coffin
3. Pastel pumpkin
A creamy peach or soft orange pumpkin with a green stem on a milky base. It’s a gentler take on Halloween for anyone who finds black too heavy.
Difficulty: Easy | Best shape: Almond or squoval
4. Black cat
A small black cat silhouette with pointed ears on one nail, set against a pale background. Add a tiny yellow dot for an eye if you like.
Difficulty: Medium | Best shape: Almond
5. Ghosts with fall leaves
White ghosts on some nails and small leaf shapes in rust, mustard and brown on others. The leaves stop the set from feeling too Halloween-specific.
Difficulty: Medium | Best shape: Squoval
6. Pumpkin patch
A tiny row of orange pumpkins along the bottom edge of the nail, over a soft cream or sage base. It reads as sweet, not spooky.
Difficulty: Medium | Best shape: Short square
Classy and Minimal Fall Halloween Nails (7-12)
If you want fall Halloween nails you can wear to the office, this is the section for you.
7. Burgundy French tips
A sheer nude base with deep burgundy tips. Nothing says “Halloween” outright, but the mood is right.
Difficulty: Easy to medium | Best shape: Almond or squoval
8. Chocolate brown with a tiny ghost
A rich brown on every nail, with a small white ghost on the ring finger. Brown looks softer than black and suits most skin tones.
Difficulty: Easy | Best shape: Squoval
9. Matte black with glossy tips
A matte black base with a clear glossy French tip. The contrast is subtle in daylight and striking indoors.
Difficulty: Easy (with a top coat) | Best shape: Coffin or square
10. Olive with gold
A deep olive green with a thin gold line or a few gold flakes near the cuticle. It looks refined and carries well into winter.
Difficulty: Easy | Best shape: Almond
11. Rust-to-pearl ombré
A gradient from burnt orange at the tip to a pearly white or milky base. It’s a quiet nod to autumn leaves.
Difficulty: Medium (sponge technique) | Best shape: Almond or oval
12. Micro French tips
Very thin tips in black, burgundy or orange. They look especially neat on short nails.
Difficulty: Medium | Best shape: Short squoval
Spooky and Bold Fall Halloween Nails (13-18)
For a dramatic look, these bolder designs lean into darker colours and sharper details.
13. Blood drip French
A red drip pattern running down from the tip, over a clear or nude base. A dark red looks more realistic than a bright one.
Difficulty: Medium | Best shape: Coffin or almond
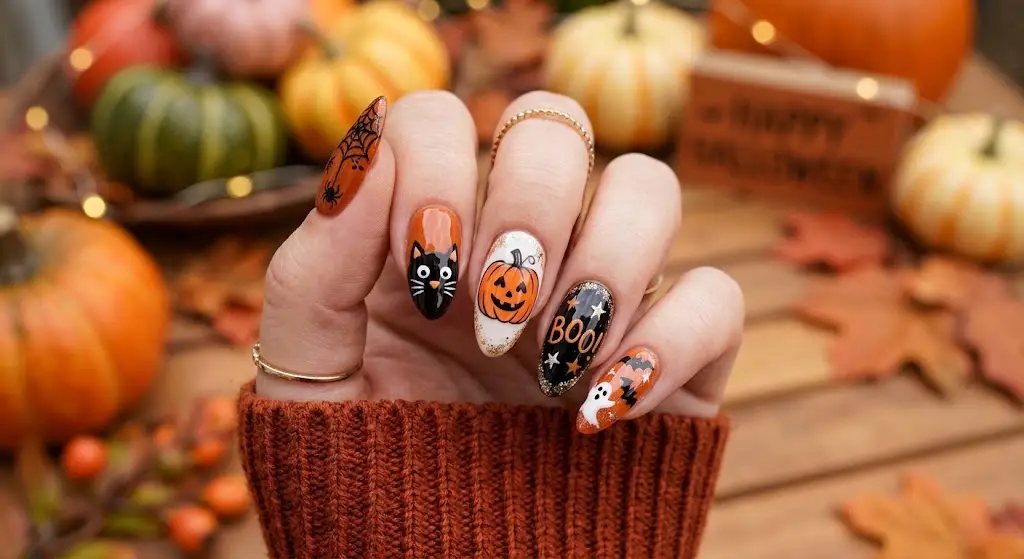
14. Spiderweb accent
Fine silver or white web lines across one or two nails on a black or deep purple base. A thin brush gives the cleanest result. It’s one of the most recognisable Halloween nail looks.
Difficulty: Medium | Best shape: Any
15. Gothic glam
Black polish with silver studs, rhinestones or a small cross charm. It’s dramatic but still wearable beyond Halloween night.
Difficulty: Medium | Best shape: Long coffin or stiletto
16. Black chrome
Black gel with a chrome powder finish. It looks like liquid metal and needs very little extra decoration.
Difficulty: Medium (usually needs gel and a lamp) | Best shape: Almond or coffin
17. Bat silhouette
A small black bat on a dusky purple or orange background. One or two nails are plenty.
Difficulty: Medium | Best shape: Square or squoval
18. Slime green tips
Bright toxic-green tips over a black or clear base. It’s playful and a little retro, and the neon colour pops against dark autumn outfits.
Difficulty: Easy to medium | Best shape: Short coffin
Pumpkin and Fall Themed Halloween Nails (19-23)
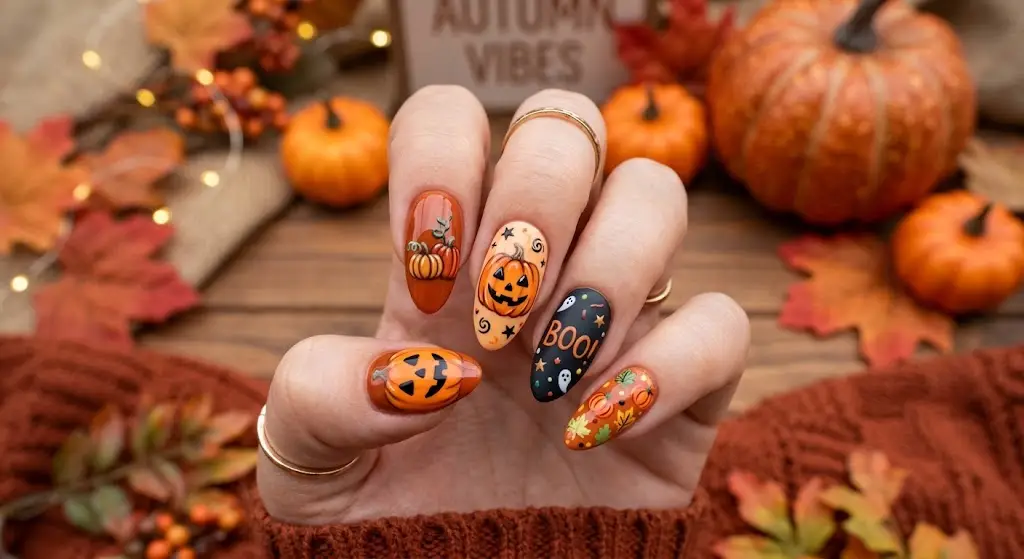
These designs lean on autumn symbols such as pumpkins, leaves and plaid. Of all the fall Halloween nails in this list, they are the easiest to keep wearing through November.
19. Updated jack-o’-lantern
Instead of a full face, try a simple shape: two triangle eyes and a thin smile in black on an orange nail. Keep the other nails plain.
Difficulty: Medium | Best shape: Squoval
20. Pumpkin spice swirl
Soft swirls of cream, caramel and cinnamon brown. It looks like a latte, and it suits anyone who wants autumn colour without Halloween symbols.
Difficulty: Medium | Best shape: Almond
21. Falling leaves with spiderweb
Leaf shapes on some nails and a fine web on others, all in a warm autumn palette. It combines both seasons in one set.
Difficulty: Medium to hard | Best shape: Almond or coffin
22. Plaid with a Halloween accent
A tartan or flannel pattern in rust, black and cream, with one orange or ghost accent nail. It suits knitwear season well.
Difficulty: Hard for beginners (press-ons or nail stickers help) | Best shape: Short square
23. Orange ombré with black web sparkle
A sunset-orange gradient with a delicate black web and a hint of glitter. It’s bright and festive without being childish.
Difficulty: Medium | Best shape: Coffin or almond
Fall Halloween Nails for Short Nails (24-27)
Short nails are ideal for simple fall Halloween nails. Small details look neat, and the manicure stays practical for everyday life.
24. Single accent nail
Paint every nail in one autumn colour, then add a web, ghost or pumpkin to just one. It’s the simplest way to do themed nails on a short length.
Difficulty: Easy | Best shape: Short squoval or round
25. Tiny dot ghost
One white dot with a smaller dot below it for the ghost body, finished with two black eyes. All you need is a dotting tool.
Difficulty: Easy | Best shape: Short round
26. Thin French tip
A narrow line at the tip in orange, black or burgundy. Thin lines make short nails look longer.
Difficulty: Medium | Best shape: Short squoval
27. Solid moody shade with one charm
A deep plum, wine or forest green with a small gold charm on one nail. Easy to do and easy to remove.
Difficulty: Easy | Best shape: Short almond or squoval
Trendy Finishes and 3D Details (28-30)
These fall Halloween nails use finishes and details that add texture and shine, and they usually work best on one or two nails.
28. Aura nails
A soft, blurred glow of colour in the centre of the nail, usually airbrushed or sponged. Try orange fading into plum for an autumn version.
Difficulty: Medium to hard | Best shape: Almond or oval
29. 3D gel or charms
Raised details such as small bats, stars or pumpkins applied with builder gel or nail glue. They add texture, but they can catch on clothes and hair, so use them on one or two nails only.
Difficulty: Hard | Best shape: Short to medium coffin or square
30. Glow-in-the-dark
Glow polish over a dark base charges in light and glows briefly in the dark. Use it for a ghost, a web or a few dots. It makes a fun party detail.
Difficulty: Easy | Best shape: Any
How to Recreate Fall Halloween Nails at Home
You don’t need a full salon kit to do these designs yourself. A few basic tools handle most of the designs above.
Tools Worth Having
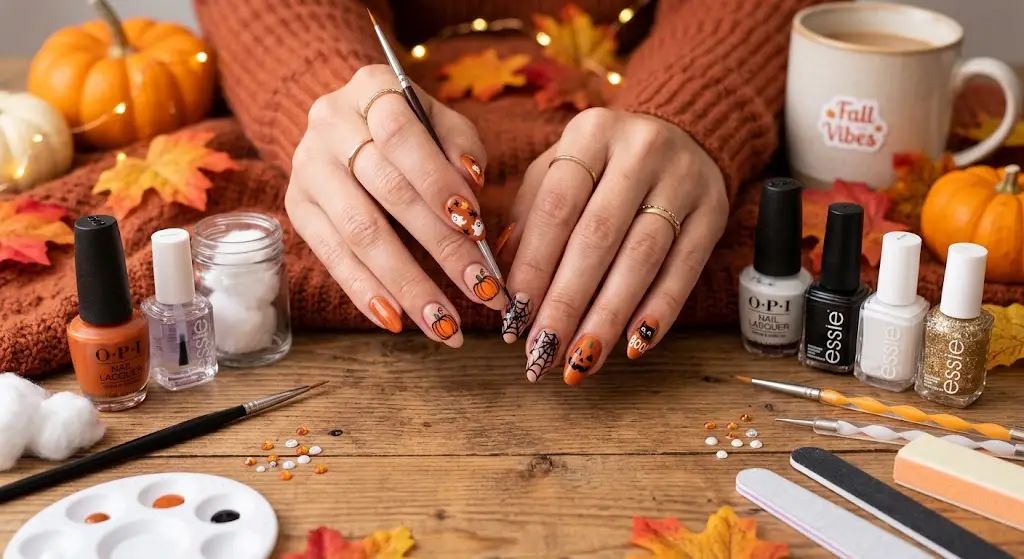
These are the basic tools for most of the designs above.
- Dotting tool: Makes ghost bodies, eyes and pumpkin shapes. A bobby pin or the end of a pencil also works.
- Toothpick: Good for tiny details and fixing small mistakes.
- Thin nail art brush: Needed for spiderwebs and fine lines.
- Base coat and top coat: The base coat protects your nails, and the top coat makes the design smoother and longer lasting.
- Cotton buds and remover: Dip a cotton bud in remover to clean up edges.
Simple Ghost: Step by Step
A ghost is the best first project if you’ve never tried fall Halloween nails before.
- Apply a base coat and let it dry.
- Paint two coats of your base colour and wait until fully dry.
- Use the dotting tool to place a white blob of polish near the middle of the nail.
- Pull the polish down slightly to form a ghost shape with a gently wavy bottom edge.
- Once dry, add two small black dots for eyes with a clean dotting tool or a toothpick.
- Seal with a top coat, covering the edges.
Simple Spiderweb: Step by Step
A spiderweb is the next step up once you’re comfortable with a thin brush.
- Start with a dry, dark base such as black, plum or deep green.
- With a thin brush, paint three or four curved lines radiating from one corner of the nail.
- Draw shallow curved lines across them, like little hammocks, to link the spokes.
- Let it dry fully before adding a top coat. Wet polish drags and smudges.
Mistakes Beginners Should Avoid
Most problems with DIY nail art come down to rushing the drying time.
- Painting over wet polish. This causes smudging and bubbling. Give each layer a couple of minutes.
- Using too much polish on the brush. Wipe off the excess before drawing fine lines.
- Trying too many designs at once. One nail is enough for a first attempt.
- Skipping the top coat. Without it, details chip faster.
- Forgetting to seal the free edge. Run the top coat brush along the tip to reduce chipping.
Best Nail Shapes for Fall Halloween Nails
The shape you choose affects how your fall Halloween nails look and how practical they are day to day.
| Shape | Best for | Why it works |
| Short squoval | Ghosts, dots, micro French tips | Practical and neat for everyday wear |
| Almond | Gradients, aura nails, French tips | Elegant and flattering on most hand shapes |
| Coffin | Chrome, blood drips, gothic styles | Gives plenty of room for detailed art |
| Square | Candy corn, plaid, pumpkin patch | Great for straight lines and stripes |
| Round or oval | Minimal designs, single accents | Soft and low-maintenance |
If you’re not sure, pick the shape that suits your daily routine. Long, pointed nails look dramatic but can get in the way when you’re typing or cooking, so choose a length you can live with before you commit to a design.
How to Wear Fall Halloween Nails After October
Fall Halloween nails don’t have to disappear on 1 November. A few simple choices will keep your manicure looking right through autumn.
Keep the base seasonal. Burgundy, olive, brown and burnt orange look good all season. Reserve the Halloween detail, such as a ghost or web, for one or two nails. This is how fall Halloween nails can still look appropriate in November.
Plan an easy update. If you’ve painted a ghost on one nail, you can cover it with a solid colour or a leaf design in November. If you used press-on accents, simply take them off and keep the base.
Look after your nails.
- Apply a top coat every few days to keep the shine and slow chipping.
- Use cuticle oil daily to prevent dryness and peeling.
- Wear gloves for washing up and cleaning.
Remove nail art safely.
- Don’t peel or pick off polish or gel, as it can damage the nail surface.
- For regular polish, use remover and a cotton pad, holding it on the nail for a few seconds.
- For gel polish, follow the product instructions or have it removed at a salon. This usually involves soaking in acetone-based remover.
- Finish with hand cream and cuticle oil.
Salon vs Press-On vs DIY
Each method can work for a Halloween manicure. The right one depends on your time, budget and the design you want.
| Salon | Press-On | DIY Polish | |
| Time | Often an hour or more | Quick, often under 30 minutes | Depends on your skill, usually 30-60 minutes |
| Cost | Highest | Moderate, and some sets are reusable | Lowest once you own the basics |
| Durability | Generally longest, especially with gel | Varies by brand and application | Shortest, but easy to redo |
| Best for | Detailed art, chrome, 3D | Complex designs and special events | Simple ghosts, dots and accent nails |
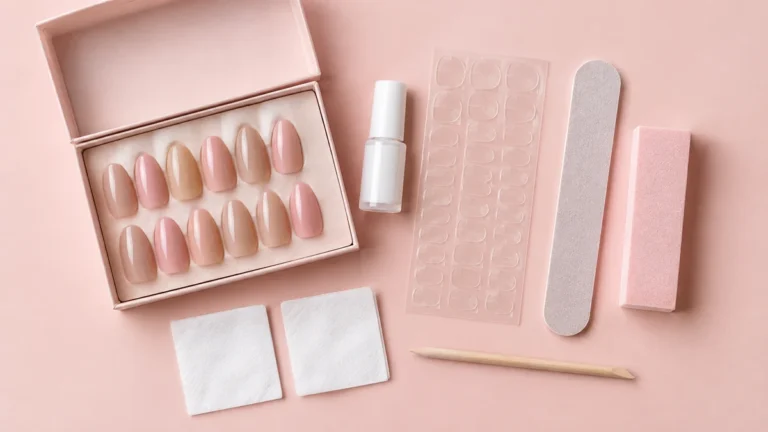
Press-ons are a good choice if you want a detailed design but lack the time or confidence to paint it yourself. A salon is the best option for chrome, aura nails and 3D details. DIY works well for most of the cute and minimal designs above. Whichever method you pick, simple fall Halloween nails with one accent nail are the safest choice for a first attempt.
Best Products for Fall Halloween Nails
Here are the product types to look for when you shop for fall Halloween nails.
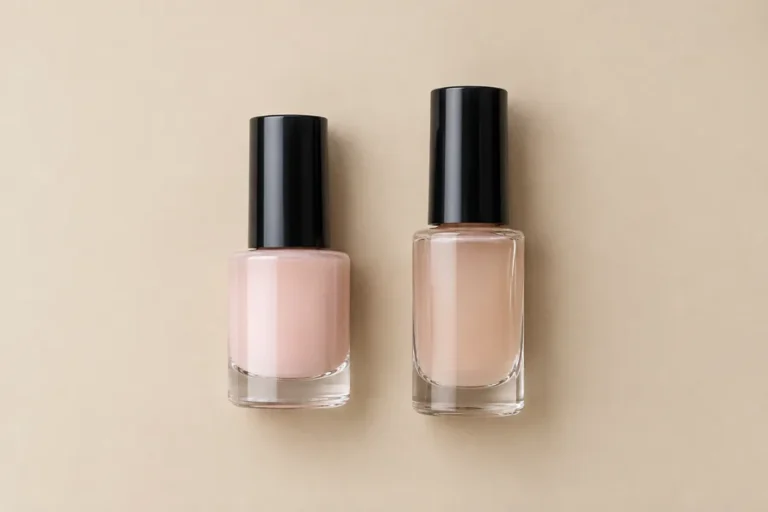
- Polish shades: A deep burgundy or oxblood, a warm orange or terracotta, a rich brown, a muted olive, a plum, plus a reliable black and white for details.
- Top coat: A quick-dry formula that doesn’t drag the design when you apply it.
- Press-on sets: Look for sets with a range of sizes and an adhesive that suits how long you want them to last.
- Tools: A dotting tool set, a thin liner brush, nail art stickers for plaid or webs, and cuticle oil.
FAQs
What colors go best with fall Halloween nails?
The best colours for fall Halloween nails are burgundy, burnt orange, chocolate brown, olive and plum. Black works as a base or accent, and white, silver or gold are good for small details.
Can I wear fall Halloween nails in November?
Yes, Fall Halloween nails with an autumn base colour can stay for the whole season. Limit the obvious Halloween details to one or two nails, then update or remove them after the 31st.
What are easy fall Halloween nails for beginners?
The easiest fall Halloween nails for beginners are a single ghost made with a dotting tool, a solid colour with one accent nail, or a simple dotted design. Avoid fine spiderwebs or plaid until you’re comfortable with a thin brush.
Which nail shape suits fall Halloween nails best?
It depends on the design. For fall Halloween nails, short squoval or round nails suit simple ghosts and dots. Almond and coffin shapes give more space for gradients, chrome and blood drip effects.
How long do fall Halloween press-on nails last?
Press-on fall Halloween nails vary by brand, adhesive type and how well you prepare your nails. Some last a few days and others a week or two. Check the manufacturer’s instructions and reviews for your set.
How do I remove fall Halloween nails at home?
To remove fall Halloween nails at home, use remover on a cotton pad and hold it on the nail briefly if you’re using regular polish. For gel, soak off with acetone-based remover as directed, or visit a salon. Avoid peeling, and moisturise afterwards.
Conclusion
Fall Halloween nails work best when you pick one mood and keep the details small. The easiest place to start is a ghost accent nail on a burgundy or brown base: it’s cute, quick and simple to switch up in November. Which of these fall Halloween nails ideas will you try first? Leave a comment below, or save this guide to Pinterest for your next manicure.