5 Spooky Halloween Nail Art Ideas for a Creepy-Cute Manicure
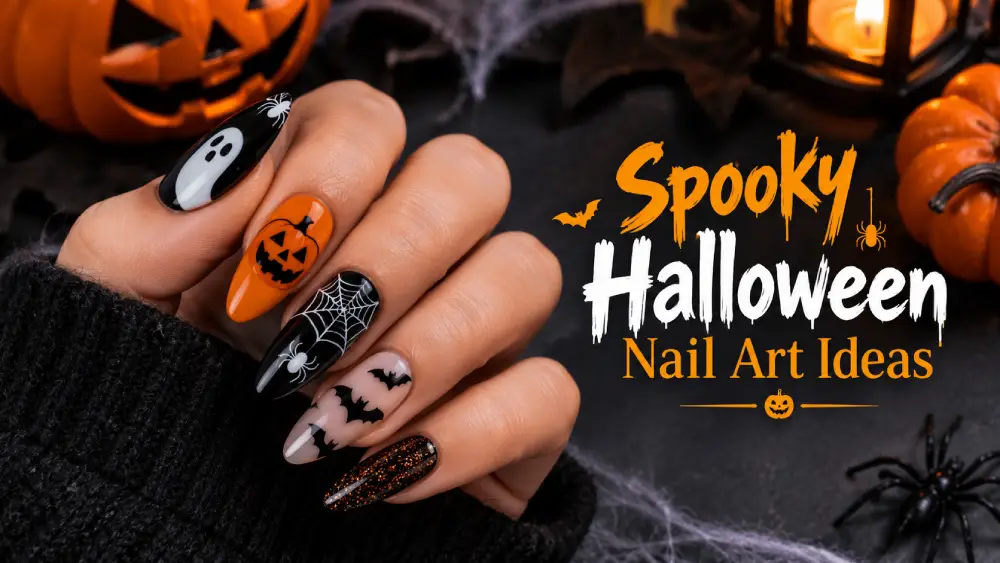
Halloween is the perfect time to give your manicure a fun seasonal makeover. If you want creepy, cute, dramatic, or stylish nails, Spooky Halloween Nail Art Ideas can help you create a festive look without needing professional nail-art skills.
The best part about Halloween nails is that the designs can be as simple or detailed as you want. A tiny ghost, black spider, orange pumpkin, or simple cat silhouette can completely change a basic manicure.
In this guide, we will explore five beginner-friendly Spooky Halloween Nail Art Ideas that are easy to customize. You will also find practical application tips, color suggestions, design comparisons, and answers to common questions.
Why Choose Spooky Nail Art?
Halloween nail art is an easy way to add a seasonal touch to your appearance. You can create a bold manicure for a Halloween party or choose a subtle design for everyday wear.
Spooky Halloween Nail Art Ideas do not have to involve complicated artwork. Many attractive designs are based on simple shapes such as circles, lines, dots, curves, and silhouettes.
If you are new to nail art, accent nails are an excellent place to start. You can keep most of your nails in a solid color and add a detailed Halloween design to only one or two nails.
This approach makes Spooky Halloween Nail Art Ideas easier to recreate while keeping the overall manicure balanced.
1. Pumpkin Nails
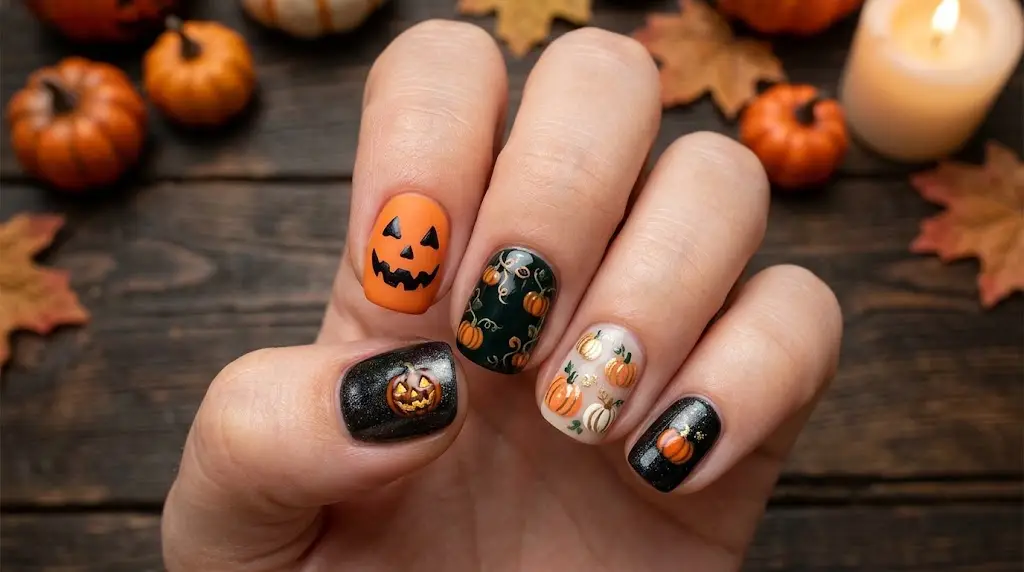
Pumpkins are one of the most recognizable symbols of Halloween. Their simple rounded shape makes them a great option for beginners who are learning basic nail-art techniques.
Among these Spooky Halloween Nail Art Ideas, pumpkin designs are especially versatile because they can look cute, classic, or creepy depending on the details you add.
How to Create Pumpkin Nails
Start with clean nails and apply a base coat. Choose a background color such as black, white, nude, cream, or purple.
Once the base has dried:
- Paint a small orange pumpkin shape.
- Add two or three curved lines inside the pumpkin.
- Create a tiny stem using green or black polish.
- Add a small leaf if desired.
- Let the design dry before applying a clear top coat.
You can paint one large pumpkin on an accent nail or create several smaller pumpkins across your manicure.
Make Pumpkin Nails Spooky
For a cute design, add small eyes and a smiling mouth. If you prefer a darker look, create a traditional jack-o’-lantern face using black polish.
You can also add small stars, dots, leaves, or a moon around the pumpkin.
2. Spider Web Nails
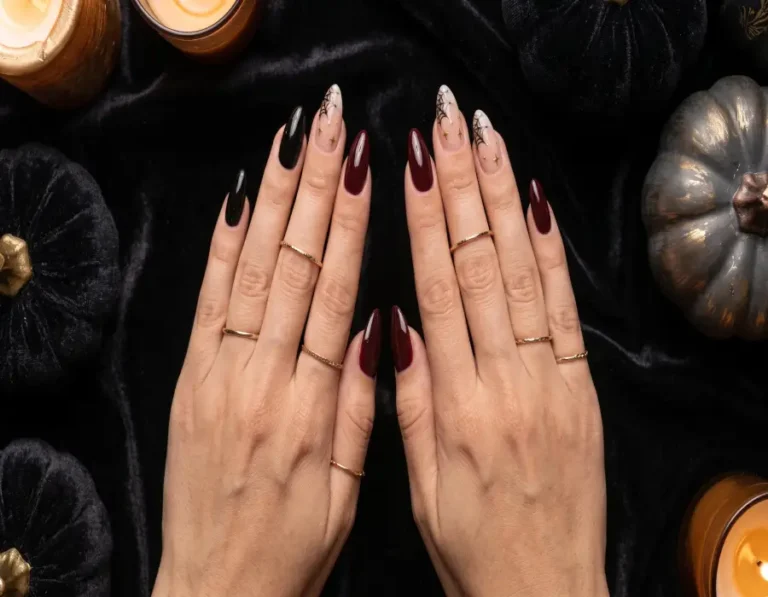
Spider webs are a classic choice for anyone who wants a genuinely spooky manicure. The design can look detailed while actually requiring only a few simple lines.
This makes spider webs one of the most practical Spooky Halloween Nail Art Ideas for beginners.
How to Paint a Spider Web
Choose your background color and allow it to dry completely.
Using a fine nail-art brush:
- Draw several thin lines from a central point.
- Connect the lines with small curved strokes.
- Keep the curved sections reasonably even.
- Add a small spider for extra detail.
The web does not have to cover the entire nail. A small web in one corner can create a subtle Halloween effect.
Add a Spider Accent
For an easier version, skip the full web and paint a tiny black spider instead.
Create a small oval body and add thin legs around it. You can place the spider on one accent nail while keeping the remaining nails simple.
3. Cute Ghost Halloween Nails
Ghost nails are perfect if you want something spooky without making your manicure look too scary. A white ghost against a dark background creates strong contrast and is easy to recognize.
For beginners, ghost designs are among the easiest Spooky Halloween Nail Art Ideas because the main shape does not require complicated detail.
How to Create Ghost Nails
Begin with a black, purple, dark blue, or deep gray base.
After the base has dried:
- Paint a small white ghost.
- Give the bottom a slightly wavy shape.
- Add two small black eyes.
- Add a tiny mouth.
- Add stars or dots around the ghost if desired.
You can make the ghosts different sizes or give them different facial expressions.
Cute or Creepy Ghost Designs
For a cute appearance, use rounded ghost shapes with friendly expressions.
For something more mysterious, use a darker background and smaller facial details.
You can also combine ghosts with moons and stars to create a nighttime Halloween theme.
4. Blood-Drip Halloween Nails
If you prefer a darker and more dramatic manicure, blood-drip nails can create a bold Halloween effect.
This is one of the more dramatic Spooky Halloween Nail Art Ideas, but the basic technique is still manageable for beginners.
How to Create Blood Drips
Start with a light base color such as white, cream, nude, or pale pink.
Once the base has dried, use red polish to create several rounded shapes near the tip of the nail.
Extend some shapes downward using thin lines. Connect the sections carefully and fill the gaps.
This creates the appearance of red liquid dripping down the nail.
Tips for Cleaner Blood Drips
Use a fine nail-art brush and work slowly. Avoid applying too much polish because thick lines can be difficult to control.
For a subtle design, keep the drips short. For a stronger Halloween look, use a combination of short and long drips.
5. Black Cat Nails
Black cats are another classic Halloween theme. A simple cat silhouette can look stylish and spooky without requiring advanced nail-art skills.
If you prefer elegant Halloween nails rather than extremely scary designs, this is one of the most versatile Spooky Halloween Nail Art Ideas to try.
How to Create a Black Cat
Choose a light background such as nude, beige, cream, orange, or pale pink.
Use black polish to create a simple cat silhouette.
You can include:
- A small head
- Two pointed ears
- A simple body
- A curved tail
If the complete silhouette feels too difficult, paint only a cat face. Two pointed ears, small eyes, and a tiny nose can be enough.
Add a Moon and Stars
For additional detail, paint a small moon on another nail and add tiny stars around it.
The combination of a black cat, moon, and stars creates a Halloween-night theme without requiring complicated artwork.
Quick Comparison of the 5 Designs
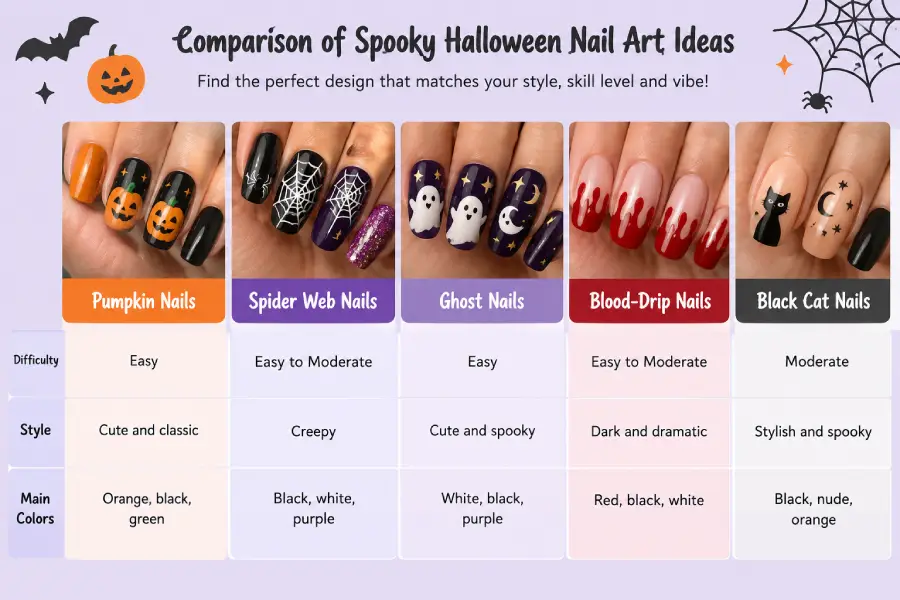
Different designs require different levels of skill and create different moods. Use the table below to find a design that matches your preferred style.
| Nail Design | Difficulty | Style | Main Colors |
|---|---|---|---|
| Pumpkin Nails | Easy | Cute and classic | Orange, black, green |
| Spider Web Nails | Easy to Moderate | Creepy | Black, white, purple |
| Ghost Nails | Easy | Cute and spooky | White, black, purple |
| Blood-Drip Nails | Easy to Moderate | Dark and dramatic | Red, black, white |
| Black Cat Nails | Moderate | Stylish and spooky | Black, nude, orange |
Best Colors for Spooky Nails
The right color combination can make a simple design look much more festive.
Black
Black is one of the most versatile Halloween nail colors. It works for backgrounds, spider webs, cats, spiders, outlines, and silhouettes.
Orange
Orange is especially useful for pumpkin designs. It also works well as an accent color with black or white.
White
White creates strong contrast against dark backgrounds. It is ideal for ghosts, spider webs, and small decorative details.
Red
Red works particularly well for blood-drip designs. It can also be used sparingly as a dramatic accent.
Purple
Purple adds a darker seasonal feel without relying entirely on black. It pairs nicely with white, orange, and black.
Nude
Nude is a useful choice if you want softer Spooky Halloween Nail Art Ideas. Small Halloween details can stand out against a neutral background.
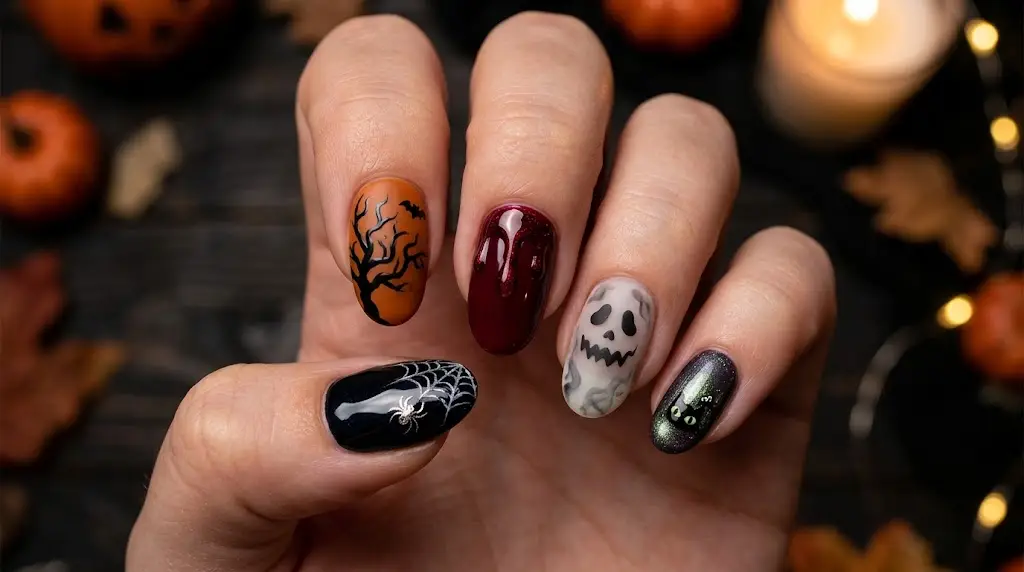
Easy Tips for Creating Halloween Nail Art
You do not need expensive equipment to create attractive Halloween nails. A few basic techniques can make the process easier.
Practice Before Painting
Practice the design on paper or an artificial nail before applying it directly to your nails. This is particularly useful for spiders, cats, and webs.
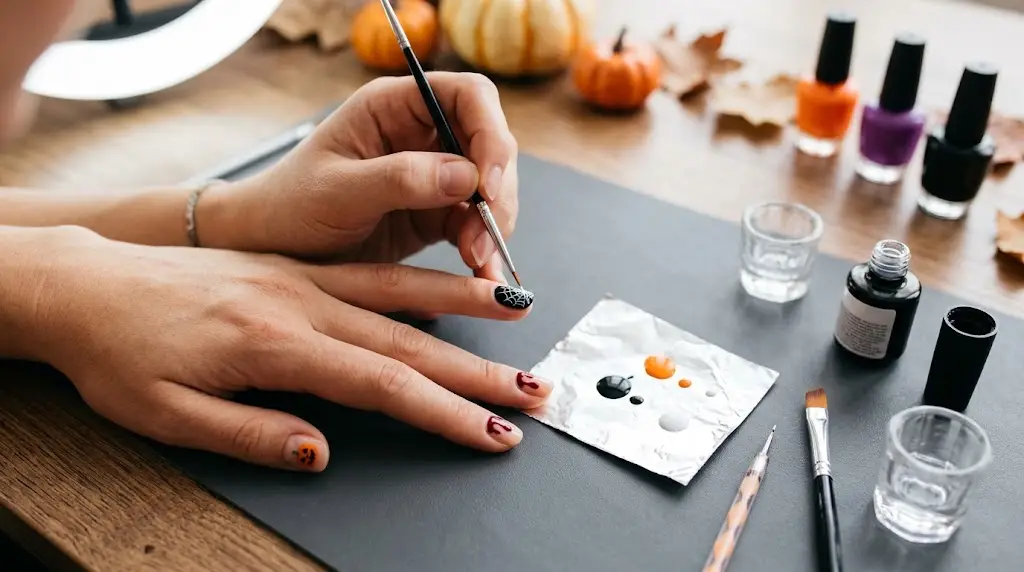
Use a Fine Brush
A fine nail-art brush can help you create thin lines and small details. A dotting tool can also be useful for eyes, dots, and other tiny elements.
Keep the Design Simple
Do not try to fill every nail with complicated artwork. One or two detailed accent nails can create a strong Halloween theme.
Allow Each Layer to Dry
Give the base color enough time to dry before adding artwork. Allow the artwork to set before applying the top coat.
Finish With a Top Coat
A clear top coat can help protect the finished manicure and provide a smoother appearance.
Spooky Nails for Short Nails
Short nails can look great with Halloween designs. You simply need to choose artwork that fits comfortably within the available space.
Good choices include:
- Tiny pumpkins
- Small ghosts
- Spider webs
- Cat faces
- Simple spiders
- Minimal blood-drip designs
When working with short nails, avoid placing too many small details on one nail. A clean central design can often look more effective.
Spooky Nails for Long Nails
Long nails give you more room for detailed artwork. You can create larger pumpkins, ghosts, cats, spiders, moons, and webs.
You can also use different designs on different nails while keeping the same color palette.
For example, one nail could feature a ghost, another a spider web, and another a pumpkin.
Halloween-inspired French tips can also be used if you want something different from traditional full-nail artwork.
How to Mix Different Halloween Nail Designs
You do not have to choose just one design. Combining two or three related patterns can create a more personalized manicure. For more playful Halloween themes, see our Disney Halloween nails guide.
Try combinations such as:
- Black nails with an orange pumpkin accent
- Purple nails with white ghosts
- Nude nails with black spiders
- White nails with red blood drips
- Black cats with tiny stars
- Orange nails with black spider webs
When combining several Spooky Halloween Nail Art Ideas, keep your main colors consistent. Repeating the same colors across different designs helps the manicure look coordinated.
How to Make Halloween Nail Art Look Neat
Even simple nail art can look polished when the application is careful.
Start with clean nails and apply the base color evenly. Use small amounts of polish for detailed artwork and allow each layer to dry before continuing.
If you make a small mistake, carefully clean the unwanted polish once the surrounding area has dried sufficiently.
Avoid rushing. Taking your time is particularly important when creating thin lines, tiny eyes, spider legs, and other small details.
FAQs
What are the easiest Spooky Halloween Nail Art Ideas for beginners?
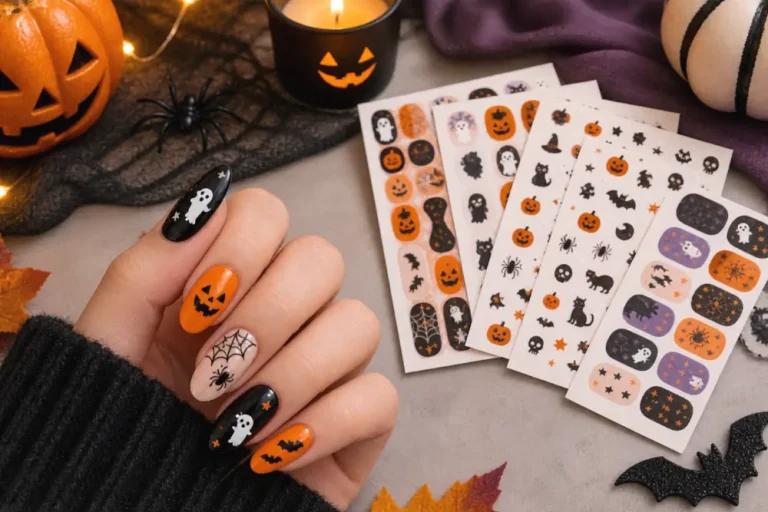
Simple pumpkins, ghosts, spiders, and spider webs are good starting points. These designs use basic shapes and do not require advanced nail-art skills. If painting these by hand feels tricky, Halloween nail stickers give you the same designs with no steady hand needed.
Can I create Spooky Halloween Nail Art Ideas on short nails?
Yes, small pumpkins, ghosts, spiders, cat faces, and simple webs can all be adapted for short nails.
What colors are best for Halloween nail art?
Black, orange, white, red, and purple are versatile Halloween colors. Nude, beige, and cream can also be used as softer base colors.
Do I need special tools for Halloween nail art?
No, basic designs can be created with regular nail polish and a steady hand. A fine brush or dotting tool can make detailed designs easier.
How many accent nails should I decorate?
There is no fixed rule. One or two accent nails are a practical starting point for beginners.
How can I stop Halloween nail art from looking messy?
Use thin layers, work slowly, allow each layer to dry, and avoid putting too many details into a small space.
Can I combine cute and scary Halloween nail designs?
Yes. Cute ghosts and pumpkins can be combined with darker spiders, webs, black cats, or red details. Keeping a consistent color palette helps the designs work together.
How can I make my Halloween manicure last longer?
Avoid using your nails as tools, allow polish to dry properly, and apply a suitable clear top coat. The exact durability depends on the products and application technique.
Final Thoughts
Creating Halloween nails does not have to be difficult. Pumpkins, spiders, ghosts, blood drips, and black cats can all be simplified into beginner-friendly designs. These Spooky Halloween Nail Art Ideas give you options for different styles, nail lengths, and skill levels. You can choose a cute ghost manicure, a classic pumpkin design, a creepy spider web, a dramatic blood-drip look, or an elegant black cat.
Start with simple shapes, choose a coordinated color palette, and practice your design before applying it to your nails. With a little patience, you can turn a basic manicure into a festive Halloween look.