Halloween Nails for Kids: 20 Easy Ideas by Age, Plus Safe Polish and Removal Tips
It’s a few days before Halloween. The costume is ready, the pumpkin is carved, and your child suddenly wants spiderwebs on every finger. You have one bottle of black polish, a free evening and no idea where to begin.
The good news is that Halloween nails for kids don’t need salon skills. A dotting tool, two or three colors and a steady hand will take you a long way. And if painting isn’t your thing, stickers and press-on nails can give a similar look in minutes.
This guide to Halloween nails for kids is organized by age, because what works for a five-year-old is very different from what suits a ten-year-old. Inside, you’ll find 20 easy designs, a comparison of the main methods, safety basics and practical tips for making the look last through trick-or-treating.
Quick answer: For most children, the easiest Halloween nails for kids are simple shapes in two or three colors, such as a pumpkin, a ghost or candy corn stripes. Younger children usually do best with stickers or peel-off polish, while older kids can try more detailed nail art. Always choose products made for children, and keep an adult close by.
Safety Basics for Halloween Nails for Kids
Children’s nails are small, their skin is sensitive, and little fingers often end up in mouths. A few simple habits make Halloween nails for kids safer and far less stressful.
Choose products made for children
Look for nail polish, stickers and removers that are labeled for kids, and read the age guidance on the packaging. Terms like “non-toxic” are not used in exactly the same way by every brand, so check the ingredient list and the manufacturer’s instructions instead of relying on that word alone. If you’re unsure about a product, it’s safest to skip it.
Do a quick patch test
Before painting all ten nails, try one nail first. If you notice redness, itching or irritation on the skin around it, remove the product and stop.
Know when to skip nail art
Nail art may not be a good idea if your child bites their nails, sucks their fingers, or has damaged nails or irritated skin. In those cases, child-safe face paint can be a better way to join in the Halloween fun.
Keep an adult in charge
An adult should handle the polish bottles, open a window for fresh air, and stay close during application and removal. For toddlers and younger children, avoid loose gems and tiny decorations that could come off and become a choking hazard.
Skip gel and acrylics
Gel polish needs curing under a UV or LED lamp and is harder to remove, and acrylic nails involve strong products. Both are better suited to adults. Regular kid-friendly polish, peel-off polish, stickers and press-ons are more sensible choices for children.
What You’ll Need for Halloween Nail Art at Home
You don’t need a big kit. Here is a simple starter list for Halloween nails for kids:
- A base coat and a clear top coat
- Two or three polish colors (black, orange and white cover most designs)
- A dotting tool, or a toothpick for tiny details
- A thin nail art brush for lines and webs
- Cotton pads and a gentle remover for fixing mistakes
- A paper plate or a piece of foil to use as a paint palette
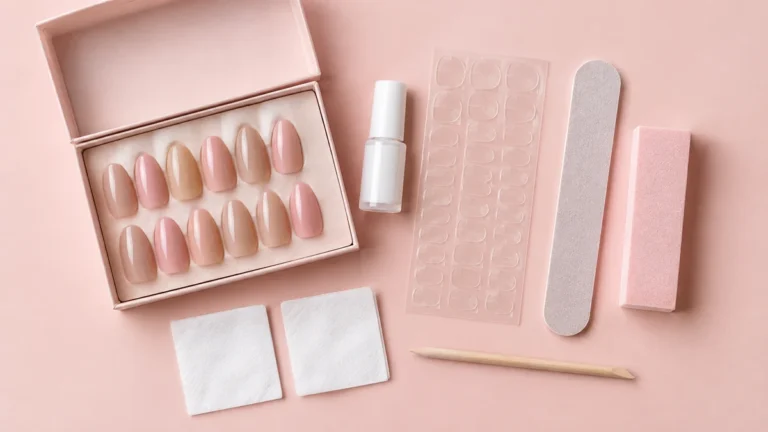
If you’d rather not paint at all, pick up Halloween nail stickers, nail wraps or a set of child-sized press-ons.
Tip: In the UK, nail polish is often called nail varnish, so search for both terms when shopping.
Halloween Nails for Kids: Which Method Is Best?
Not every child wants to sit still while polish dries. This table compares the most common ways to create kids’ Halloween nails, so you can pick the one that suits your child.
| Method | Best for | Skill level | Mess level | Removal |
|---|---|---|---|---|
| Kid-friendly polish with hand-painted designs | Ages 6+ | Medium | Medium | Gentle remover |
| Peel-off polish | Ages 3+ (check the label) | Low | Low | Peels off, usually no remover needed |
| Nail stickers and wraps | Ages 3+ | Low | Very low | Soak in warm water and peel gently |
| Press-on nails | Ages 6+ | Low to medium | Very low | Follow the pack instructions |
| Dry polish strips | Ages 5+ | Low | Very low | Follow the pack instructions |
How long each option lasts depends on the product, so always check the packaging.
Easy Halloween Nails for Kids Aged 3 to 5
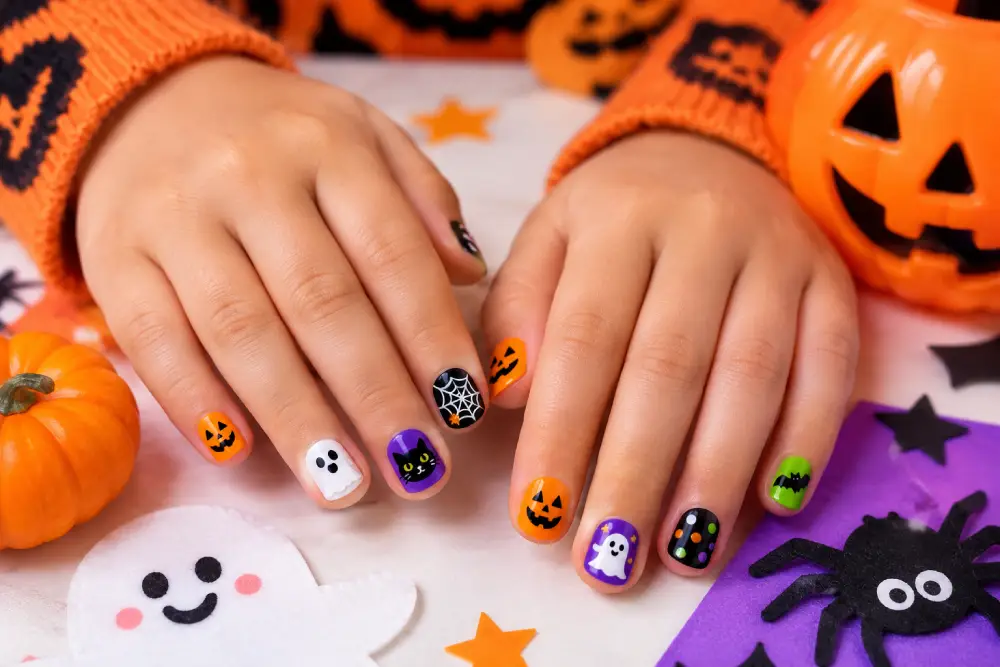
At this age, think quick and cheerful. Keep the designs bold and simple, and use stickers or peel-off polish wherever possible.
1. Ghost stickers on a pale base
Paint the nails a soft color such as lavender or white. Once they are completely dry, press a ghost sticker onto each thumb or ring finger. It takes only a couple of minutes.
2. Solid orange pumpkin nails
One coat of orange on every nail is already festive. Finish with a clear top coat for shine.
3. Black and orange stripes
Paint alternate nails black and orange. You don’t need any special tools, and this look hides small mistakes well.
4. Candy corn tips
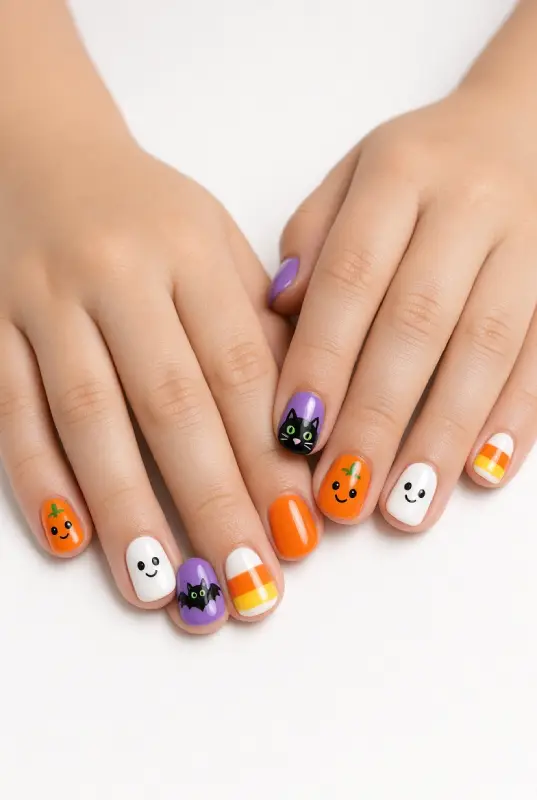
Use yellow at the base, orange in the middle and white at the tip. Paint each band in a loose, slightly wobbly line. Candy corn still looks great when it isn’t perfect.
5. Glow-in-the-dark polish
Glow-in-the-dark polish made for kids adds a little magic after dark. Check the packaging for age suitability before you buy.
Simple Halloween Nails for Kids Aged 6 to 9
Children in this range usually have enough patience to try small details, especially with a dotting tool and some help from an adult.
6. Pumpkin faces
Paint the nails orange. When they are dry, use a toothpick dipped in black polish to add two eyes and a small mouth.
7. Black cat silhouettes
Start with a light base, then dab on a black dot for the head and add two tiny triangle ears. A dotting tool makes this much easier.
8. Mummy stripes
Paint the nails white, then draw thin grey or black lines across them, leaving a small gap for two eyes. Messy lines actually make the mummy look better.
9. Little Frankenstein
Use green polish for the base, a black strip across the top for hair, and two white dots with black centers for eyes.
10. Bat wings
Paint the nails purple or black. Then use a thin brush to add curved bat wings in black or white.
11. Spiderweb accent nail
Choose one accent nail instead of all ten. Draw three lines from one corner like a fan, then add two curved lines across them. A single webbed nail looks neat and takes far less effort.
12. Googly-eye monsters
Use a bright green or orange base. Add two dots of white polish with a black dot in the middle of each. These are quick, silly and fun.
13. Slime drips
Paint the base black, then add green polish dripping from the tip. A few uneven drips look better than perfectly even ones.
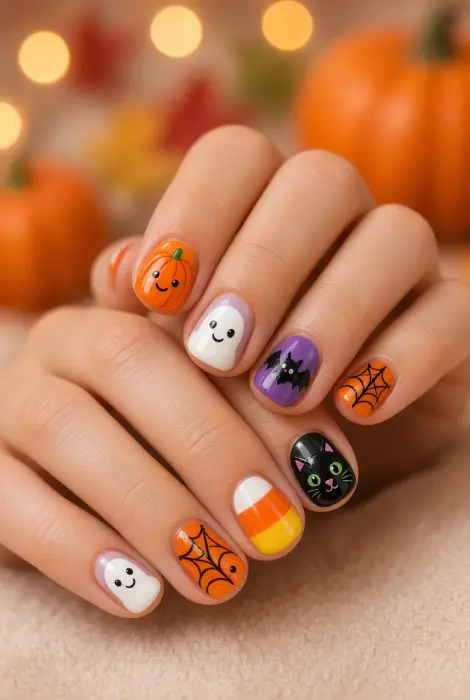
Trendy Halloween Nails for Kids Aged 10 to 12
Older children often want something that feels more grown-up. These ideas stay age-appropriate while still looking stylish.
14. Ghost French tips
Use a sheer pink base and paint the tips white. Add one small ghost face to an accent nail.
15. Pastel Halloween
Pink, lilac and mint polish with tiny ghosts and pumpkins feel sweeter and less scary.
16. Jack-o’-lantern accent nails
Mix plain nails with two or three pumpkin faces for a balanced look.
17. Black and orange checkerboard
Use striping tape or a thin brush to make small squares. This design takes patience, so give it extra time.
18. Moon and stars
Choose dark purple or navy polish, then add tiny star dots and a crescent moon in silver or white.
19. Kawaii-style cute ghosts
Add a small smile and rosy cheeks to a white ghost on a pastel background.
20. Mix-and-match spooky set
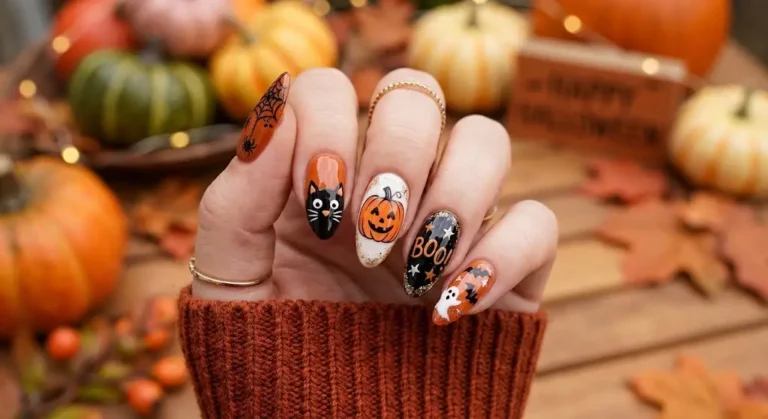
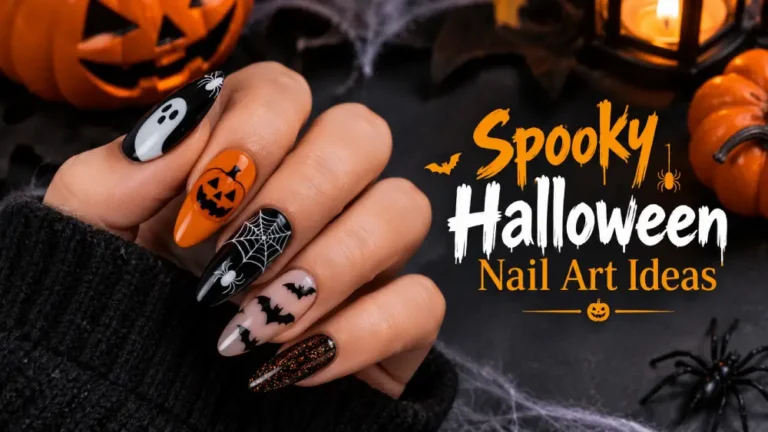
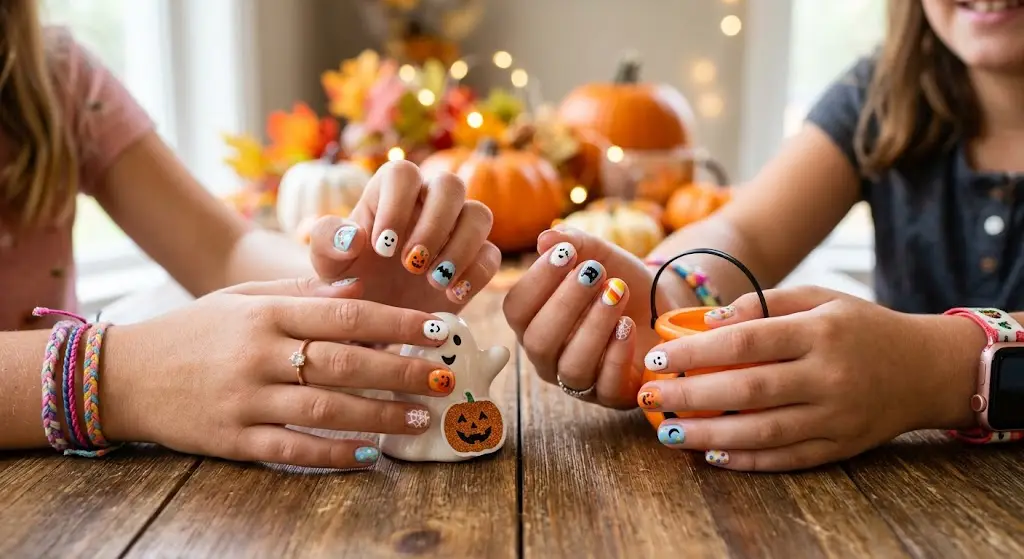
Give each nail a different design: pumpkin, ghost, web, bat and candy corn. It’s a good way to try several ideas at once.
How to Make Halloween Nails for Kids Last Longer
Kids are hard on their hands, so a few simple steps help.
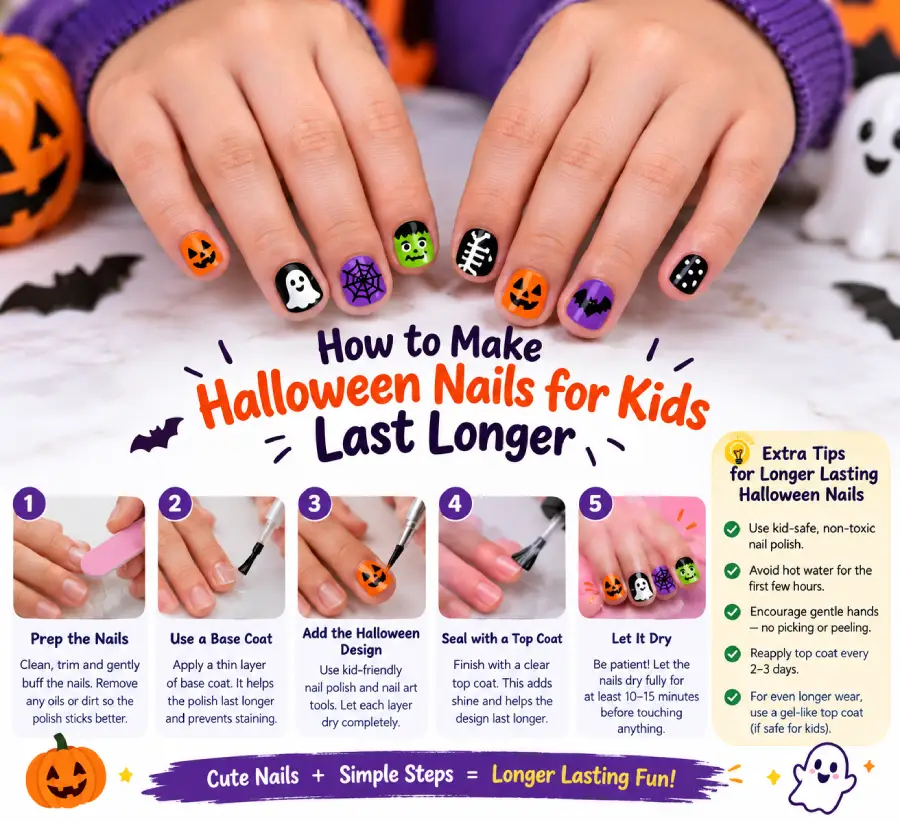
- Start with clean, dry nails. Wash hands, dry them thoroughly and skip moisturizer just before painting.
- Use a base coat. It helps the color go on evenly and protects the nail surface.
- Let each layer dry fully. Rushing is the most common reason designs smudge.
- Finish with a top coat. Seal the edges as well.
- Keep nails short. Shorter nails chip less and are better for school and play.
If one nail chips, it’s usually easier to remove that nail and redo it.
How to Remove Halloween Nails Safely
Removal matters just as much as application when you’re doing Halloween nails for kids.
- Polish: Use a gentle remover and a cotton pad. Hold the pad on the nail for a few seconds before wiping. Some removers can be drying, so follow the product directions and work in a well-ventilated room.
- Stickers and wraps: Soak the fingers in warm water for a few minutes, then lift an edge and peel slowly.
- Peel-off polish: Loosen it at the edge and peel it away.
- Afterward: Wash the hands and apply a little child-friendly hand cream.
Never scrape or force a sticker or press-on off, because it can damage the nail surface.
Halloween Nails for Kids at School, Parties and Trick-or-Treating
A few practical points are worth thinking about before the big night:
- Check school rules. Some schools in the US and UK don’t allow nail polish or nail decorations, especially in term time. A quick look at the school policy can save an argument.
- Match the costume. Pumpkin nails work with almost any outfit. A witch costume pairs well with purple and black, and a ghost costume looks great with white and grey.
- Plan for the weekend. If school rules are strict, do the nails on a Friday evening and remove them on Sunday.
- Do it together. Let your child choose the colors. It makes the evening more fun and much less stressful.
FAQs
Is nail polish safe for kids?
It depends on the product and the child. Choose polish made for children, follow the age guidance on the label, do a patch test and supervise application. If your child bites their nails or puts their fingers in their mouth, it’s better to skip nail polish.
What age can kids start wearing nail art?
There is no single age that suits every child. Many parents start with stickers or peel-off polish for younger children and move to regular polish when the child is older and can sit still. Always check each product’s age recommendation.
What is the easiest design for Halloween nails for kids?
Solid orange pumpkin nails or black and orange stripes. Neither needs special tools, and both look good even if the lines aren’t perfect.
How can I do Halloween nails without polish?
Use nail stickers, nail wraps, dry polish strips or child-sized press-on nails. These usually take less time and create less mess.
How do I remove nail polish from a child’s nails?
Use a gentle remover, a cotton pad and a well-ventilated room. For stickers or wraps, soak the nails in warm water and peel slowly. Stop if the skin looks irritated.
Are glow-in-the-dark nails suitable for kids?
Some brands make glow-in-the-dark polish and stickers for children. Check the label for age suitability before buying.
How long do kids’ Halloween nails last?
It varies by product, how carefully the nails were applied and how active your child is. A base coat, a top coat and short nails all help. Peel-off polish and stickers usually don’t last as long as regular polish.
Conclusion
The best Halloween nails for kids are the ones your child loves wearing and you can manage without stress. For younger children, stickers, peel-off polish and simple stripes are plenty. Older children can enjoy more detailed designs, such as ghost French tips, checkerboard patterns or a full set with a different design on each nail.
Whatever you choose, use products made for children, do a patch test, supervise the whole process and remove everything gently afterward. With a little planning, Halloween nails for kids can be one of the most enjoyable parts of the festivities.