How to Strengthen Nails After Acrylics: A Complete Recovery Guide
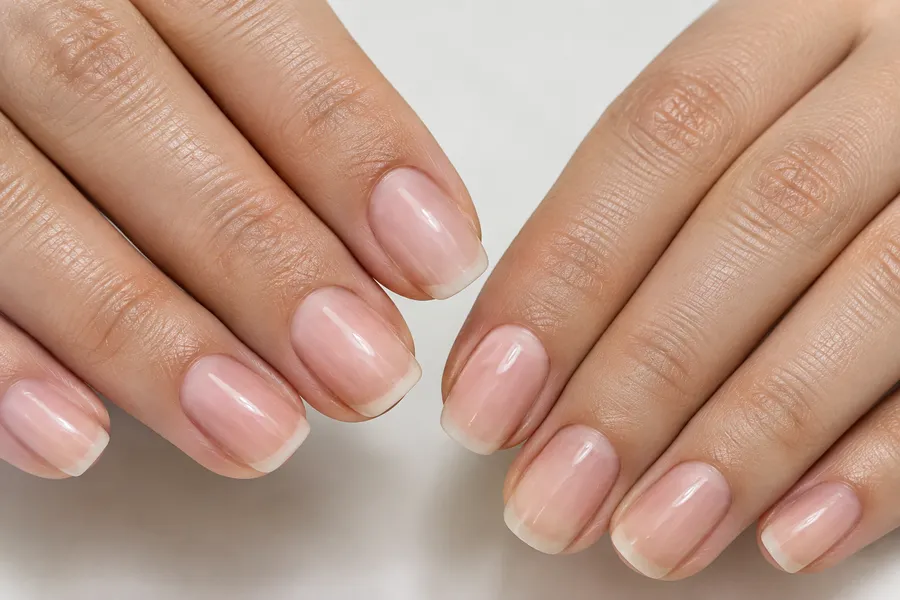
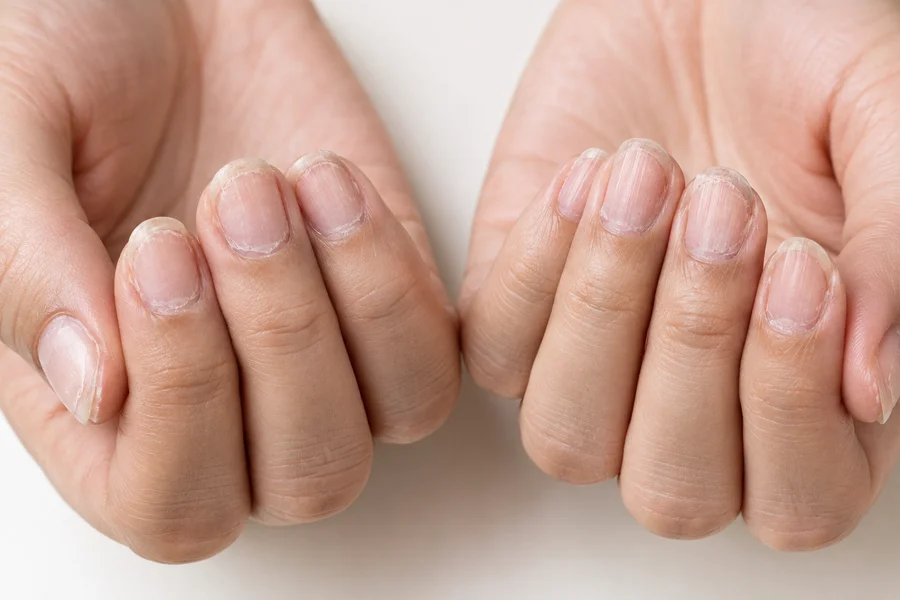
They bend. They peel. Some spots feel almost paper-thin. If you’re looking to strengthen nails after acrylics, take heart: this rough patch is normal, and nails bounce back with the right care.
You just took off your acrylics, and your natural nails look rough. Maybe they’re ridged. Maybe the tips are sore. Opening a soda can feels like a risk.
Take a breath. You’re not alone in this, not even close. And here’s what nobody tells you upfront: nails bounce back. They really do. New growth comes in fresh from under the cuticle. What you do in the next few weeks decides how smooth that comeback goes.
This is your phased plan to strengthen nails after acrylics: safe removal, two weeks of triage, a rebuild stage, then long-term care. No guessing.
Quick Answer: How to Strengthen Nails After Acrylics (5-Step Summary)
In a hurry? Here’s everything, condensed:
- Get the acrylics off gently. Soak, don’t pry. Stop filing before you hit natural nail.
- Triage for two weeks. Cut short. Glass file, one direction. Cuticle oil 2-3 times a day.
- Rebuild, weeks 3 to 8. Gentle strengthener. Good ingredients in, harsh ones out.
- Maintain, months 2 and 3. Simple weekly routine. Watch the new growth.
- Go back to enhancements slowly. Lowest-damage options first. Real breaks between sets.
Details on all of it below.
Why Do Acrylics Damage Nails Anyway?
Quick science, painless version. Your nail plate is keratin – tough protein stacked in thin layers, held together by natural moisture and oils. That’s what gives nails their flex.
The filing problem
Most acrylic sets start with the tech roughing up your natural nail so product grips. Fine once. But over fills and refills? That filing shaves off more nail than you’d ever remove yourself. Each round thins the plate a little more.
Thin plate, wrong kind of flexible. Bends, splits, peels. There’s just less keratin holding it together.
Acetone dries everything out
Acetone dissolves acrylic beautifully. It also strips oils from nails and skin. After a long soak, nails look chalky and feel brittle. That’s dehydration, not just product residue.
Knocks and pressure add up
Acrylics are rigid. Smack a long set against something and the force shoots straight into the nail bed. Over time: lifting, tenderness, weaker plate.
None of this means acrylics are evil. The damage mostly comes from the process around them – the filing, the removal, the aftercare (or lack of it). And that part? You can control it.
Step 1: Get Them Off Safely (Seriously, Don’t Skip This)
Removal is where most damage happens. A patient soak-off beats any recovery product, every time.
The gentle soak-off, step by step
- Trim the length. Clip the acrylic as short as comfortable. Less product, shorter soak.
- File the top only. Take off the glossy top coat and some bulk with a coarse file. Stop WAY before natural nail. See your nail color changing underneath? You’ve gone far enough.
- Protect your skin. Cuticle oil or thick balm around each nail. Petroleum jelly works too – just keep it off the nail surface.
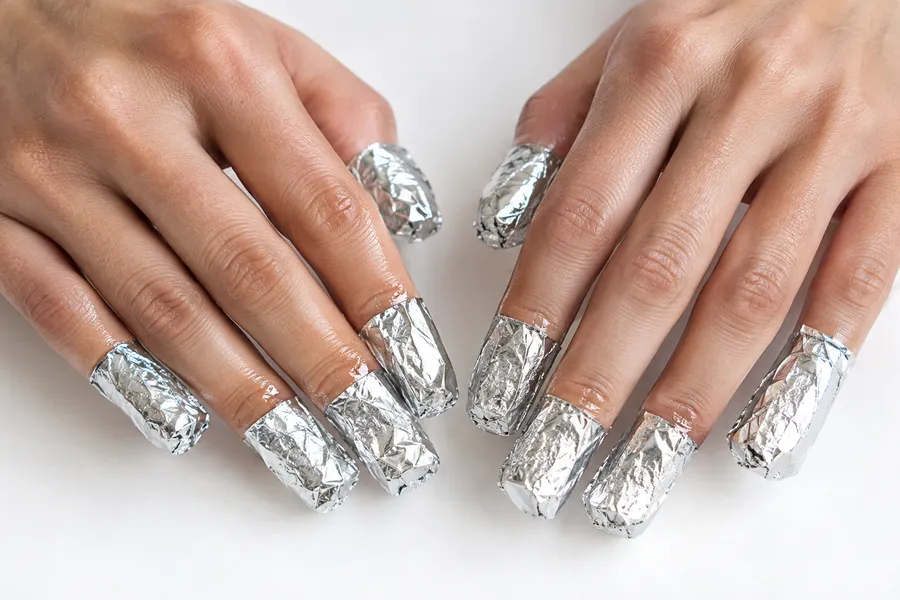
- Soak. Acetone-soaked cotton on each nail, wrap in foil. Or bowl-soak. Ventilated room, 15-30 minutes. Thick sets need longer.
- Test, don’t force. Does it slide off? Great. Resisting? Rewrap and soak more.
- Nudge, never scrape. Wooden cuticle stick, gentle pushes. Still stuck = more soak time.
- Moisturize immediately. Mild soap wash, then cuticle oil and hand cream. Don’t skip this.
Acetone fumes are no joke and it’s flammable. Ventilation, no open flames. Basic stuff.
What NOT to do
- Peel, pry, or pop them off. You’ll rip natural nail layers with it.
- Bite or chew. Just… no.
- File into your natural nail to “finish faster.”
- Rush the soak because you’re impatient.
Thick set or nervous? Pay for professional removal. It’s cheap insurance for your nails. Removing gel instead? Here’s our full guide on how to remove gel nails at home without damage.
Step 2: Weeks 1-2, Triage Mode
Think first aid, not beauty routine. To strengthen nails after acrylics, the first goal is simple: stop further damage and let things settle.
Cut them short. Yes, really.
I know it stings. But short nails don’t snag, bend, or split nearly as much. Long weak nails break – and breaks travel down into the nail bed. If one does snap anyway, here is how to fix a broken nail at home without glue until it grows out. Not worth it.
Glass file, one direction
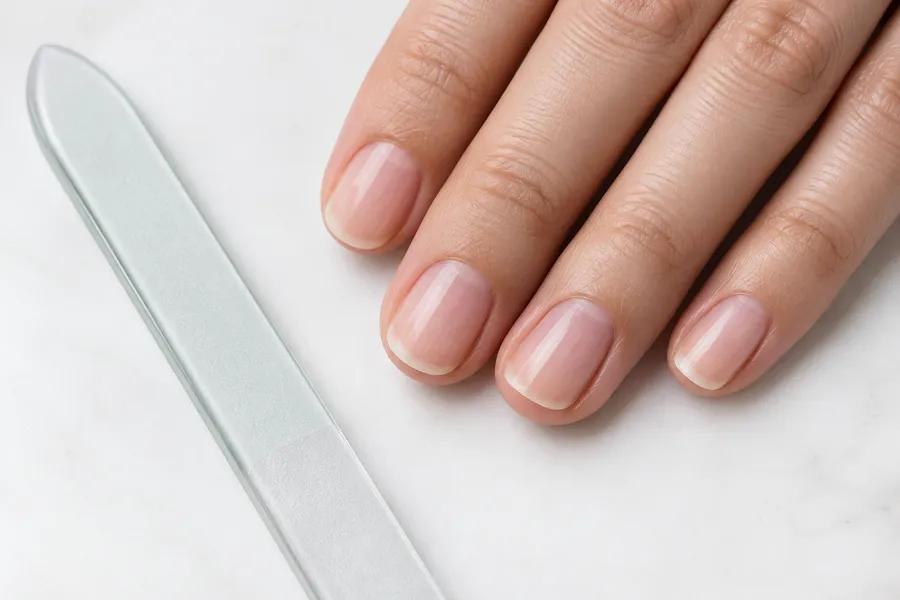
Glass or crystal file. Fine grit, smooth edge. One direction only – side toward center. No sawing back and forth; that frays the tip layers and invites peeling.
And don’t buff the nail surface right now. Even light buffing removes more of an already thin plate.
Use Cuticle Oil Every Day
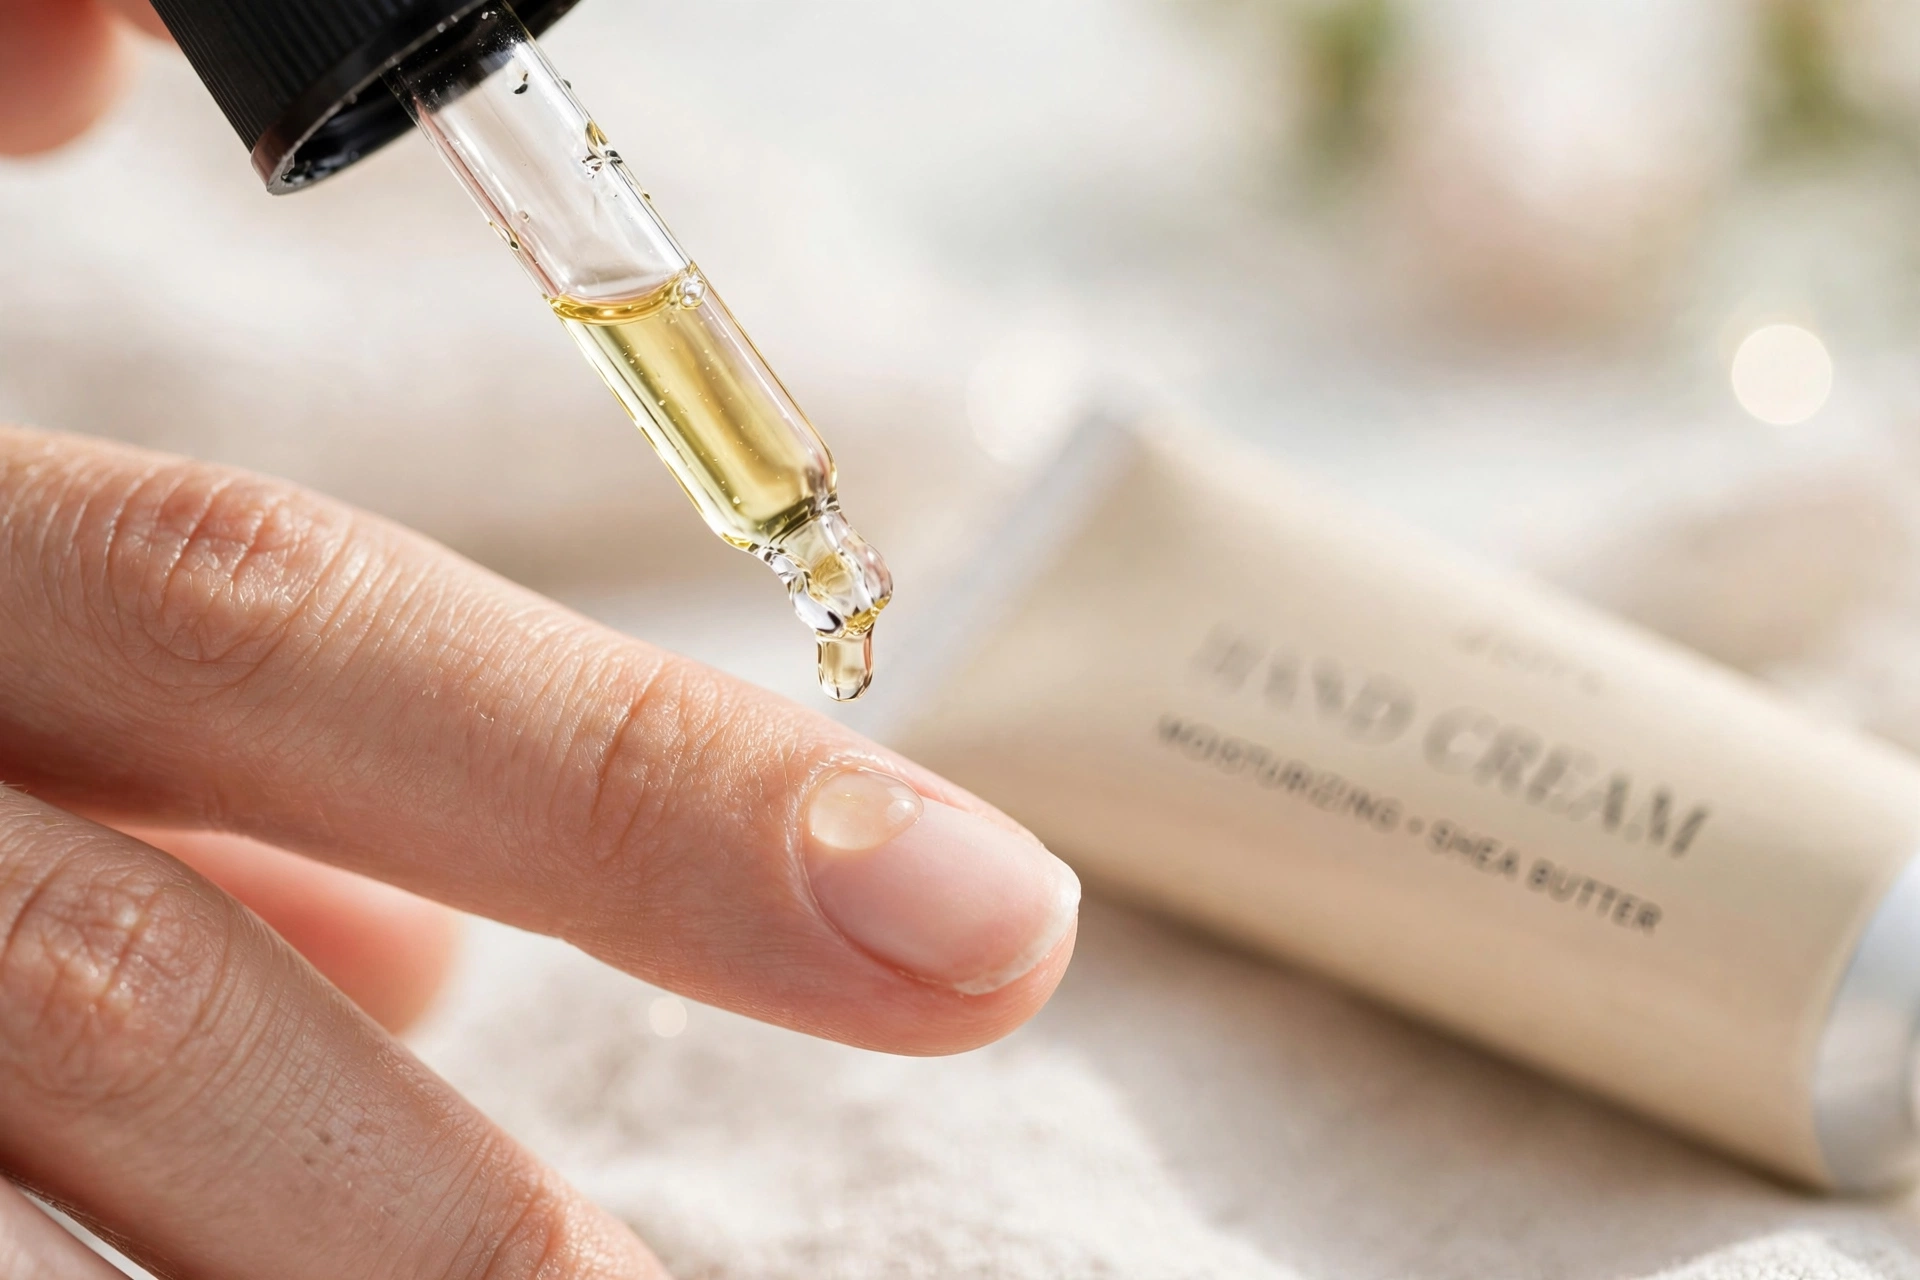
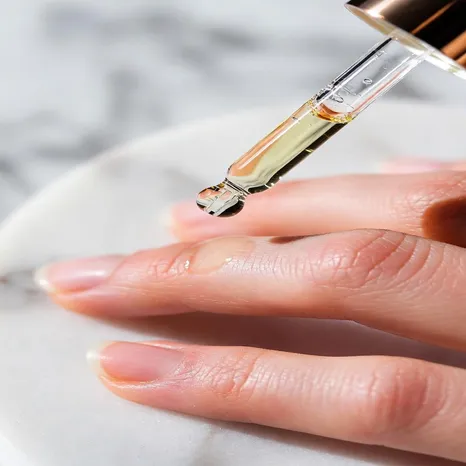
Cuticle oil is your best friend for the next two weeks. Two to three times a day. Massage into cuticles for a few seconds. After hand washing, after hand cream, before bed – those are your moments.
Jojoba or sweet almond oil. Jojoba’s popular because it’s similar to your skin’s natural oils. Fair warning: no oil rebuilds nail by itself. What it does is keep things flexible so they don’t crack.
Gloves on
Dishes, cleaning, all of it – gloves. Water is brutal on weak nails. Treat your hands like they’re healing, because they kind of are. Cold weather makes it worse, so our winter skincare routine for beginners covers the same gentle care for dry, cracked hands.
Step 3: Weeks 3-8, Now We Rebuild
Okay. The worst part? Behind you. The tenderness is fading, things feel a bit more stable. Weeks 3-8 are when you really start to strengthen nails after acrylics – time to bring in a strengthener. But here’s the thing, and I really need you to hear this: pick the WRONG one and you’ll undo everything.
What Strengtheners Actually Do
What do they actually do? Two things. Some form a protective film over your nail. Others condition with oils and proteins. That’s it. Neither one changes how your nail grows – once nail leaves the matrix under your cuticle, it’s basically dead cells. No product reaches back in there.
But here’s why they still matter: that coating makes the surface tougher. Less snagging on sweaters. Less catching on your hair. Feels stronger, even if underneath it’s the same nail.
Budget versus expensive? Honestly? Price means almost nothing. I’ve seen cheap ones with beautiful ingredient lists and pricey ones full of junk. What matters is what’s IN the bottle.
Stuff that’s actually helpful
Keratin – your nails are literally made of this stuff. On top of the nail, it smooths out roughness. Makes sense.
Biotin – everyone talks about it. Most of the research is on taking it as a pill, not painting it on. In polish? Probably doing very little. But it sounds good on a label, doesn’t it?
Jojoba oil – this one’s genuinely nice. It’s close to what your skin naturally produces, so it plays well with cuticles. Light, not greasy.
Vitamin E – you’ll find this in almost every cuticle oil worth buying. Solid conditioner.
Panthenol, glycerin – these help nails hold onto moisture. Boring but useful.
Stuff to run away from
The “toxic trio.” Write these down.
Formaldehyde (and formaldehyde resin) – this is the big one. Some hardeners use it to make nails rigid. Sounds good, right? Wrong. Rigid means they SNAP instead of bending. On already-weak nails, that’s a disaster. It can also irritate your skin something awful.
Toluene – harsh solvent. The fumes alone tell you everything. Headache in a bottle.
DBP – dibutyl phthalate. Old-school plasticizer. Most decent brands dropped it years ago, but check anyway.
Plenty of good brands skip all three. “Free from” on the label is what you’re looking for. And whatever you buy – follow the directions on YOUR bottle, they all differ. One general rule though: don’t just keep piling coat on coat without removing the old buildup. Traps moisture underneath. Counterproductive.
And keep the cuticle oil going. Seriously. Strengthener protects the surface, oil keeps things flexible underneath. You need both.
Step 4: Months 2-3, The Boring Part (That Matters Most)
This is where most people quit. The crisis is over, nails look… okayish. The urgency fades. But this maintenance phase is where you truly strengthen nails after acrylics – it’s literally the difference between nails that recover and nails that stay fragile.
Just keep doing this
Daily stuff – and I mean daily:
- Cuticle oil, 2-3 times. Keep a bottle in your bag, one on your nightstand, one at your desk. No excuses.
- Hand cream after every wash. Every. Wash.
- Gloves for anything wet or chemical.
Every few days: refresh the strengthener according to its instructions.
Once a week: gentle glass file on the tips. Look for splits starting. If your nails feel overloaded with product, give them a naked day.
Length? Keep it reasonable. I know, I know. But long fragile nails are just… waiting to break. And every break sets you back weeks.
You’ll know it’s working when…
- The new growth near your cuticles looks smoother and feels firmer
- Your nails don’t bend like paper anymore
- Way fewer splits and snags
- That tip tenderness? Gone or almost gone
- Color looks even and healthy
Here’s the thing about nail growth – it’s SLOW. A few millimeters a month. You’ll literally see a line of healthy nail pushing up from the cuticle, with the old damaged stuff ahead of it. The damaged part has to grow ALL the way out. There’s no shortcut. That’s why we’re talking months, not weeks.
Take a photo once a month. Same lighting, same angle. You won’t notice daily change, but month-to-month? You’ll see it. And on the days you feel like giving up, those photos remind you how far you’ve come.
DIY Remedies – Let’s Be Real
The internet LOVES a home remedy. Some are fine. Some are… optimistic. Let me save you some time.
Coconut oil – perfectly good moisturizer. Keeps things supple, prevents cracking. But it’s not rebuilding your nail. It’s oil, not magic. Use a little, it goes far.
Vitamin E – break open a capsule or buy it in oil form. Nice for dry cuticles. Gentle. But it’s a helper, not a cure. And if it irritates your skin? Stop.
Aloe vera – feels amazing after a harsh acetone soak. Soothing, light hydration. As an actual nail strengthener? There’s just not much evidence. Use it for comfort, not results.
The honest truth: these are all moisturizers. And moisturizing matters a LOT right now – dry nails crack, and cracking is the enemy. But none of them rebuild keratin. None of them make nails grow faster. That’s not how biology works.
And please – skip anything promising “overnight repair.” Especially lemon juice or vinegar soaks. Acids dry nails out MORE. The exact opposite of what you need. When a tip sounds too good to be true, cross-check it against the AAD’s nail care secrets page.
Supplements and Food – The Inside Game
Nails build from the inside out, so what you eat matters. But let’s manage expectations, because the supplement industry won’t.
Biotin
The famous one. Small studies suggest it MIGHT help brittle nails a little. Maybe. Most people already get enough from food though. And here’s something they don’t put on the bottle: high-dose biotin can mess with certain blood test results. Thyroid tests, heart markers – it interferes. If you take it, tell your doctor. Non-negotiable.
Collagen
Trendy for everything – skin, hair, nails, probably your aura too. The research is early and thin. Probably won’t hurt you. Probably won’t transform your nails either. Your call if it fits the budget.
Silica
Marketed hard for nails and hair. Evidence? Barely there. I’d be skeptical of any dramatic claims.
Zinc
You genuinely need this for normal growth and repair. An actual deficiency can show up in your nails. But here’s the catch – more is NOT better. Too much zinc causes real problems. Don’t supplement blindly. Get tested if you think you’re low.
Want to check the research yourself? The NIH Office of Dietary Supplements publishes plain-language fact sheets on biotin and zinc, including how much is safe and when supplements can cause problems.
Eat first.
Protein. Healthy fats. Iron. Vitamins. Eggs, fish, nuts, seeds, leafy greens. Drink water. Sleep enough. I know, boring. But this boring stuff is what your nails are literally made from.
The waiting game
Trying a supplement? Give it 4-8 weeks before you judge. And you’re not watching the old damaged nail – that can’t change. You’re watching for better growth coming in near the cuticle. That’s your signal.
Pregnant? On medication? Dealing with health stuff? Talk to your doctor first. Always.
7 Mistakes That’ll Wreck Everything
Learn from other people’s pain:
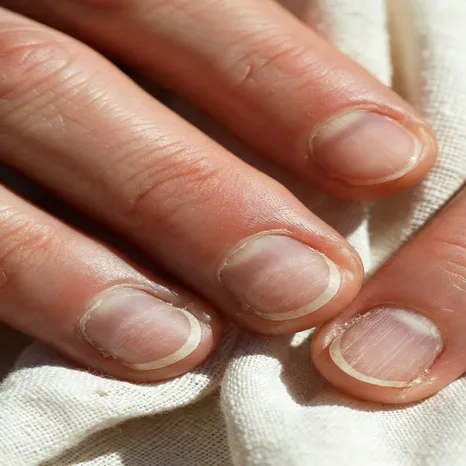
1. Over-filing. I get it – those ridges bother you. But every pass of the file takes off more of an already-thin nail. Minimal. Gentle. That’s it.
2. Peeling or picking. When a nail starts peeling, the urge to pull is SO strong. Don’t. You’ll rip off healthy nail along with the bad part. Trim it or file it smooth instead.
3. Too much water. Long baths, doing dishes barehanded, swimming – waterlogged nails get soft and weak. Gloves. Moisturize after. Every time.
4. Harsh strengtheners. That aggressive hardener that promises “rock hard nails in 7 days”? On YOUR fragile nails? They’ll snap like twigs. Gentle formulas only. I already said this but it bears repeating.
5. Using nails as tools. Opening soda cans. Scraping off price stickers. Prying things open. Every single one is a split waiting to happen. Use actual tools, like a civilized person.
6. New enhancements too soon. Slapping another set on weak nails just restarts the entire damage cycle. I know the short nails feel weird. Push through.
7. Skipping the oil. This whole recovery runs on routine. Miss the oil for a few days and you’ll feel the difference. Keep bottles everywhere – your bag, your car, your nightstand, your desk.
When to See a Doctor (Seriously, Don’t Tough These Out)
Most post-acrylic stuff resolves with time and care. But some things? Those need a professional. Don’t wait, don’t Google-diagnose, just go.
Nail lifting off the bed – if you see white or opaque areas under the nail where it’s separating (doctors call it onycholysis), a tiny bit after trauma can be okay. But if it’s spreading or not improving? Doctor. Now.
Weird colors – green patches, dark spots, black streaks. Green can mean bacterial issues. Dark streaks under nails ALWAYS deserve a professional look. Don’t mess around with this.
Real pain – not tenderness, actual throbbing pain. Swelling. Warmth. Pus. That’s infection territory. Don’t wait.
Allergic reaction – redness, itching, swelling, rash around your nails. Or on your face and hands. Could be a reaction to acrylic products. This needs attention.
Shape going wrong – thickening, crumbling, pitting, ridges getting worse instead of better.
Nothing improving – you’ve been doing everything right for months and the damaged part should’ve grown out by now? Something else might be going on. Let a doctor figure it out.
I’d rather you go and have it be nothing than skip it and have it be something. Always. For a solid overview of healthy nail habits, bookmark the American Academy of Dermatology’s nail care basics.
So… When Can I Get My Nails Done Again?
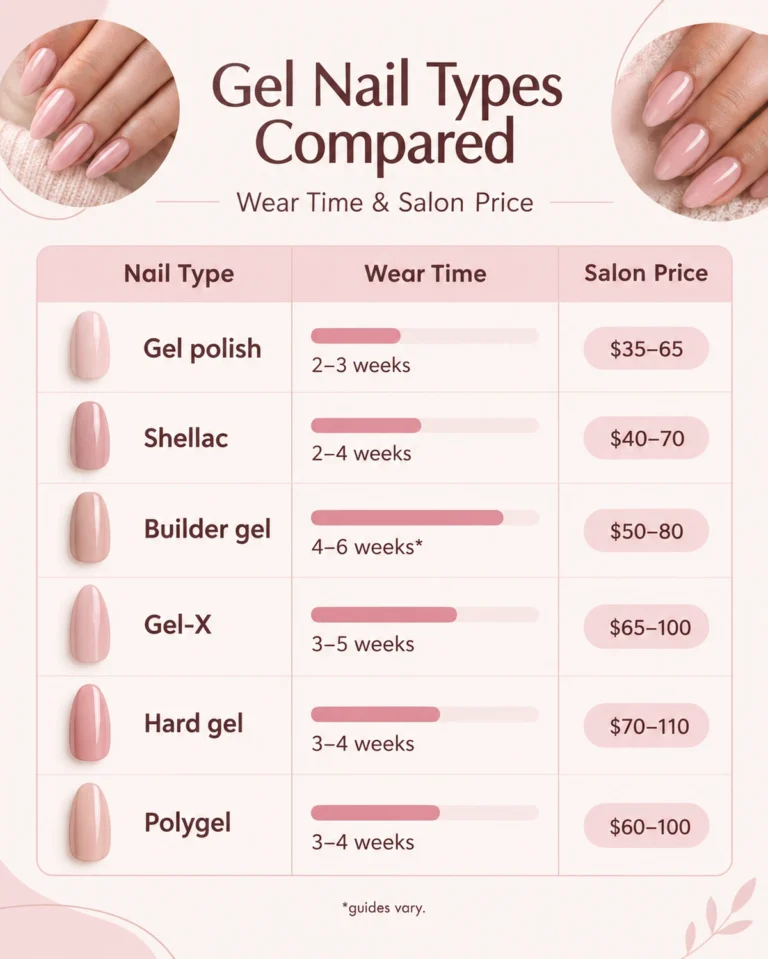
Real talk? Your nails need a genuine break. Most people do best waiting until the damaged part fully grows out – that’s the 3-4 month mark. I know that feels like forever. But here’s your options if you can’t wait, ranked from safest to riskiest:
Press-ons (safest bet)
Adhesive tabs, not industrial-strength glue. Barely any filing needed. Come off cleanly if you follow directions. You can honestly start these late in the rebuild phase. Best bridge option.
Soft gel (low-moderate)
Lighter prep than acrylic. Soak-off removal. Still involves filing and chemicals though. Wait until your nails feel firm, not tender. Usually around 2-3 months.
Builder gel (moderate)
Some people find it protective – adds a layer of strength. But there’s still prep and removal involved. Best saved for 3+ months when your nails are already in decent shape. And if your gel starts pulling away at the edges, don’t peel it – first read why gel nails keep lifting and how to fix them.
Full acrylics again (riskiest)
If you go back – and no judgment – ask for LIGHT filing. Minimal prep. And build in actual rest periods between sets. Keep using cuticle oil while wearing them. Your nails will thank you.
These aren’t rules carved in stone. Your nails will tell you the truth. Still bending? Still peeling? Still tender? They’re not ready. Listen to them.
FAQs
How long until my nails recover?
Nails grow a few millimeters a month. You’ll see real improvement in 3-4 months, and a full fresh nail takes longer. It depends on how much damage was done.
Can I wear polish during recovery?
Usually yes. Use gentle “free from” polish with a protective base coat, and give your nails polish-free breaks sometimes.
Why do my nails hurt after acrylics?
Thinning, acetone dryness, and pressure on the nail bed. It’s normal and fades. Severe throbbing pain with swelling or discharge means you should see a doctor.
Do nail strengtheners actually work?
Sort of. They coat and condition the surface so nails snag less and feel tougher, but they don’t change growth. Harsh ones make things worse — gentle formula plus cuticle oil is the combo.
Should I take biotin for my nails?
Evidence is modest. It probably won’t hurt and might help a little, but talk to your doctor first because biotin affects some lab tests.
Can I get gel nails right after acrylics?
Better to wait. Gel still means filing and soaking. Press-ons with adhesive tabs are a gentler option meanwhile.
Why are my nails yellow after acrylics?
Usually staining from polish or dehydration. It fades as new nail grows. Green, dark, or spreading color with thickening or pain should be checked by a doctor.
Is peeling normal after acrylic removal?
Very. Filed-thin layers separate easily. Keep nails short, moisturize, and don’t pick. If it doesn’t improve with consistent care, see a professional.
The Bottom Line
No shortcuts. No overnight miracles. Just slow and steady. Remove gently. Triage for two weeks. Rebuild with kind products. Maintain the routine even when it’s boring.
Three to four months from now, you’ll look down and see real change – healthy growth pushing out the damage. Learning how to strengthen nails after acrylics is really just learning patience: the nails you have right now aren’t the nails you’ll have then. Be patient with them. And keep that cuticle oil close.
Medical disclaimer: This article is for general information and education only, and it is not medical advice. Nails can sometimes signal health problems, so if you notice pain, swelling, discoloration that does not grow out, or any sign of infection, please see a doctor or dermatologist.