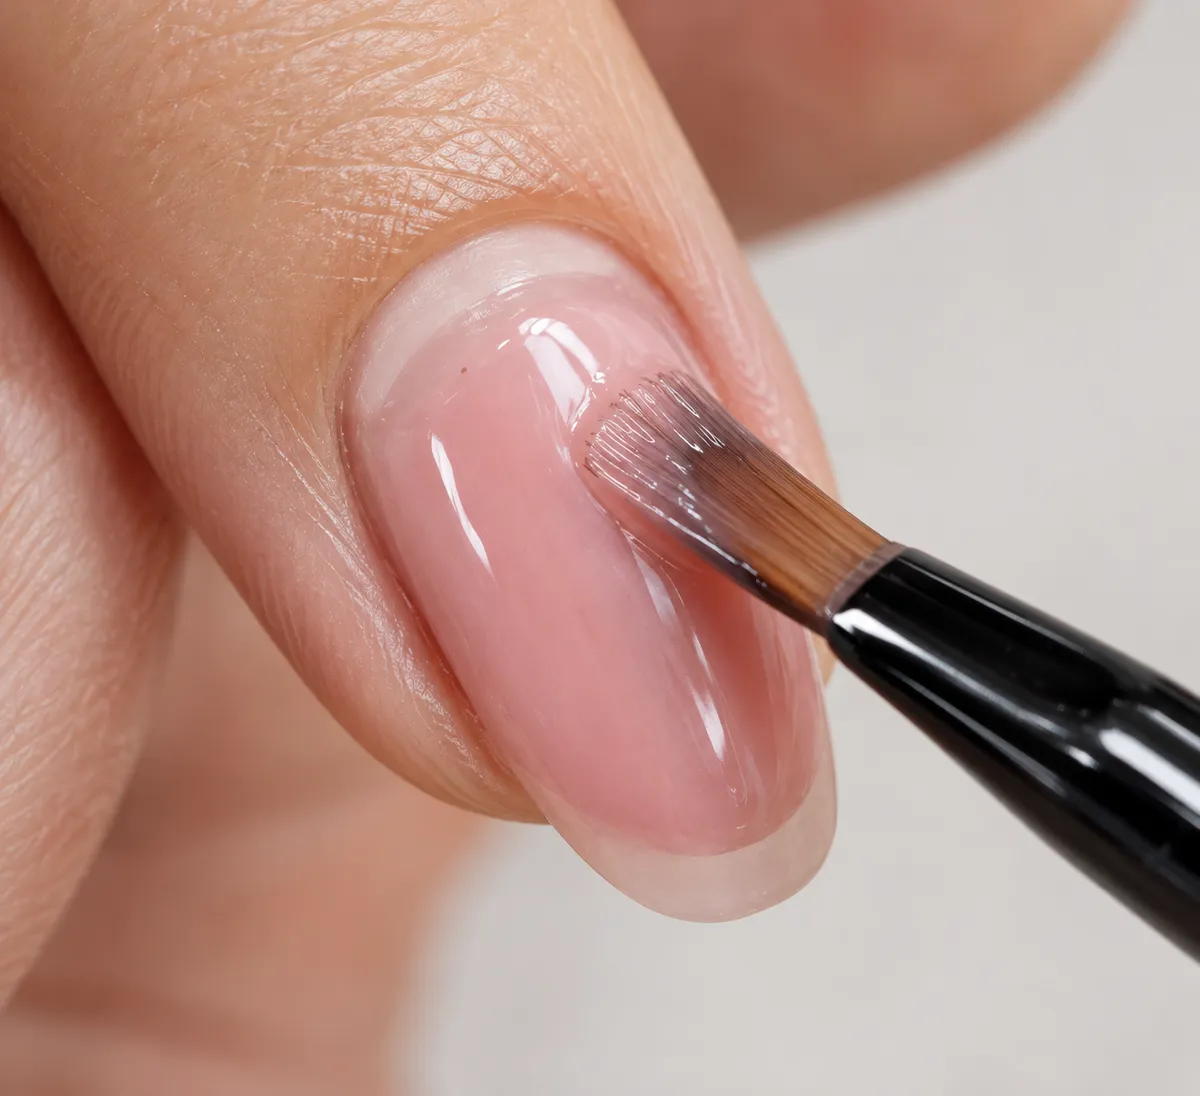
Why Do My Gel Nails Keep Lifting? 7 Causes and How to Fix Them
Sunday evening. You just finished your nails. They look glossy, even, straight-out-of-the-salon perfect.
Then Wednesday rolls around. You spot it. A tiny gap near the cuticle. A little pocket of air. A corner that catches on your sweater every time you pull it on.
Maddening, right? You put in the time. You bought the lamp. You followed the tutorial step by step. And still. And gel nails lifting from cuticle is the most common version of this exact frustration.
If you’re dealing with gel nails lifting from cuticle, take a breath. You’re not doing anything weird. Lifting is probably the most common DIY gel problem out there. And here’s the good news: there’s almost always a reason. Find it, fix it, and your next set lasts.
This guide covers the seven most common causes, how to figure out which one is yours, and exactly what to change. By the end, you’ll know exactly what’s behind gel nails lifting from cuticle — and how to stop it for good.
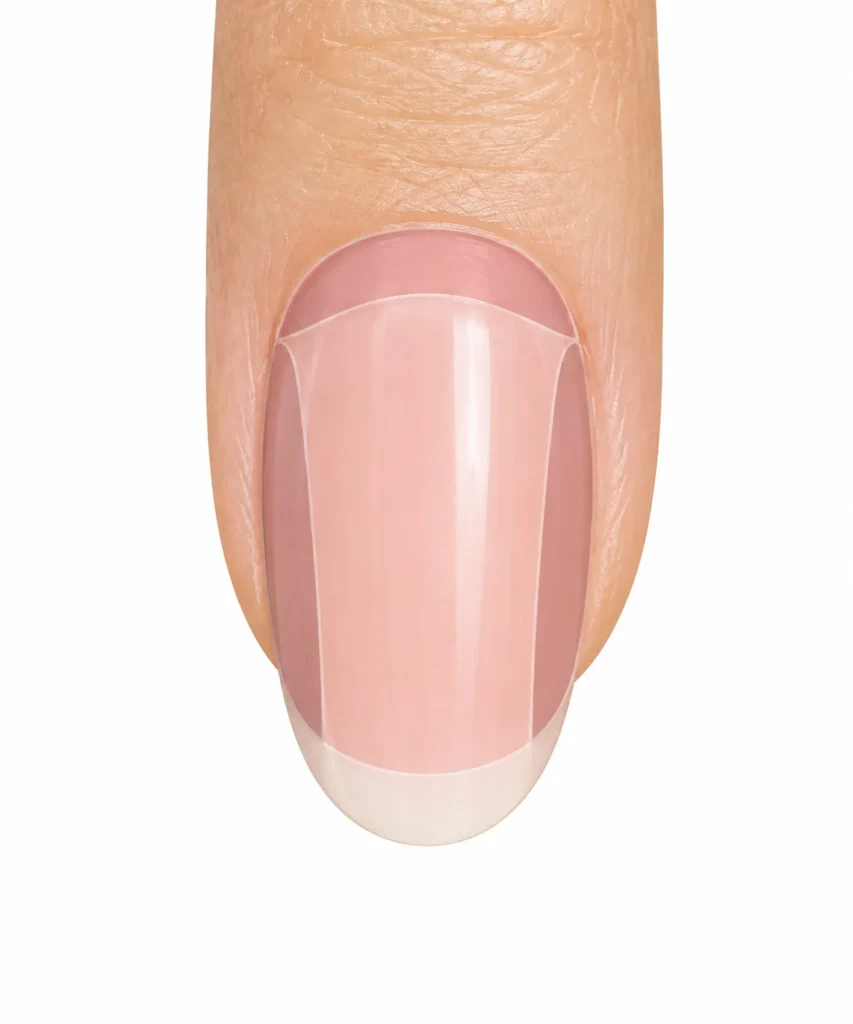
Quick Answer: The 7 Causes of Lifting Gel Nails
Short on time? Here’s the whole thing in a nutshell. When you’re dealing with gel nails lifting from cuticle, one of these is the culprit (sometimes two teaming up):
- Leftover cuticle. A thin, invisible layer of skin on the nail plate. Gel can’t grip skin. It needs nail.
- Oily or damp nails. Gel wants a clean, dry surface. Anything else and it slides.
- Gel on your skin. When product touches the cuticle or sidewalls (nail techs call this “flooding”), it creates a weak spot.
- Coats too thick. Thick gel doesn’t cure through. Soft underneath means peel-prone on top.
- Under-curing. Weak lamp, wrong lamp, not enough time. Looks done. Isn’t.
- Skipped primer or no capping. The free edge takes a beating. Seal it or lose it.
- Aftercare. Hot water marathons, harsh cleaners, using nails as screwdrivers. All bond-breakers.
Now let’s play detective and find yours.
Where Exactly Is It Lifting? Read the Clues
Here’s a trick most tutorials skip. Where the gel lifts tells you why it lifted. Check yours against this: when gel nails lifting from cuticle is the symptom, the lift’s location is your fastest diagnostic clue.
| Where it lifts | Likely culprit | What to change |
|---|---|---|
| At the cuticle, peeling back from the skin | Leftover cuticle film, or gel applied too close to the skin | Better cuticle cleanup, leave a hairline gap around skin |
| Along the sides | Gel flooded onto sidewalls, or uneven prep there | Wipe sidewalls clean during prep, keep gel off skin, tidy before curing |
| At the tip | Free edge wasn’t capped, or heavy wear | Wrap every coat over the tip. Every single one |
| Middle of the nail, bubbling | Oil on the plate, thick product, or under-cured | Full re-prep, thinner coats, check your lamp |
The 7 Causes (and How to Fix Each One)
1. Leftover Cuticle: The Invisible Saboteur
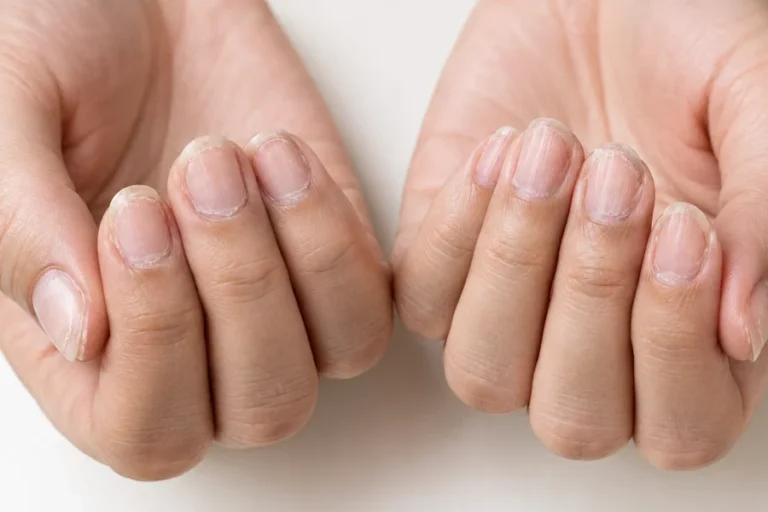
This is the big one for cuticle-area lifting. And it’s sneaky. See, most nails have this ultra-thin, nearly transparent layer of cuticle skin stuck to the nail plate. You can’t really see it. But it’s there. And gel bonds to it instead of your nail. Then your skin does what skin does — moves, sheds, shifts — and drags the gel right along with it. That’s why this cause sits behind so many cases of gel nails lifting from cuticle.
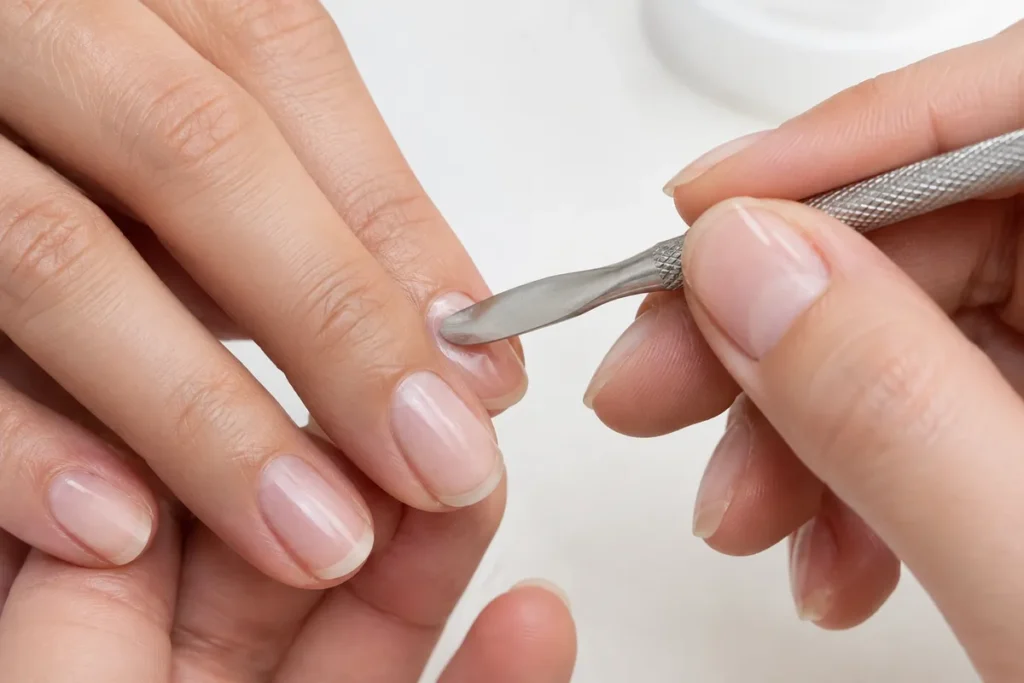
The fix: Start by softening things up. A cuticle remover, or even a quick warm soak, does the job. Push the cuticle back gently with a soft pusher. Then flip to the flat edge and lightly scrape that invisible film off the nail plate. Easy does it. You’re clearing the plate, not excavating. Redness means you went too far. Trim only the loose, dead bits (hangnails). Leave living skin alone. Honestly? A huge number of lifting mysteries get solved right here. Worth the extra five minutes.
2. Oily or Damp Nail Plate
Gel is picky. It wants a clean, dry nail. That’s it. That’s the whole list of demands. But natural oils, leftover hand cream, a bit of cuticle oil from yesterday, even faint dampness — any of that sits between gel and nail like a tiny slip-n-slide. And here’s one people miss: you buff the shine off, then touch the nail with your fingertip. Boom. Oils transferred. Even clean hands do this.
The fix: After buffing, wipe with a lint-free wipe and some isopropyl alcohol or nail cleanser. Get the dust off too. Follow with a nail dehydrator (more on these in a bit). Hands off after that. Hold fingers by the sides if you need to steady them. Save the hand cream and cuticle oil for after the manicure is done. (For the skin around your nails, our guide on how to layer skincare products walks through the right order.)
3. Gel on the Skin (Flooding)
Runny gel. Overloaded brush. One little slip. Suddenly there’s product on your cuticle. When that cures, it forms a tiny raised lip. That lip snags on everything. Catches. Lifts. Lets air and water sneak underneath. Game over for that nail. It can also irritate skin, since uncured gel and skin aren’t friends.
The fix: Wipe excess off your brush on the bottle rim. Less is more here. Leave a whisper of space between gel and skin. Think hair’s width. Start your stroke just below the cuticle, then ease the gel upward toward it. More control that way. Touched skin? Clean it off before curing. A small precision brush works great.
4. Thick Coats
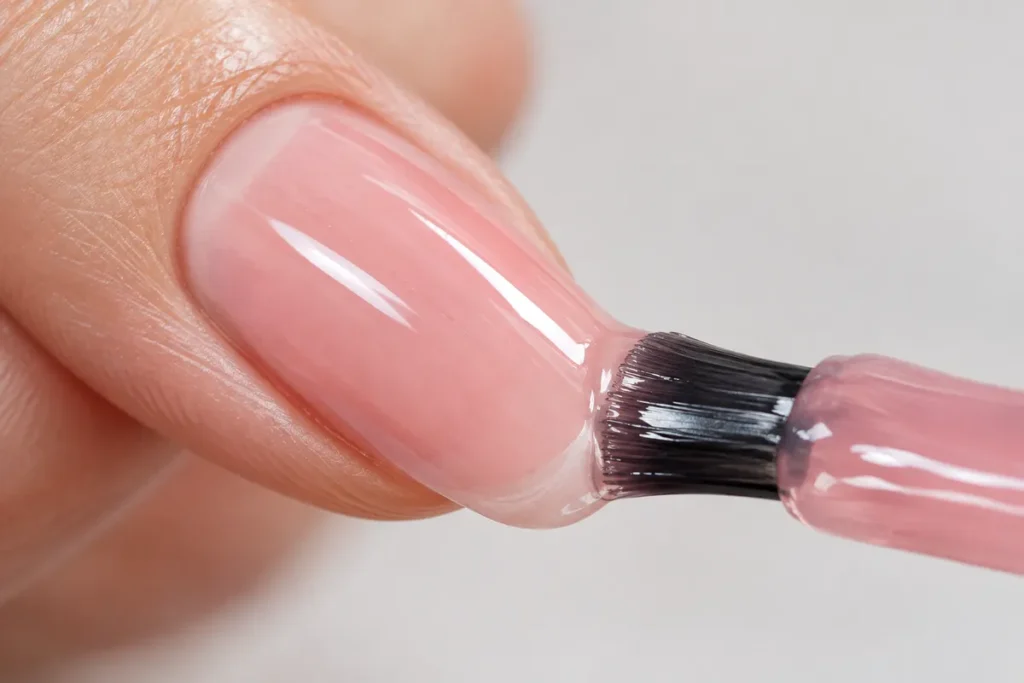
We’ve all done it. One generous coat feels faster than two thin ones. But thick gel is a trap. The surface hardens in the lamp. Underneath? Still soft. That uncured layer becomes the weak link, and the whole thing peels. Thick gel also loves to pool at the cuticles and sidewalls, which brings flooding right back into the picture.
The fix is boring but works: Thin, even coats. Always. Two thin color coats beat one thick one every time. Scrape most of the product off the brush before touching the nail. Cure fully between coats. No shortcuts.
5. Under-Curing
This one’s invisible. The gel looks done. Feels hard on top. But underneath it’s still soft, and soft doesn’t bond. Why it happens: lamp’s getting old and weak. Wrong lamp type for your gel (some need LED, some UV, some do both — check your bottle). Or just not enough seconds.
The fix: Match your lamp to your gel. The product instructions will tell you what it needs. Use the full recommended cure time. Per coat. Every coat. Old lamp + new problems? Might be time for a replacement. They wear out. Do thumbs separately. They sit at a weird angle and miss light when cured with the other fingers. Heat spike hurting? Pull your hand out for a second, then put it back. Don’t skip the cure to avoid the heat. Suspect under-curing when you spot gel nails lifting from cuticle even though your prep was perfect.
6. Skipping Primer (and Forgetting to Cap the Tip)
Your free edge lives a rough life. Bumping, snagging, soaking. If gel doesn’t wrap around that tip, water and air creep underneath and lifting starts right there. Capping just means running each coat over the very edge of the nail. Base, color, top. All of them. And primer? It gives gel extra grip, especially on oily or bendy nails. Not everyone needs it. But if your prep is solid and things still lift, primer’s your next move.
7. Aftercare (a.k.a. Real Life)
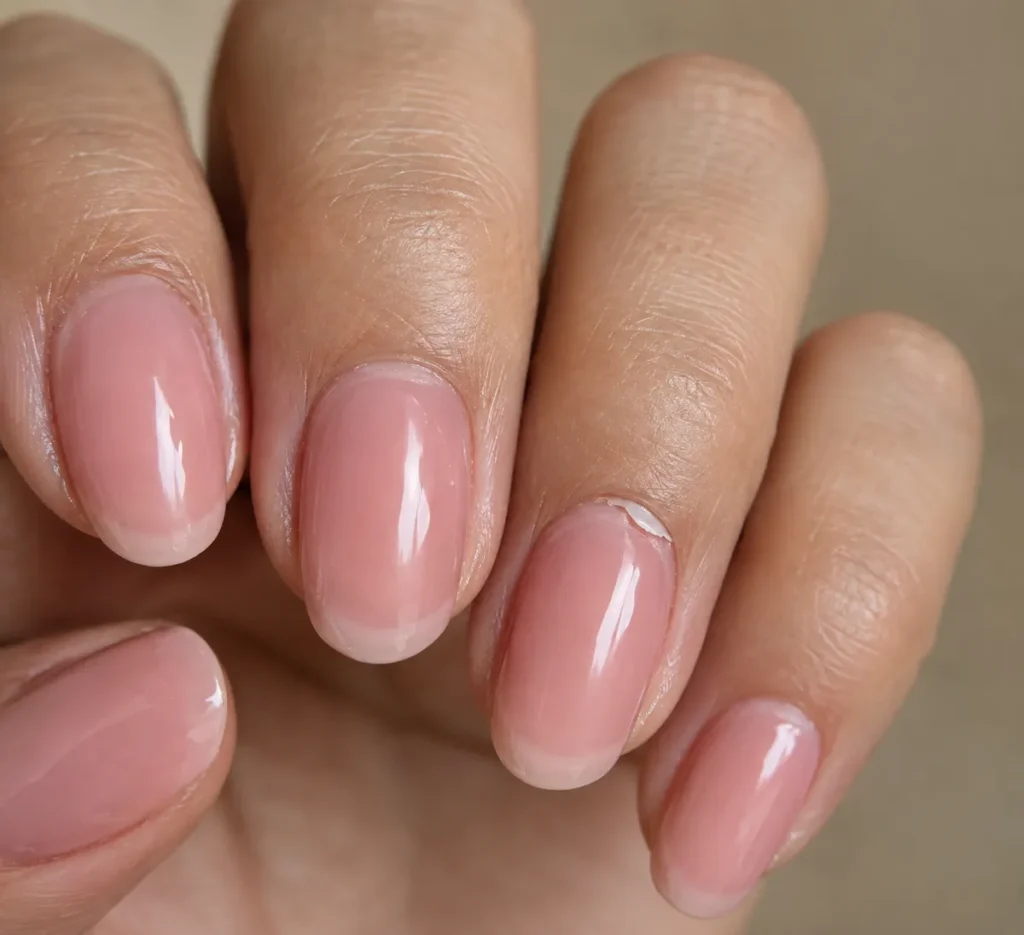
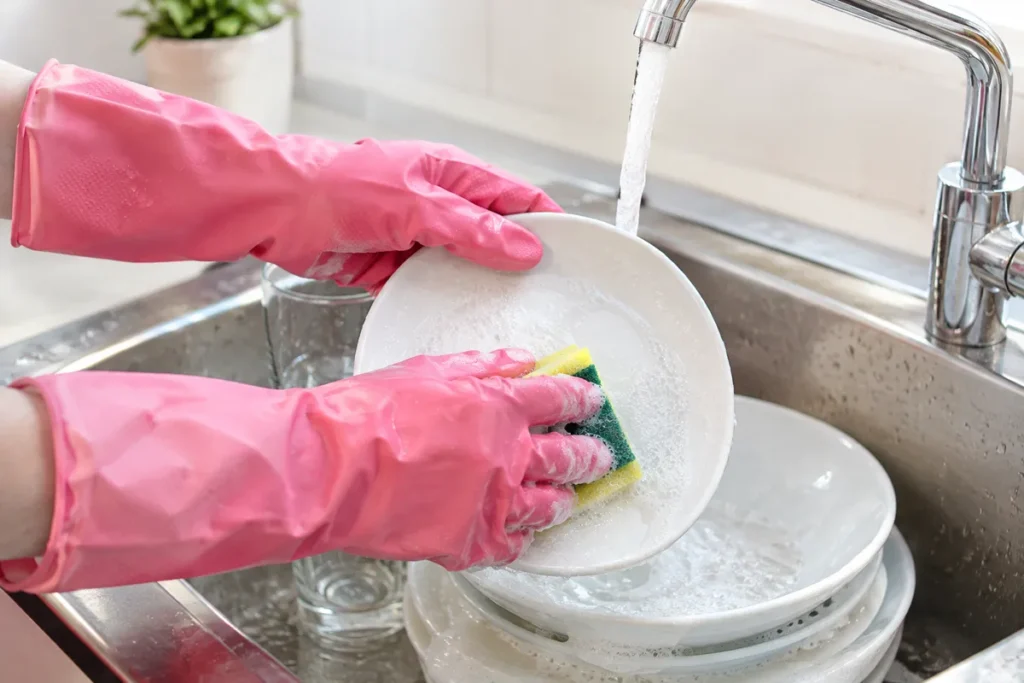
Sometimes you did everything right. Then life happened. Marathon dish sessions in hot water. Nails swell slightly. Bond weakens. Harsh cleaning products, heavy hand sanitizer use. Using nails as tools. Opening cans. Scraping stickers. We’ve all been there. Picking at a tiny lift. Which tears it bigger. And takes nail layers with it.
The fix: Gloves for dishes and cleaning. Non-negotiable if you want longevity. Fingertips or actual tools, not nails. Cuticle oil daily after the manicure. Keeps everything happy. (If winter dryness is rough on your hands too, our winter skincare routine for beginners has you covered.) Never peel. Seriously. It thins your natural nails and makes the next set worse.
Your Cuticle Prep Checklist (Do It in This Order)
Order matters more than people think. Out-of-sequence prep is a quiet factory for gel nails lifting from cuticle. Here’s a solid routine:
- Remove old product. Wash hands with soap. Dry completely.
- Apply cuticle remover if you use one. Follow the directions.
- Push cuticles back gently.
- Scrape that invisible film off the nail plate, working outward from the cuticle.
- Trim hangnails and loose dead skin only.
- File to shape.
- Lightly buff the shine off. Don’t go crazy — you’re not thinning the nail.
- Wipe dust away with a lint-free wipe and cleanser.
- Dehydrator, then primer if you’re using one.
- Base coat. And remember — don’t touch the nail plate now.
Get the cuticle work and dusting done before the dehydrator step. Otherwise you’re just adding oils back.
Dehydrator vs Primer vs pH Bonder: What’s What
These three confuse everyone. Quick breakdown:
- Dehydrator (sometimes called nail prep): Strips oil and moisture off the nail surface. Clean slate in a bottle. For oily nails, this is often the game-changer.
- Primer: Makes a grippy layer between nail and base coat. Some are acid-based (stronger, harsher — keep off skin), some acid-free.
- pH bonder: Aims to balance the nail surface so gel sticks better. Some brands combine this into their dehydrator, so read labels before stacking products.
Most beginners do fine with just a good dehydrator and base coat. Still getting gel nails lifting from cuticle after perfect prep? Add primer to the routine.
Can You Fix a Lift That’s Already There?
Maybe. Small, dry lifts: yes. Anything bigger: take it off.
Try a repair if: It’s tiny, at an edge or corner. Underneath is clean and dry. No gap at the cuticle where water could hide. Just file the lifted edge smooth until it doesn’t catch, then seal with a thin top coat and cure. If the natural nail breaks underneath, here’s how to fix a broken nail at home without glue.
Remove it if: The lift is at the cuticle or covers a big area. You see air, moisture, or discoloration under there. The nail hurts or looks irritated. Trapped moisture under gel is bad news. Don’t hope it’ll hold. Soak it off properly (don’t peel!) and redo the nail.
Extra Tips for Naturally Oily Nails
Some nails are just oilier. Not your fault. A few tweaks help: Wash with soap right before starting. No hand cream beforehand. Do one hand at a time. Go from dehydrator to base coat without dawdling. Layer dehydrator + primer. Don’t touch the plate after prep. Seriously. Thin coats. Cap every edge. Oilier nail beds are simply more prone to gel nails lifting from cuticle.
Red Flags: When to Stop and See Someone
Most lifting is technique. But sometimes it’s your nails telling you something’s wrong. Stop doing gel and get checked if you see: Green, black, or dark discoloration under the gel. Redness, swelling, warmth, or pain around the nail. Pus or fluid under or around the nail. Thick, yellow, crumbly nails lifting on their own (possible fungus). Itching, rashes, or blisters on fingers (possible gel allergy). Don’t cover these with more gel. Trapped moisture makes everything worse. Get it looked at first.
Most cases of gel nails lifting from cuticle are technique issues, not health issues — but the red flags above mean it’s time to see a professional. For extra reference, see the American Academy of Dermatology’s nail care guide, and their tips for safe manicures and pedicures.
FAQs
Why is only one nail lifting?
Probably got slightly different prep than the rest. A bit of leftover cuticle, a different shape, or just took more abuse. Check the diagnosis table above. If it’s always the same nail, give that one VIP treatment during prep.
Can I do my nails right after a shower?
Better to wait. Nails soak up water and swell, even when the surface feels dry. Give them time, then prep and dehydrate well. Your gel will thank you.
Does cuticle oil cause lifting?
Before application? Yes, it absolutely can. Oil is gel’s nemesis. After your manicure though? Go for it. Most people find it keeps the skin around nails comfortable.
How long should gel nails actually last?
Depends on you, your products, and your prep. Two to three weeks is a reasonable target for most people. Lifting within days? That’s a prep or application issue, not normal wear.
Can I just glue a lifted nail back down?
Please don’t. Glue traps moisture underneath and can irritate skin. Small dry lift? File smooth and reseal. Bigger than that? Remove and redo.
Why do my salon nails last longer than my DIY?
Practice, mostly. Techs have the prep rhythm down, control product near skin better, and know their lamps. Same principles though. Tighter prep, thinner coats, capped edges — you’ll close that gap.
How soon after can I wash dishes?
Cured gel is dry the second it leaves the lamp. Go live your life. But long hot soaks are rough on any manicure, so gloves are smart — especially the first couple days.
Is some lifting after a week normal?
A little edge wear? Sure, especially if you’re hard on your hands. But cuticle lifting or patches coming away after a week means something’s off in prep, application, or curing. Use the table to hunt it down. But gel nails lifting from cuticle after just a few days usually means a prep step was missed.
The Bottom Line
Lifting feels like failure. It’s not. It’s information. Each lift tells you something: where it happened, how fast, what was different that week. Start with the fundamentals. Clean cuticles. Dry nail plate. Thin coats. Sealed edges. Good curing habits. Change one variable at a time and you’ll crack your personal code fast. And be kind to yourself in the meantime. Every person with a flawless two-week manicure has a graveyard of lifting disasters behind them. You’ll get there. Bookmark this guide, and the next time you notice gel nails lifting from cuticle, you’ll know exactly which fix to reach for.
For realistic wear expectations, see how long gel nails last.