How to Fix a Broken Nail at Home Without Glue (5 Easy Methods)
It always happens at the dumbest moment. Last winter I snapped my thumbnail clean across just reaching into my bag for my keys, and I stood there staring at it like it had personally betrayed me. Nobody’s hurt and there’s no drama; it’s just a normal day and one very annoying nail.
If you’re reading this with a jagged edge snagging on everything you touch, I get it. And no, you don’t need nail glue to fix it — that’s the whole idea behind learning how to fix a broken nail at home without glue — which is lucky, because the glue is never in the drawer where you swore you left it. Odds are you already own everything you need, whether it’s in your kitchen, your medicine cabinet, or your nail drawer. Somewhere in there is your fix.
This guide shows you exactly how to fix a broken nail at home without glue: five easy methods, plus which fix works for which kind of break, what to never do, and how to take the repair off later without wrecking your nail.
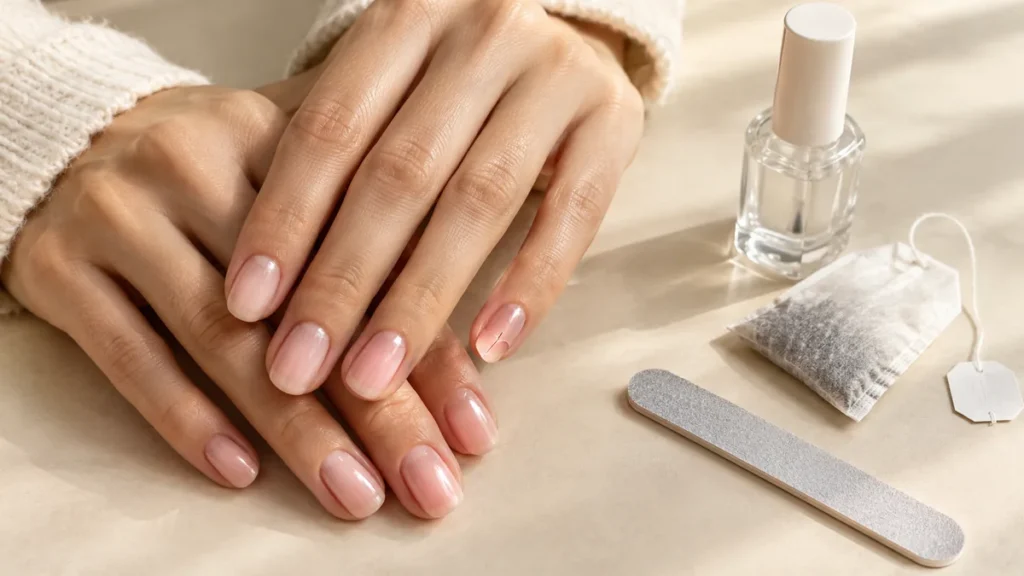
Quick Answer: How to Fix a Broken Nail at Home Without Glue
Short on time? Here’s the whole thing in five beats:
- Clean the nail, dry it properly, file the jagged edge smooth.
- Cut a tiny patch from a clean, unused tea bag, coffee filter, or silk wrap.
- Stick the patch over the break with clear polish or gel base coat. That polish IS your glue.
- Seal with topcoat. Used gel? Cure it under your LED lamp.
- Re-do it every few days, keep cuticle oil on, and wait for the nail to grow out.
The cheapest option for how to fix a broken nail at home without glue is a tea bag plus clear polish, and the strongest option is a gel base coat patch. Everything else sits somewhere between.
Method Comparison Table
| Method | Strength | Difficulty | How Long It Lasts | Cost |
|---|---|---|---|---|
| Tea bag and clear polish | Medium | Easy | 3 to 7 days | Nearly free |
| Coffee filter or tissue patch | Light | Easy | 1 to 4 days | Nearly free |
| Silk wrap | Medium to strong | Medium | 1 to 2 weeks | Low (kit) |
| Dip powder | Strong | Medium to hard | 2 to 3 weeks | Moderate (kit) |
| Clear tape (emergency) | Very light | Very easy | A few hours to 1 day | Nearly free |
| Gel base coat and LED lamp | Strong | Medium | 1 to 3 weeks | Low to moderate (if you own a lamp) |
| Salon repair visit | Strong | None (done for you) | 1 to 3 weeks | Highest per visit |
These are all rough guides. If your hands live in dishwater or you type all day, expect the shorter end.
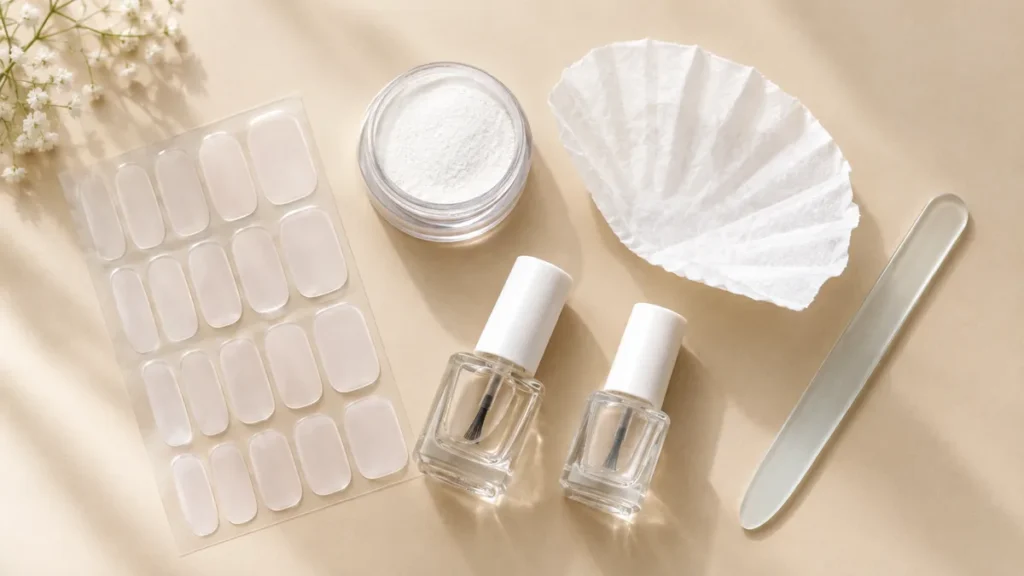
The Tea Bag Method, Step by Step
This is the classic method, and there’s a reason everyone reaches for it. The thin paper works like a bandage, and the polish holds it in place. If you want to know how to fix a broken nail at home without glue using things you already have in the kitchen, start here.
First, hygiene. It’s not glamorous, but it matters. Wash your hands. Wipe your tweezers, scissors, and file with rubbing alcohol. And use a clean, UNUSED tea bag. A damp used one can trap bacteria against your nail, so that’s a hard pass.
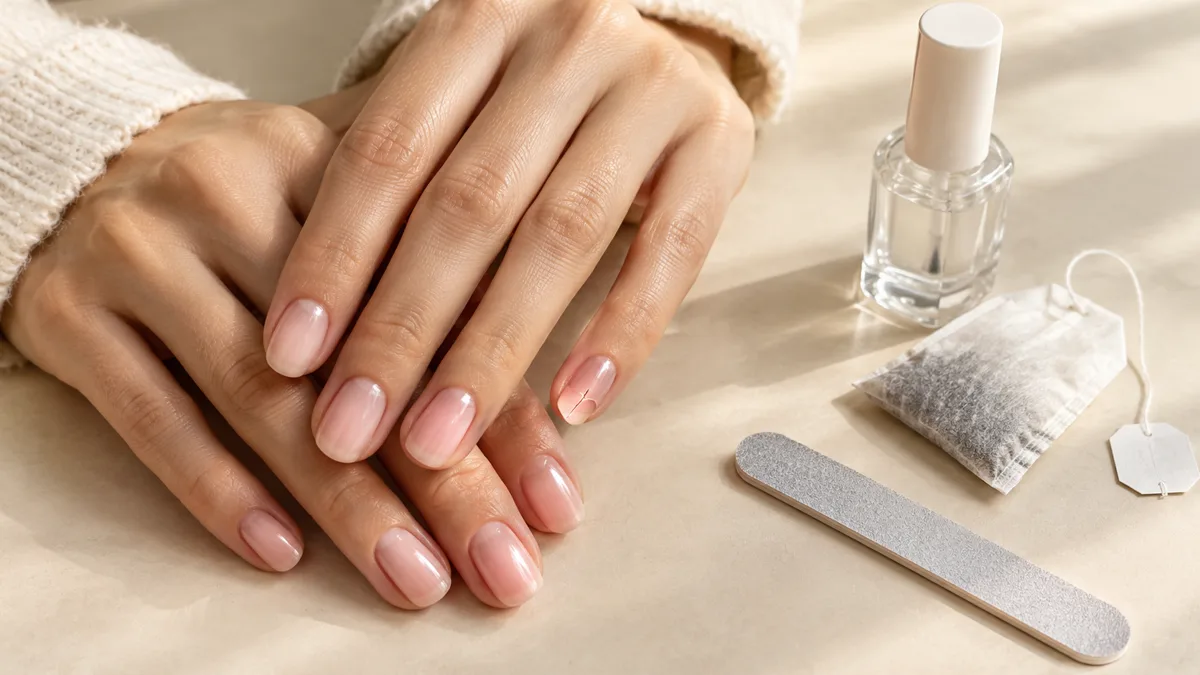
What you need: an unused tea bag, small scissors, a fine file, clear polish, a topcoat, and tweezers or a toothpick.
- Clean the nail. Old polish off with a gentle remover, then dry the nail completely. Never seal a wet or dirty nail. Trapped moisture is trouble.
- File the edge. One direction only, gentle. No sawing back and forth.
- Prep the tea bag. Cut it open, shake out the leaves, trim a patch a little bigger than the break.
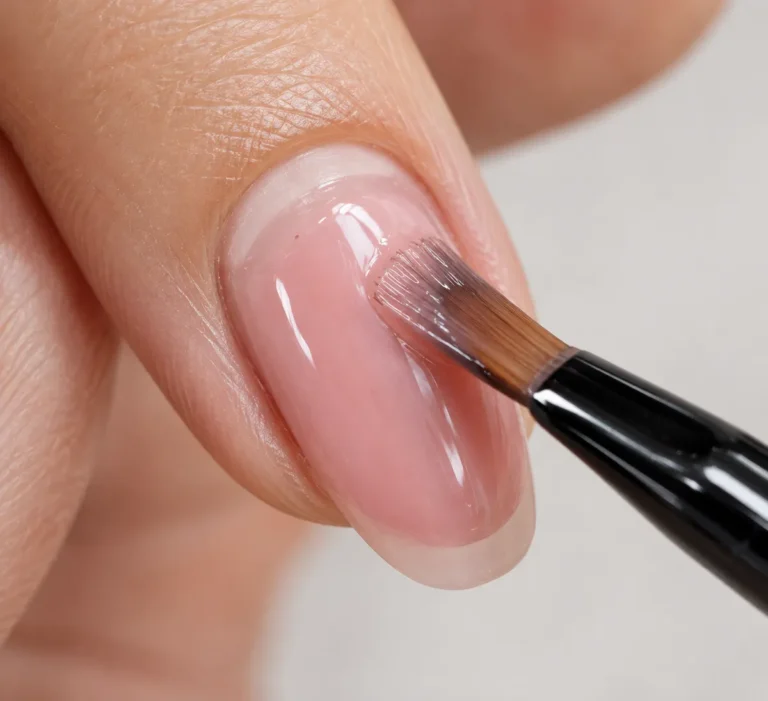
- Paint a thin layer of clear polish right over the break.
- Place the patch with tweezers or a toothpick. Smooth it flat, push out the air bubbles.
- Seal it. Another thin coat of polish over the patch. Let it dry.
- Buff the edges lightly if they lift, then topcoat. Still seeing paper texture? One more round.
Let every layer dry before the next one. I learned this the hard way, because rushing is exactly how these fixes peel off by the next morning.
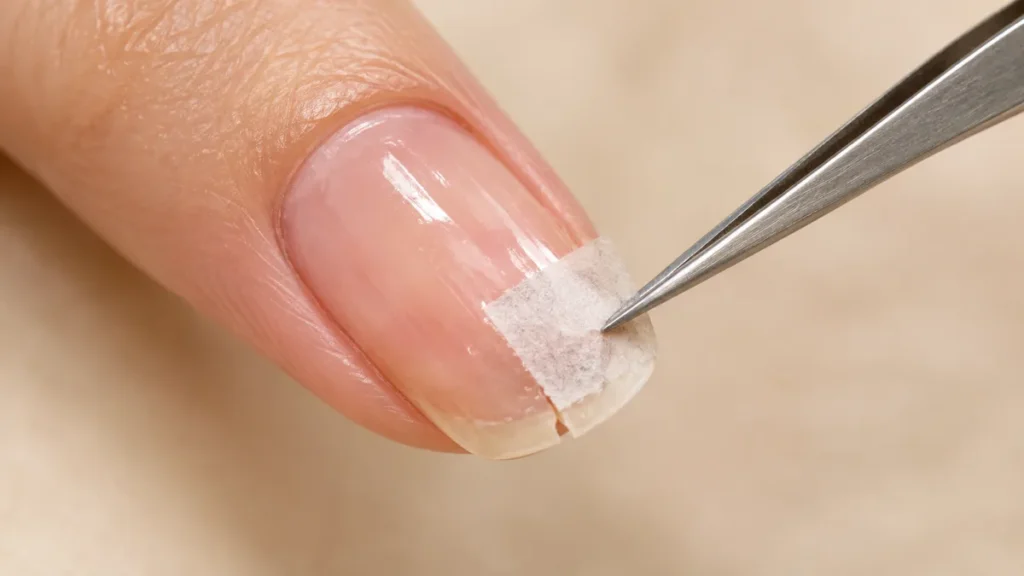
The Coffee Filter and Tissue Method
No tea bags in the house? Coffee filter. Same idea. It’s thin, surprisingly strong once polish soaks in, and basically invisible once sealed.
Follow the exact same steps as the tea bag method. Plain white tissue or paper towel works too, just fuzzier. Trick for paper towel: split it and use only the thin top layer, then add an extra coat of polish to smooth things out.
Fair warning, these are light duty. One to four days, realistically. Their job is to stop the snagging while you sort out a better fix.
The Silk Wrap Method
Think of silk wrap as the tea bag’s tougher cousin. Kits come with silk or fiberglass sheets made for exactly this job.
- Prep like before. Clean, dry, filed smooth.
- Cut a piece of silk to cover the break, with a tiny margin around it.
- Apply the resin or base coat from your kit, lay the silk down, smooth it out.
- Add another layer of resin, let it dry, buff lightly.
- Finish with topcoat.
This is my pick if your nails break a lot. Sturdier than paper, still way cheaper than constant salon repairs.
The Dip Powder Method
Own a dip kit? This one is strong. It’s honestly overkill for a hairline crack, but for a deeper break it’s excellent.
- Prep and file. Apply the base liquid thinly over the break.
- Dip the nail into the powder, or sprinkle powder over the spot.
- Tap off the excess. Need more strength? Another thin layer of base and powder.
- Brush off loose powder, activator on, let it dry, buff smooth.
- Top coat to finish.
Keep it THIN. Thick dip on a damaged nail feels heavy and presses on the break. That’s the opposite of what you want.
The Clear Tape Emergency Fix
Let’s be clear: this is not a repair. This is a “get me through the next few hours” trick.
Cut a small piece of clear tape, smooth it over the break, and wrap it around the tip so the edges tuck under. This trick has saved me more than once when a nail snapped at work. It takes the pressure off a snagging nail. But tape peels fast and traps moisture, so swap it for a real fix the moment you can.
Nothing else on hand? Two more stopgaps:
- Bandage splint: a small strip of adhesive bandage wrapped around the fingertip so the broken nail can’t catch on anything.
- Tissue patch: a dab of clear polish holds a tiny piece of tissue in place, same as above.
These are short-term only, and the goal is just protection until you can do a proper patch.
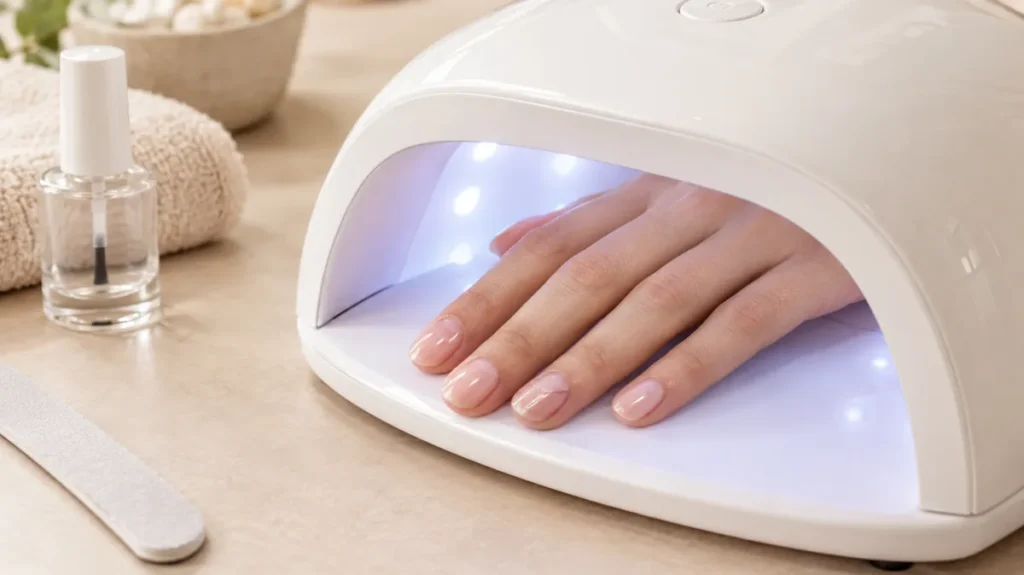
The Gel Base Coat and LED Lamp Patch Method
Own a lamp? This is the strongest fix on this list. It’s the one I’d choose.
- Clean, dry, file. Lightly buff the shine off the surface only, not the break itself.
- Thin layer of gel base coat over the break. Cure it, following your product’s time.
- Place your patch (tea bag, silk, or fiberglass) over the cured layer. Press it flat.
- Another thin layer of base coat over the patch. Cure again.
- Need more thickness? A thin layer of builder gel or more base coat. Cure. Not sure which one your nails need? Our rubber base vs builder gel comparison breaks it down.
- Gel topcoat, cure, wipe if yours isn’t a no-wipe formula.
Thin layers cure better and don’t burn. Finger feeling hot under the lamp? Pull it out for a few seconds, then go again.
Fix by Break Location
Not all breaks are equal, so one fix doesn’t fit all. Where it broke changes what you should do.
Hairline crack (file-only fix). Hasn’t split all the way through? You might not need a patch at all. Smooth the edge with a fine file, keep the nail short, add strengthening polish or clear polish, and watch it for a few days.
Tip break. Just the free edge gone? File everything down to an even length and move on with your day. A patch is usually pointless here. You can shorten the others to match if the odd one out bothers you.
Middle break (a split across the nail). Full patch territory. Tea bag, silk, or gel, and make it extend a little past the break on BOTH sides.
Sidewall break. The side flexes every time you grip something, so it’s a stress point. Wrap the patch toward the side and keep the edges thin so they don’t catch.
Near the cuticle. Gentle, gentle. Don’t shove cuticles back hard and don’t force a patch against skin. Place it just above the cuticle line, off the skin entirely. And if it hurts, bleeds, or the break reaches the nail bed, skip the DIY completely. That next section is for you.
Fixing a Break Under Gel Polish or Dip
Good news: one broken nail does NOT mean the whole manicure comes off.
- File the broken area smooth, lightly buff the shine off the gel around it.
- Thin layer of gel base or builder gel over the break. Cure.
- Deep crack? Add a small silk or tea bag patch, seal with another thin gel layer, cure.
- Gel topcoat over the whole nail, cure, blend the edges.
For dip: buff the area, base on, powder or patch, activator, topcoat. Blend properly or you’ll feel the bump every time your finger touches anything. Trust me on that one.
There’s one exception: if there’s lifting around the break, stop. Moisture hides under lifted gel, so get the loose product off before you seal anything in. To understand why gel nails keep lifting, check our guide to the causes and fixes.
What NOT to Do
- Don’t rip off the broken piece. It can tear deeper into the nail bed or take healthy layers with it. Trim or file it instead.
- Don’t seal a dirty or wet nail. Trapped moisture plus bacteria. You can guess how that ends.
- Don’t put super glue on skin. It bonds to skin (fast) and irritates like anything. Using any adhesive? Keep it off cuticles and fingertips.
- Don’t buff aggressively. Thinning an already weak nail is just asking for the next break.
- Don’t pick or peel the patch. Peeling drags nail layers off with it.
- Don’t use a used tea bag. Unused. Every time.
When to See a Professional
DIY is for simple breaks. Get a nail professional or a doctor involved if:
- Bleeding won’t stop.
- The break goes past the quick (that pink, sensitive part), or the nail has torn off.
- You see infection signs: redness, swelling, warmth, throbbing, pus.
- The nail is deeply cracked and painful.
Not improving after a few days? See a doctor. I’m a beauty writer, not a medical professional, and anything that looks infected deserves a real exam, not a blog post. The American Academy of Dermatology also explains how to keep nails healthy and when a nail problem needs a doctor.
How to Remove the Fix Safely
Whatever you do, resist peeling the patch off. It takes layers of YOUR nail with it.
Polish and tea bag patches: cotton pad soaked in remover, press it on the nail for 10 to 20 seconds, wipe gently. The paper should dissolve or loosen. Repeat until it lifts easily.
Gel, silk wrap, or dip: soak-off time. File the topcoat lightly, acetone-soaked cotton on each nail, wrap in foil, wait about 10 to 15 minutes. Then push the softened product off gently with a wooden stick. Still resisting? Soak longer. Never scrape. For a full step-by-step, see how to remove gel nails at home.
Afterwards, wash your hands and apply cuticle oil and a rich hand cream. Acetone dries everything out.
Grow-Out Aftercare Plan
Quick reality check: a broken nail doesn’t “heal” like skin does. The damaged part has to grow out. Fingernails grow about 3 to 4 mm a month, and a full replacement can take months. Knowing that upfront saves a lot of frustration.
The plan:
- Days 1 to 3: Keep the patch as dry as you can. Wear gloves for dishes and cleaning, no exceptions.
- Every 3 to 7 days: Check the patch. Edges lifting? Thin layer of clear polish or topcoat. Gel or dip fixes refresh every 1 to 3 weeks.
- Daily: Cuticle oil on the cuticle and nail folds. Massage it in for 20 seconds.
- Weekly: Take the patch off gently, give the nail a day to breathe, check the damage, reapply if it still needs it.
- The next few months: Keep nails short while the damaged section grows out, and always file in one direction.
Eat a balanced diet and stay hydrated. It’s the usual boring stuff that actually works. And if your nails keep splitting for no clear reason at all, that’s worth mentioning to your doctor. Healthline’s overview of broken nail care covers the medical side in more detail.
FAQs
Can a tea bag fix a broken nail?
Yes, as a temporary patch. The thin paper reinforces the break while clear polish holds it in place. It’s cheap and surprisingly sturdy for a few days.
What can be used instead of nail glue?
Clear nail polish, gel base coat, builder gel, silk wrap resin, and dip base liquid can all hold a patch in place — that’s exactly how to fix a broken nail at home without glue.
What can I use if I have no glue?
A tea bag or coffee filter patch with clear polish. Truly nothing at all? A small bandage splint or a piece of tape protects the nail for a few hours.
Can I use super glue as nail glue?
No, it’s not recommended. Super glue isn’t made for nails and it can irritate skin. If you absolutely must, keep it off your skin and cuticles, and switch to a nail-safe option as soon as you can.
How do you stick a half broken nail?
File the jagged edge, clean and dry the nail, thin layer of clear polish or gel base, patch over the break, seal it with more layers, topcoat to finish. If the nail is hanging by a thread or it hurts, that’s a professional’s job.
Will a broken nail heal on its own?
The nail itself doesn’t mend. The damaged section grows out over time, and a patch protects it while that happens.
Does Vaseline help a broken nail?
It moisturizes the skin and cuticle around the nail, but it won’t repair the break. And never apply it BEFORE a patch, because oil stops polish and gel from sticking. Use it afterwards, on the skin around the nail.
How to fix a broken nail at home without glue?
Follow the tea bag method above. Clean the nail, patch it with paper, seal with polish, and keep up the aftercare until it grows out.
Conclusion
A broken nail feels dramatic in the moment, but learning how to fix a broken nail at home without glue is honestly easier than you think. Start with the simplest thing you own: a tea bag, a coffee filter, or a gel patch, and keep everything clean and thin.
Be gentle, keep the cuticle oil coming, and give it time to grow out. And if something looks or feels off, don’t tough it out. See a pro. If you’d like a polished look while it grows out, press-on nails make a neat temporary cover.