40 Disney Halloween Nails Ideas: Cute, Spooky & Villain Designs (2026)
Mickey’s ears are sweet. Maleficent’s horns are dramatic. Put either one on a fingertip and your Halloween look suddenly feels finished. That is the appeal of Disney Halloween nails.
Disney Halloween nails sit in a fun middle ground. They can be tiny and subtle, like one ghost on a nude nail, or full-on costume pieces with a villain on every finger. With Halloween only weeks away, this guide gives you 40 ideas sorted by style, plus advice on colors, nail shapes, theme park events and how to recreate the looks at home.
Whether you are a Disney adult, a parent doing nails for a young fan, a beginner or a confident nail artist, you should find Disney Halloween nails that suit you here.
A quick note on this guide: it brings together popular Disney Halloween nail looks and common nail art techniques. Difficulty ratings are general guides and may vary with your skill and tools.
Quick Style Guide for Disney Halloween Nails
Before you pick a design, a few basics make every set of Disney Halloween nails turn out better.
Choose a Color Palette First
Most designs work from a small set of colors:
- Black and orange for classic Halloween with a Mickey twist
- Purple and green for villains such as Maleficent and Ursula
- Nude, white and soft pastels for subtle, cute ghost designs
- Deep red and black for the Evil Queen, Cruella and the Queen of Hearts
Purple and green are popular for villain looks because they contrast strongly with black and feel “magical but menacing.” That is a design observation, not a rule, so feel free to mix.
Matte or Glossy?
A matte top coat tends to make dark villain palettes look more modern and less costume-like. Glossy finishes suit cute designs, such as pastel ghosts and candy corn tips, because they feel bright and playful. For a ghostly shimmer, try a pearl or chrome layer over white.
Keep the Set Cohesive
The easiest way to avoid a messy-looking manicure is to choose one “hero” nail for the main character and keep the other nails simple. A solid color, a French tip or a few dots will frame the detailed nail instead of competing with it.
Tools Worth Having
You do not need much. A dotting tool, a thin detail brush, nail stickers or decals, and a good top coat cover almost every design below.
Top 5 Easiest Designs for Beginners
If you are new to nail art, start here. Each design relies on dots, simple shapes or stickers.
- Single Mickey ghost accent nail on a pale base
- Black Mickey-ear silhouette on an orange pumpkin shape
- Black French tips with a small Mickey-ear detail
- Candy corn tips in yellow, orange and white
- Black and white Mickey silhouette set with a matte finish
All five appear again in the list below, with more detail.
40 Disney Halloween Nails Ideas
Each idea is marked Easy, Medium or Advanced so you can choose quickly.
Cute Mickey and Minnie Designs
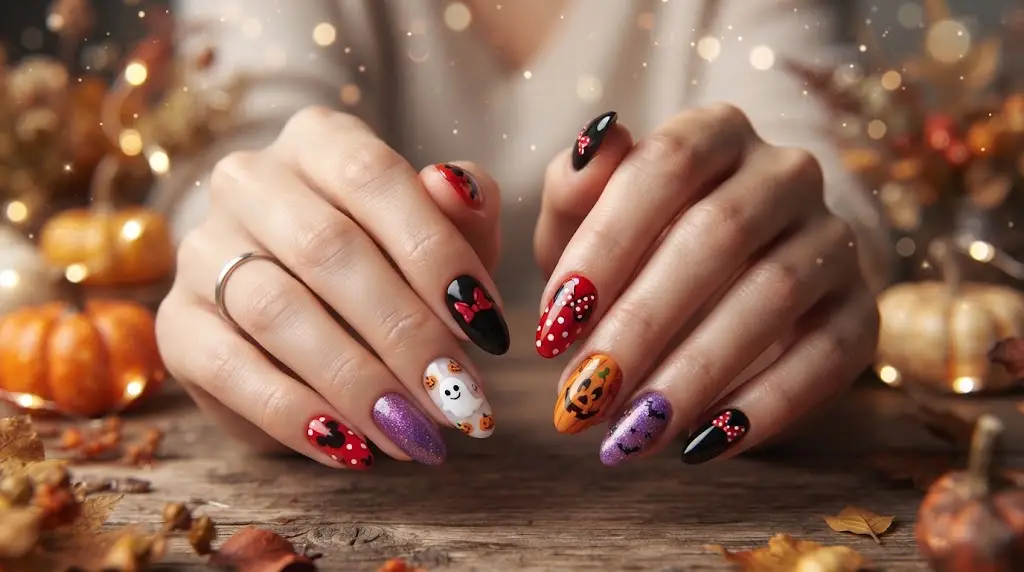
- Mickey Pumpkin (Easy): An orange base with a Mickey-ear silhouette shaped into the pumpkin. Classic and quick with a dotting tool.
- Mickey Ghost (Easy): A small white ghost with two dot eyes on a pearl or pale base. The best first design for beginners.
- Minnie Ghost with Bow (Easy to Medium): The same ghost with a tiny red or pink bow. The bow is what makes it read as Minnie.
- Mickey Bat (Medium): Bat wings spread on either side of a Mickey head, in black on a deep purple base.
- Candy Corn Mickey (Easy): Candy corn tip colors with a small Mickey-ear shape on one nail.
- Mickey and Minnie Vampires (Medium to Advanced): Tiny fangs and a high collar on a black base. A fine brush helps.
- Hidden Mickey Ghosts (Medium): Ghosts scattered across the nails, with a subtle three-circle Mickey shape tucked into the pattern. A nice nod for park fans.
- Mickey Balloon Ghosts (Medium): Little ghosts holding a Mickey-shaped balloon on a soft pastel background.
Classic Halloween with a Disney Twist
- Orange and Black Checkered Mickey (Medium): A checkerboard pattern with a Mickey silhouette on the accent nail. Tape or stickers keep the lines straight.
- Spiderweb with Mickey Ears (Medium): Fine web lines drawn with a striping brush, with ears peeking from a corner.
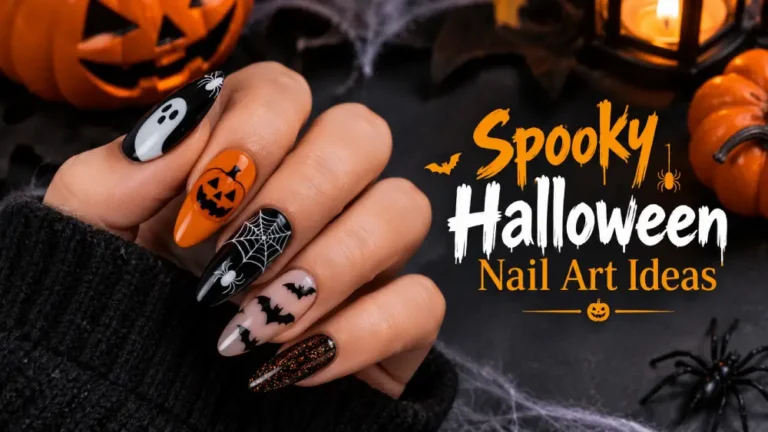
- Pumpkin and Ghost Mix (Easy): Alternate pumpkin and ghost nails on a neutral background for a playful set.
- BOO with Mickey Silhouette (Easy to Medium): Letter stickers spell BOO, with a Mickey head standing in for the “O.”
- Candy Corn French Tips with Minnie Bow (Medium): Layered tips with a bow accent on the ring finger.
Disney Villain Nails
- Maleficent (Medium to Advanced): Black and green with horn shapes and a green flame edge. A matte finish works especially well.
- Ursula (Medium): Purple tones with curling tentacle lines and a small shell-shaped accent.
- Evil Queen and Poison Apple (Medium): A deep plum or black base with a glossy red apple on one nail.
- Cruella de Vil (Easy to Medium): Black and white spots with a single red accent nail.
- Yzma (Medium): Purple tones and sharp, dramatic lines inspired by her theatrical style.
- Queen of Hearts (Medium): Red and black with heart shapes and playing card details.
- Hades (Medium): A charcoal base with blue flame tips. A thin brush handles the flame lines.
Nightmare Before Christmas Nails
- Jack Skellington (Medium): A black base with a white skull face on the accent nail and thin white pinstripes on the others.
- Jack and Sally (Medium): Half black and white, half patchwork colors, split across two hands or across the fingers.
- Zero the Ghost Dog (Easy): A small white ghost dog with an orange nose. Cute and quick.
- Oogie Boogie (Medium): A burlap-green texture with dice or casino accents.
- Patchwork Sally (Medium): Muted square patches in soft colors with thin black “stitch” lines.
Haunted Mansion and Disney Parks Inspired
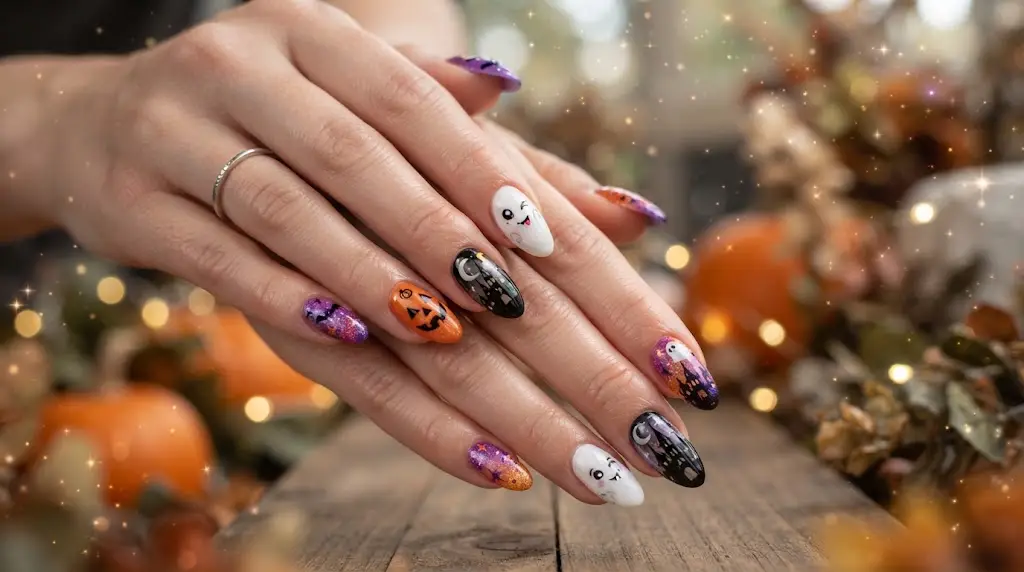
- Hitchhiking Ghosts (Medium): Three small ghosts on a dark base, one per nail.
- Madame Leota (Medium): Purple and teal swirls around a glowing crystal ball shape.
- Haunted Mansion Wallpaper (Medium to Advanced): A damask-style pattern on a dark base. Stamping or stickers can help.
- Not-So-Scary Party Mix (Easy): Mickey, pumpkins and ghosts in bright Halloween colors. A cheerful choice for family events.
Other Disney Characters and Movies
- Hocus Pocus (Medium): Purple, green and potion-bottle details inspired by the Sanderson Sisters.
- Coco-Inspired Sugar Skull (Advanced): Bright marigold orange and detailed patterns. Día de los Muertos is a separate celebration from Halloween, so treat this as film-inspired.
- Stitch in a Pumpkin (Medium): Stitch’s blue ears peeking out of an orange pumpkin.
- Toy Story Aliens (Easy to Medium): A green base with three-eyed alien details.
- Tinker Bell Fairy Dust (Easy): Gold glitter fading across a dark, moody base.
- Belle’s Enchanted Rose, Halloween Version (Medium): A single red rose with falling petals on a black base.
- Monsters, Inc. (Medium): Teal and purple spots with a single big eye on the accent nail.
Easy and Minimalist Designs
- Nude Base with a Mickey Ghost (Easy): One ghost, nine plain nails. Perfect for work or school.
- Simple French Tip with Mickey Ears (Easy): A black or white tip with a tiny ear detail.
- Black and White Mickey Silhouette (Easy): Clean, graphic and great with a matte finish.
- Short-Nail Matte Set (Easy): A matte black set with small orange accents. It keeps things neat on short nails.
Best Disney Halloween Nails by Nail Shape
The shape you wear can change how Disney Halloween nails look. Here is a simple guide.
| Nail shape | Best for | Example designs | Tip |
|---|---|---|---|
| Almond | Villain looks and flowing lines | Maleficent, Ursula | The curved tip suits horns and tentacle swirls. |
| Coffin | Detailed character art | Jack Skellington, Sally | The flat tip gives space for larger designs. |
| Stiletto | Dramatic, bold sets | Cruella, Yzma | Keep detail near the base so it is not lost at the tip. |
| Square or squoval | Silhouettes and French tips | Mickey ears, BOO nails | A flatter surface makes dotting tool work easier. |
| Short round | Accent-nail designs | Mickey ghost, Zero | Use one detailed nail and keep the rest simple. |
On short nails, scale matters most. A tiny ghost reads clearly, while a full villain portrait can look crowded.
Kids-Friendly VS Adult Glam Versions
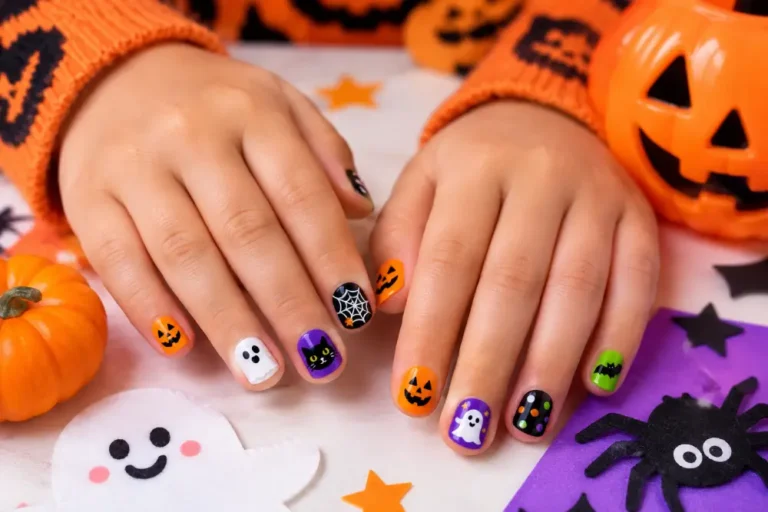
The same idea can look different depending on who wears it. Disney Halloween nails for a child might use pastel pink or lilac with a sticker ghost. For an adult, the same ghost can sit on a black matte base with a pearl shine.
For children, choose polish made for kids or nail stickers, and check with a parent or guardian before using any product. For adults, matte finishes, chrome, jewel tones and glitter make the same designs feel more grown-up.
Disney Halloween Nails for the Parks and Parties
If you are heading to a Disney Halloween event, your nails make a fun costume accessory. Disney’s US parks run ticketed evening events each year, including Mickey’s Not-So-Scary Halloween Party at Magic Kingdom in Florida and Oogie Boogie Bash at Disney California Adventure in California separately. In 2026, both events run on select nights until Halloween night, and popular dates can sell out. Dates, tickets and rules change each year, so check the official Disney websites before you plan.
A few practical tips for park days:
- Choose gel or a strong top coat. You will be walking, taking photos and using hand sanitizer for hours.
- Limit detail to one or two nails. Fewer details wear better.
- Match your costume. A Cruella set suits a black-and-white outfit, while Mickey ghosts suit family costumes.
- Keep it comfortable. Very long nails can be awkward on rides and in queues.
How to Recreate Disney Halloween Nails at Home
Here is a simple way to make a Mickey ghost. The method works for polish or gel.
What You Need
- Base coat and top coat
- A background color (nude, pale pink or black)
- White polish or gel
- Black polish or gel
- A dotting tool and a thin detail brush
Step by Step
- Prep your nails. Clean, shape and apply a base coat.
- Add your background color. Two thin coats look better than one thick one. Let each coat dry or cure.
- Draw the ghost. Use white and a detail brush to make a rounded ghost shape with a wavy bottom edge.
- Add the eyes. Use the smallest end of the dotting tool and black.
- Add a Mickey detail. Make one larger dot and two smaller dots above it to form ears.
- Seal with top coat. Cap the free edge to protect the design.
Stickers, Freehand, Stamping or Press-Ons?
| Method | Best for | Skill needed | Notes |
|---|---|---|---|
| Stickers and decals | Beginners and quick looks | Low | Seal well with top coat |
| Freehand | Simple shapes and dots | Medium | Takes practice and steady hands |
| Stamping | Repeating patterns and detailed art | Medium | Needs a plate and a stamper |
| Press-on nails | Complex designs or no time | Low | Fit and glue quality matter |
Common Mistakes to Avoid
- Painting over wet layers. This smudges the design. Let each layer dry first.
- Starting with too much detail. Pick one nail and keep the rest simple.
- Skipping the top coat. Without it, details chip faster.
What to Buy
You do not need an expensive kit to try Disney Halloween nails. A basic shopping list looks like this:
- Stickers or water decals for fast results
- Press-on nails if you want a detailed design without painting
- A stamping plate and stamper for patterns like wallpaper
- A dotting tool, thin brush, base coat and top coat
When you shop, check the nail size range, what is included in the pack and the seller’s return policy. If a design uses a Disney character, remember that unofficial products may differ from official merchandise in quality and appearance.
How to Make Your Manicure Last
- Use a base coat to help the polish grip.
- Cap the free edge with each layer, including top coat.
- Wear gloves when washing dishes or cleaning.
- Apply cuticle oil daily to keep nails and skin healthy.
- Avoid using your nails as tools.
- Refresh the top coat after a few days if the finish looks dull.
FAQs
Can I do Disney Halloween nails at home?
Yes, Start with simple designs like a Mickey ghost, a pumpkin silhouette or French tips with ear details. A dotting tool and a thin brush are enough for most of them.
What are the best colors for Disney Halloween nails?
Black, orange, purple and green are the most popular. Add white for ghosts and red for villains like the Evil Queen. Nude and pastel shades suit softer, cute designs.
Are Disney Halloween nails suitable for short nails?
Yes, Use one accent nail for the character and keep the others simple. Small designs like ghosts, Mickey ears and Zero work well.
Which designs are easiest for beginners?
A single Mickey ghost, a pumpkin silhouette, candy corn tips and a black-and-white Mickey silhouette are the easiest. They use dots, simple shapes or stickers.
How long do Disney-themed press-on nails last?
It depends on the brand, your nail prep and the glue or adhesive tabs you use. Check the product packaging for the manufacturer’s guidance.
Can I match my nails with my Halloween costume?
Yes, Pick the main color of your costume and use it as your base. A Cruella outfit suits black-and-white spots, while a Haunted Mansion look suits a dark base with purple or teal.
How do I explain a Disney nail design to my nail technician?
Bring one clear reference photo and say which character you want, what finish (matte or glossy) and which nails should carry the detail. If you are not sure the design is possible, ask about price and timing first.
Final Thoughts
Disney Halloween nails work because they are flexible. You can choose a tiny Mickey ghost for the office or go all out with a villain set for a party. If you are a beginner, start with a single accent nail. If you have more experience, try a Nightmare Before Christmas or Haunted Mansion design.
Whichever style you pick, a clean base, a simple layout and a good top coat make the biggest difference. Save your favorite idea, try it before the big night and enjoy the spooky season.