How to Remove Gel Nails at Home Without Damage: A Safe Step-by-Step Guide
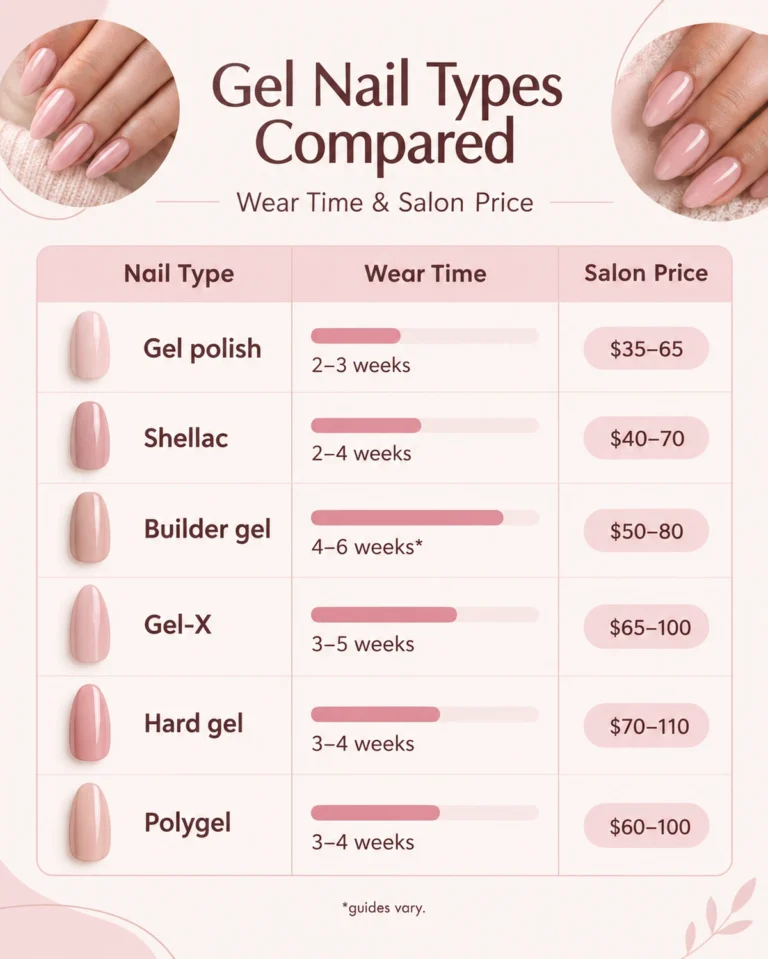
Two weeks ago your gel manicure looked flawless. Now it’s grown out at the cuticle, chipped at the tip, and catching on every sweater you own. The salon has no appointments this week, or maybe your budget just says no, and meanwhile your fingers keep picking at that lifted edge on autopilot. The good news is that learning how to remove gel nails at home without damage is genuinely easy, and this guide walks you through it step by step. When wear reaches this point, deciding between a fill and a fresh set is easier if you know how long gel nails last.
All it takes is about 30 minutes, a few supplies you probably already own, and a little patience. Most people assume gel itself wrecks their nails, but in many cases the real culprit is ripping it off instead of soaking it off. Let’s do it the right way, step by step.
First: What Kind of Gel Are You Removing?
Not all gel is the same, and whether it soaks off at all — plus how long that takes — depends on what’s on your nails. Most guides skip this, which is why so many people under-soak and then give up. Figure out yours first:
| Gel type | What it is | Typical soak time |
|---|---|---|
| Soft gel polish (regular gel manicure) | Thin layers of color cured under a lamp | 10–15 minutes |
| Builder gel / BIAB | Thicker gel used for strength or extra length | Check product: some soak off (15–25 min); others must be filed |
| Hard gel | Very thick sculpted gel, often used for extensions | Doesn’t soak off — file down carefully |
| Gel-X / soft gel tips | Full-cover tips attached with gel | 15–20 minutes |
If you had it done at a salon and you’re not sure, builder gel feels noticeably thicker and harder than regular gel polish. For builder gel, check your product first — some soak off, others need filing (more on that below). Hard gel doesn’t soak off: it must be carefully filed down instead of soaked, and when in doubt, see a professional. Hard gel extensions that were sculpted thick are the one case where a salon visit is honestly worth considering. But most home sets are soft gel or soak-off builder, and both come off fine with the methods below.
Why the Removal Method Matters More Than the Gel
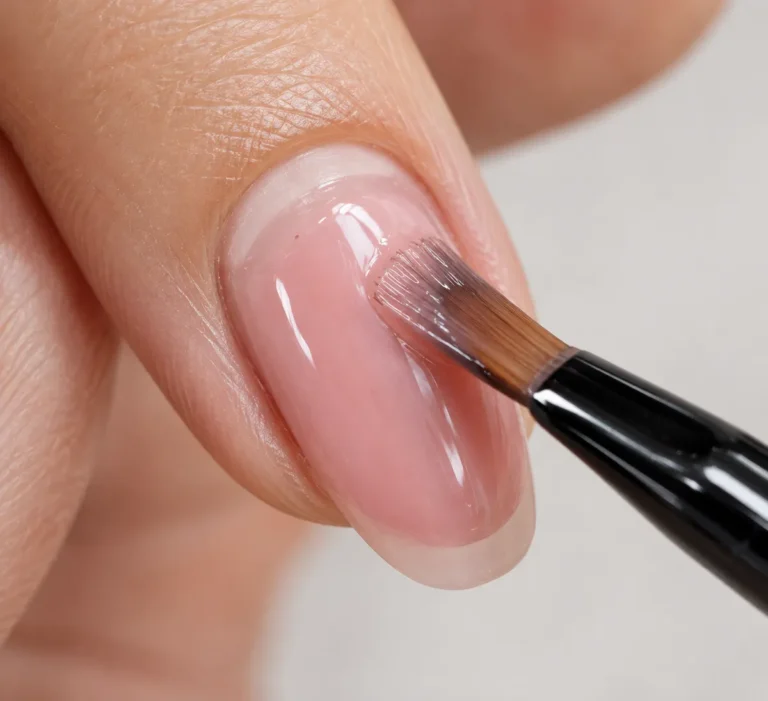
Quick nail anatomy, minus the textbook: your nail plate is made of thin layers of keratin, a bit like plywood, and gel bonds to the very top layer. Peel gel off, as most of us have, and you tear away thin layers of your actual nail along with it.
That’s why peeled-off gel leaves nails thin, bendy, and spotted white: those spots are where the top layer went missing. Repeat it and nails break easily, and new polish won’t adhere well.
The acetone soak dissolves the gel instead of prying it off, so the nail plate stays intact. It takes longer than peeling, but the difference in how your nails feel afterward is huge.
What You’ll Need (Supplies Checklist)
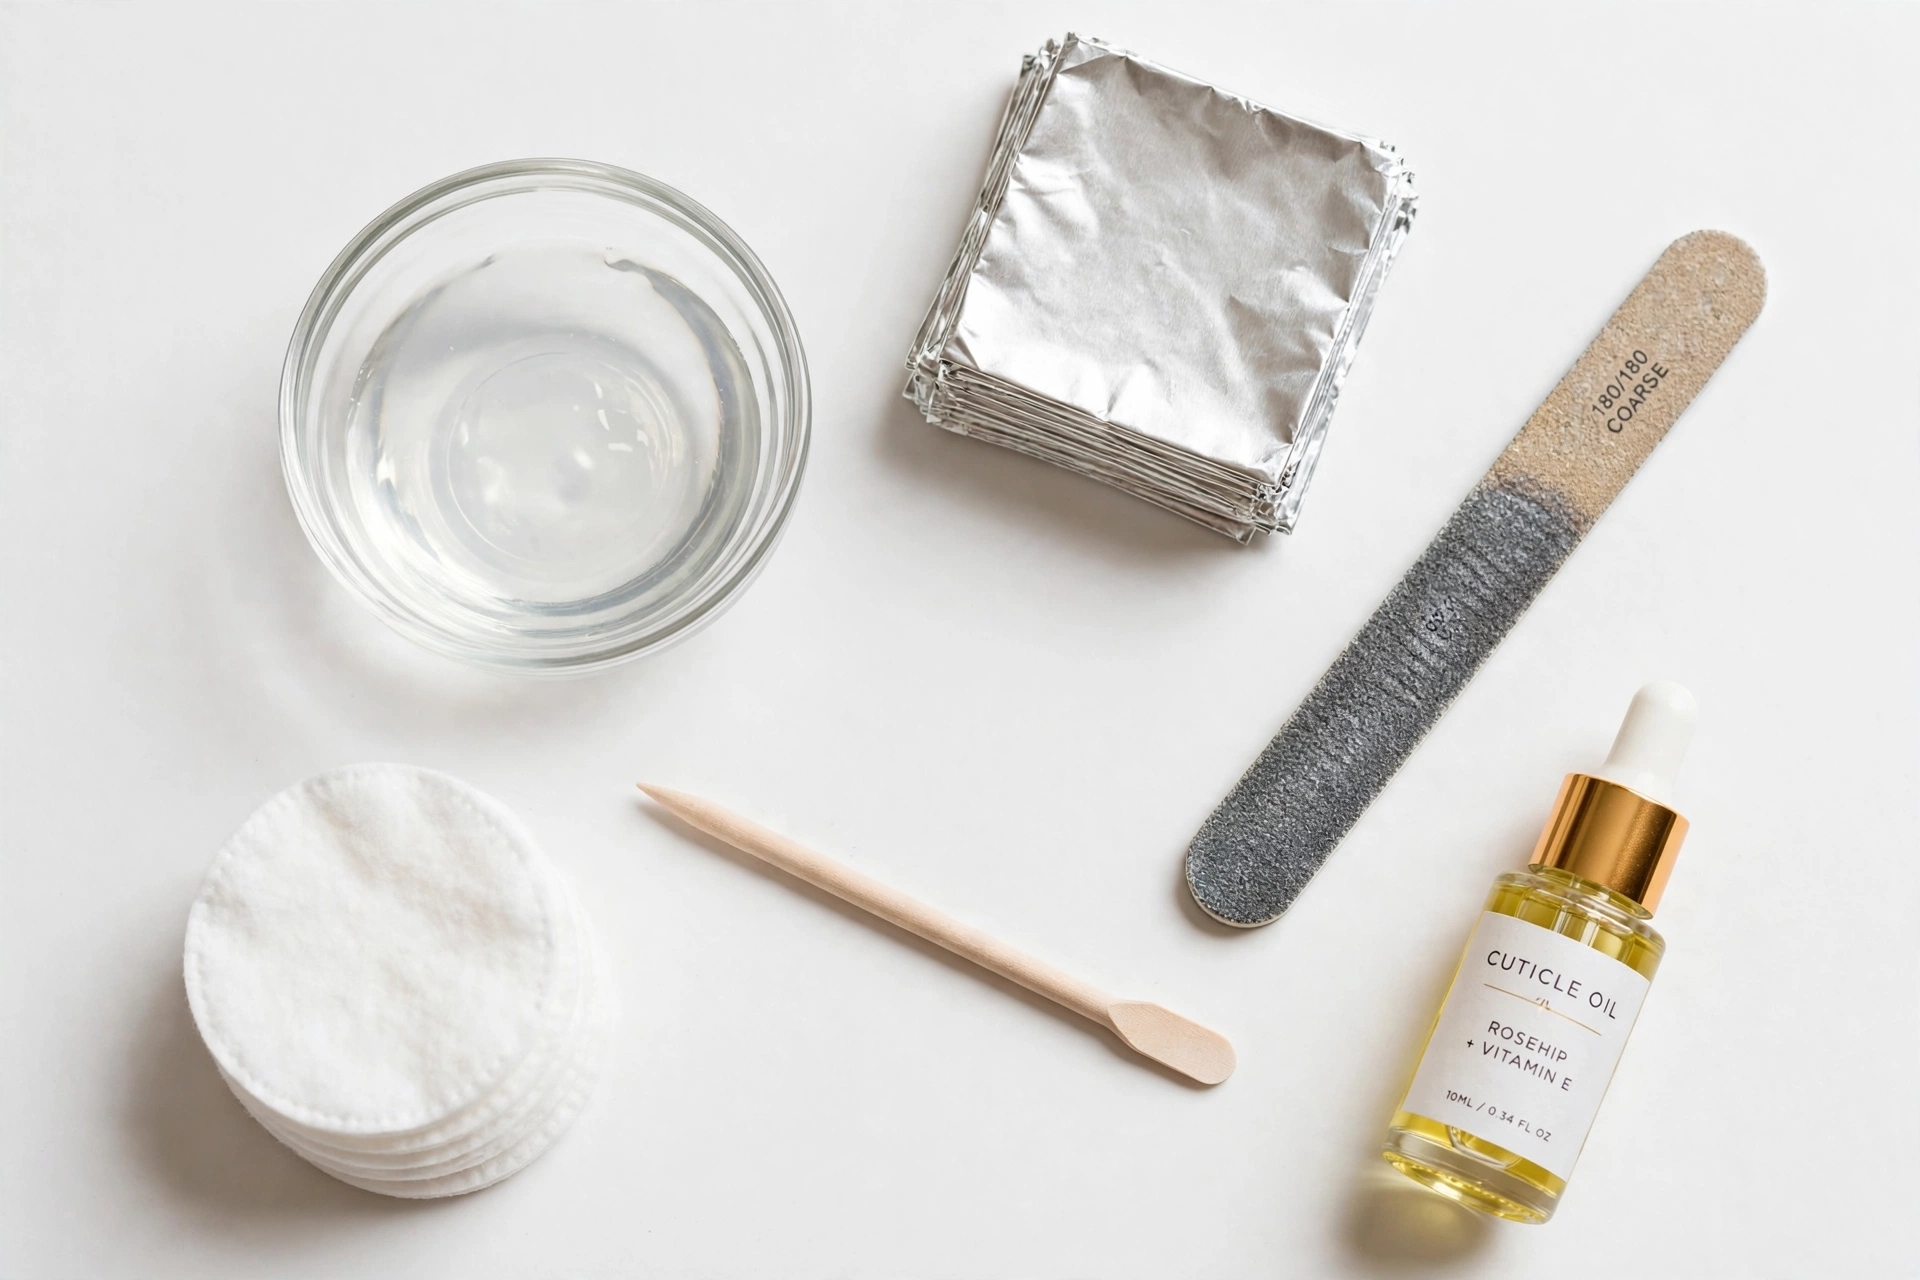
You don’t need a salon kit for this. Here’s everything:
- 100% pure acetone: not regular nail polish remover. Check the label; it should say 100% acetone. The diluted kind barely dents gel and you’ll give up halfway.
- Cotton balls or pads: cut into pieces roughly the size of each nail.
- Aluminum foil: about ten 3×3-inch squares. Regular kitchen foil is perfect. (Or reusable soak-off nail clips; see Method 3.)
- A coarse nail file (100/180 grit): for breaking the seal on the top coat. A regular emery board works too.
- Wooden cuticle pusher or orangewood stick: for nudging softened gel off gently. Skip metal tools; they’re too harsh for this.
- Cuticle oil: jojoba, almond, or even olive oil in a pinch.
- A rich hand cream: because acetone is extremely drying.
- A small glass or ceramic bowl (only for Method 2) and a towel you don’t love, since acetone can damage finishes and fabrics.
Starting from zero, the supplies cost around $10–15 / £8–12, and everything except the cotton and foil lasts for many removals.
Method 1: The Foil Wrap Method (Step by Step)
If you want to learn how to remove gel nails at home without damage, the foil wrap method is the best place to start. It’s the same technique nail technicians use, adapted for your couch, and the gentlest option for first-timers.
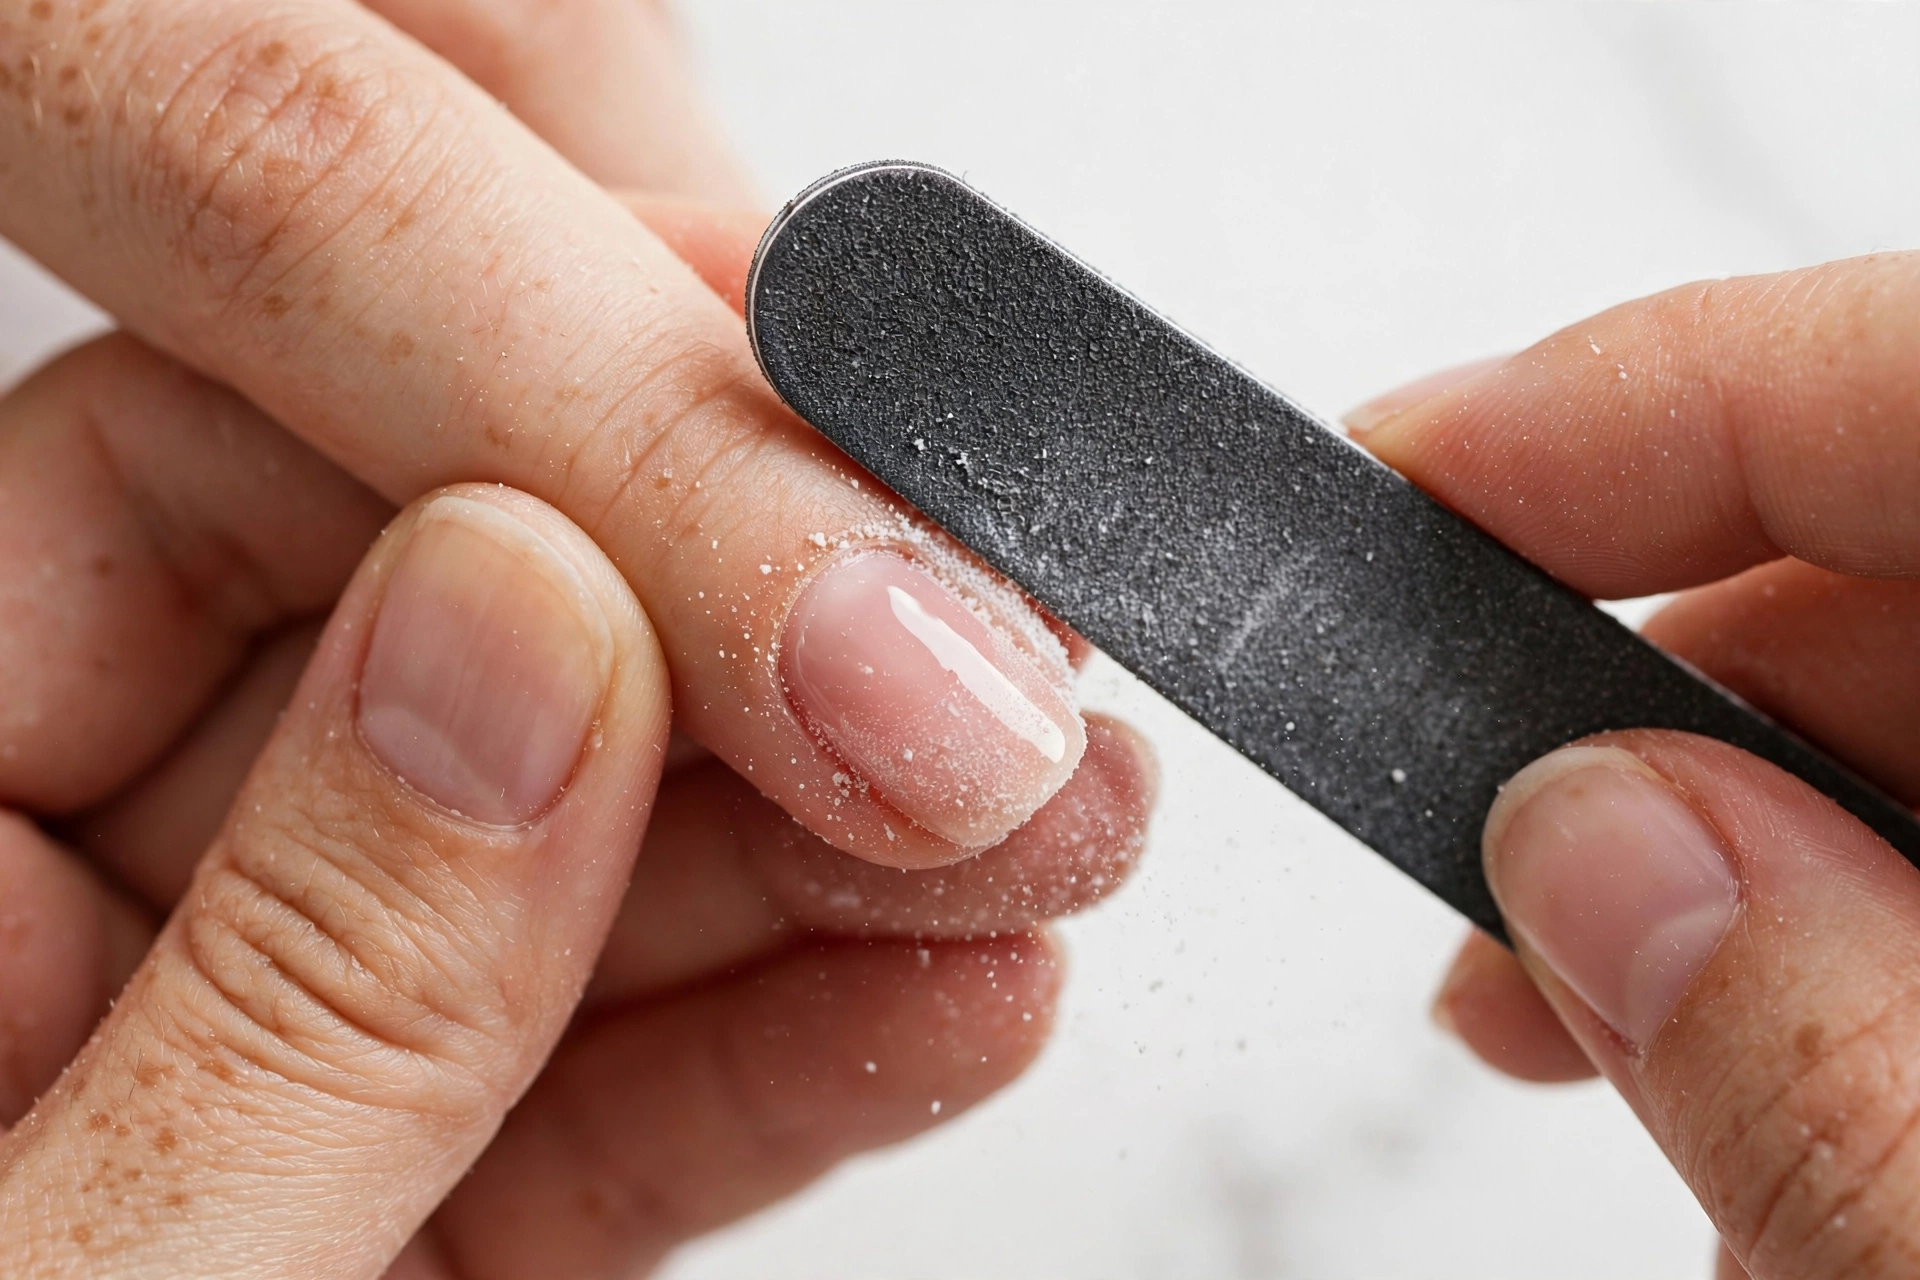
Step 1: File off the shiny top layer
Gently buff the surface of each nail with the coarse file until the shine is gone and it looks dull and scratched. You’re not filing the gel off — just breaking through the glossy top coat so the acetone can reach the color underneath.
Don’t skip this. It’s the step people rush most, and it’s the number one reason at-home removal “doesn’t work.” Sealed top coat means the acetone just sits there doing nothing.
Step 2: Protect the skin around your nails
Dab a little cuticle oil or petroleum jelly on the skin around each nail. Acetone dries skin out fast, and this barrier takes thirty seconds and makes a real difference.
Step 3: Soak the cotton in acetone
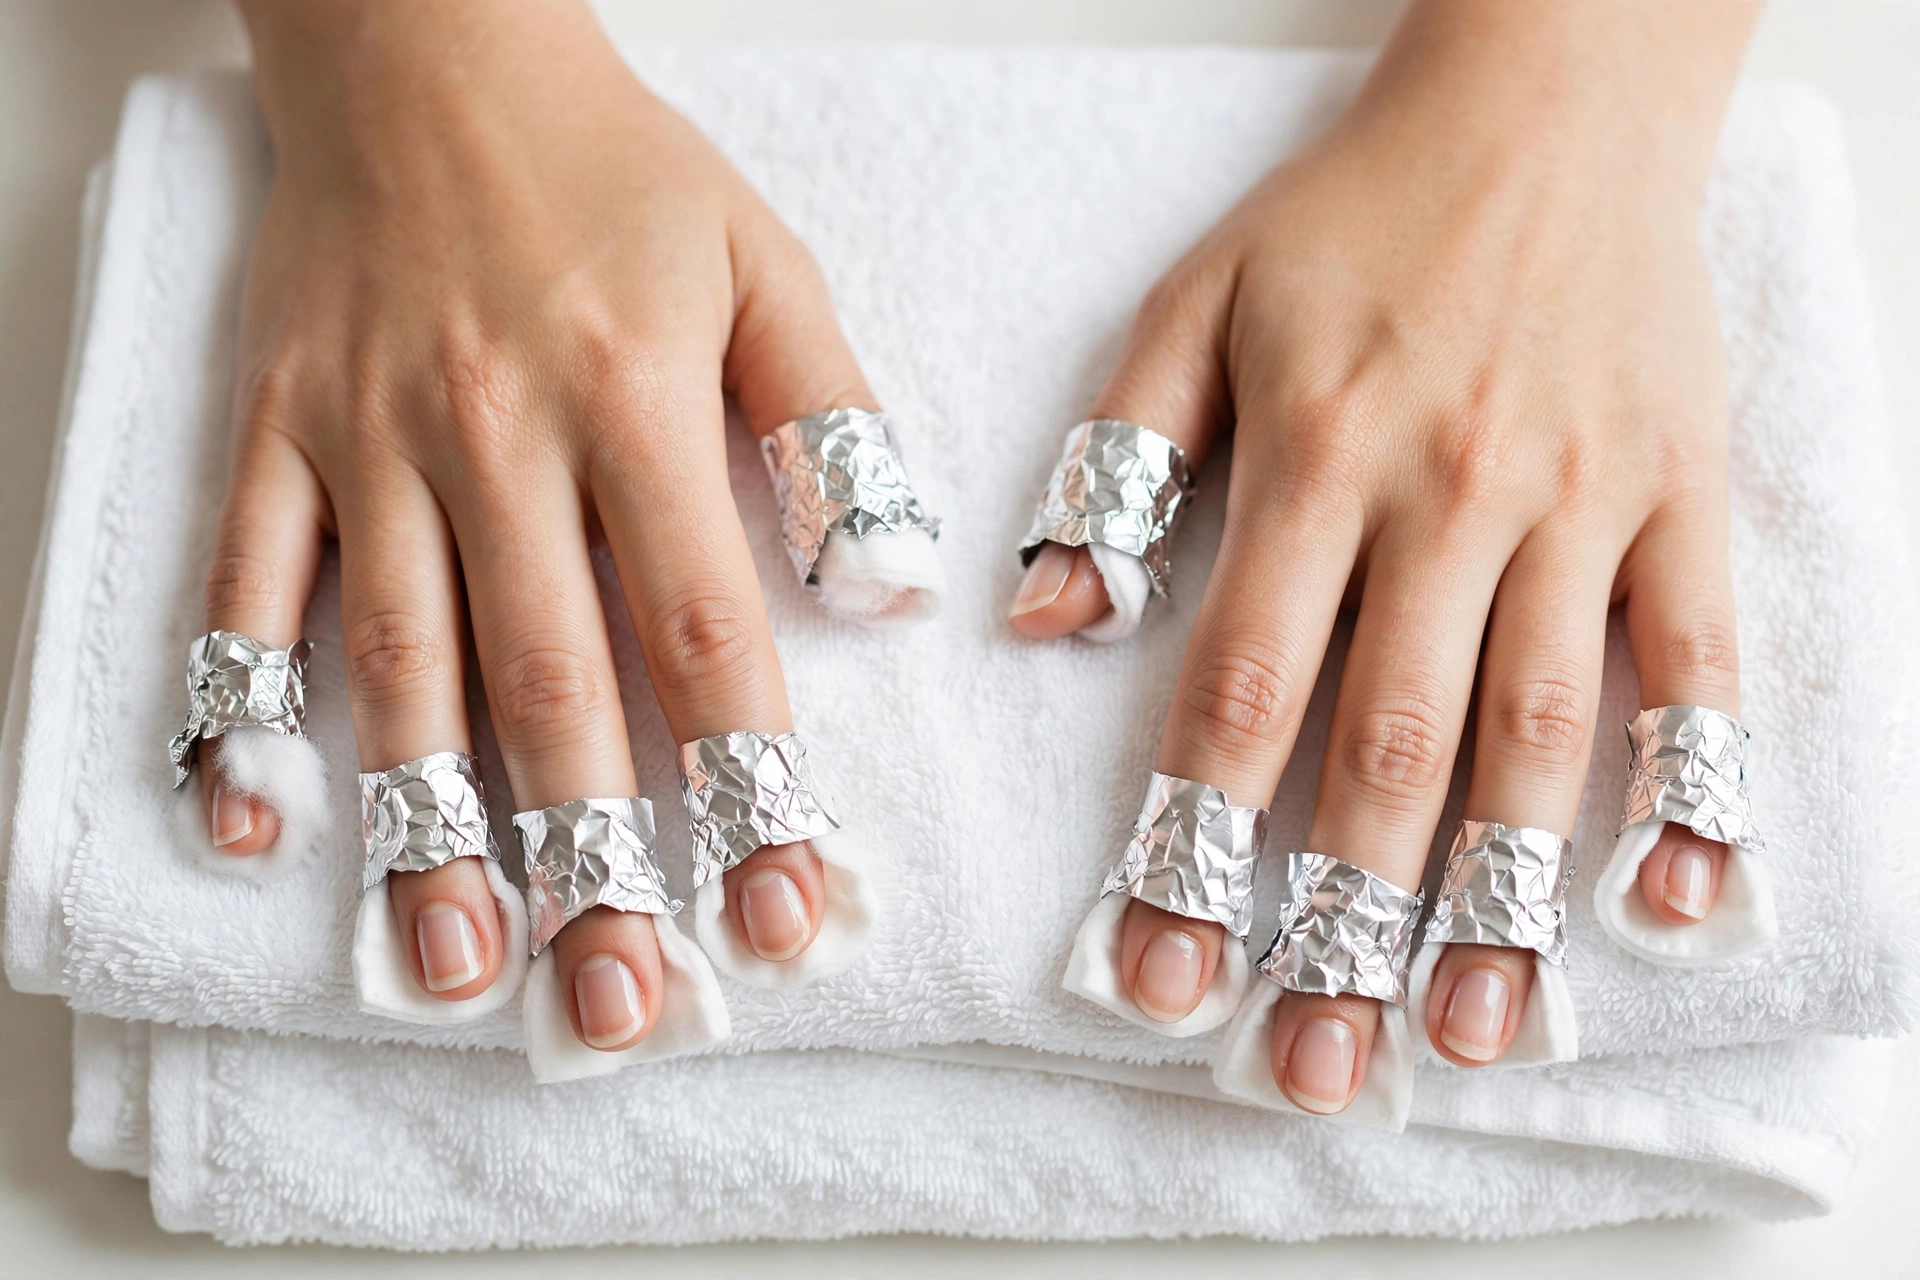
Saturate a cotton piece in 100% acetone and place it directly on the nail. Wet but not dripping: you want the acetone working on the nail, not running down your finger.
Step 4: Wrap each fingertip in foil
Place a foil square over the cotton and wrap it snugly around your fingertip, shiny side in. The foil holds the cotton in place and traps a little warmth, which helps the acetone work faster. Do all ten fingers. You won’t be able to use your phone for a while, so put on a show.
Step 5: Wait 10–15 minutes
Now comes the hard part: waiting. Leave the wraps on at least 10 minutes (about 15 for soft gel polish; for builder gel, check your product, since some soak off in 15–25 minutes while others must be filed instead; glitter polish is stubborn and may need longer). Resist checking every two minutes; every unwrap lets acetone evaporate and resets the clock.
Step 6: Check one nail, then push gently
Unwrap one finger (a pinky makes a good test nail) and pick up the wooden pusher. The gel should look wrinkled or lifted at the edges. Gently push from the cuticle toward the tip. If it slides off, great. If it’s stuck in spots, rewrap that finger for five more minutes.
One rule covers everything here: don’t force it. If you find yourself scraping hard, the gel simply isn’t ready. That’s precisely how damage happens. When in doubt, give it more soak time.
Step 7: Clean up and moisturize
Once the gel is off, lightly buff away any thin sticky residue with the soft side of the file, using light pressure only. Then wash your hands with soap and lukewarm water, massage cuticle oil into each nail and the surrounding skin, and finish with hand cream. Don’t skip this part. After sitting in a strong solvent, your nails and skin genuinely need the moisture back.
Method 2: The Warm Bowl Soak (When You’re Short on Time)
No foil in the house, or you can’t face wrapping ten fingers? The bowl soak is faster to set up, though it’s a bit harsher on your skin, so save it for when you need it.
- File off the top coat, exactly like Method 1. Still non-negotiable.
- Pour enough 100% acetone into a small glass or ceramic bowl to cover your nails. Never use plastic — acetone melts some plastics.
- Coat the skin around your nails generously with petroleum jelly or a thick cream. This matters even more here, since your fingertips will sit directly in acetone.
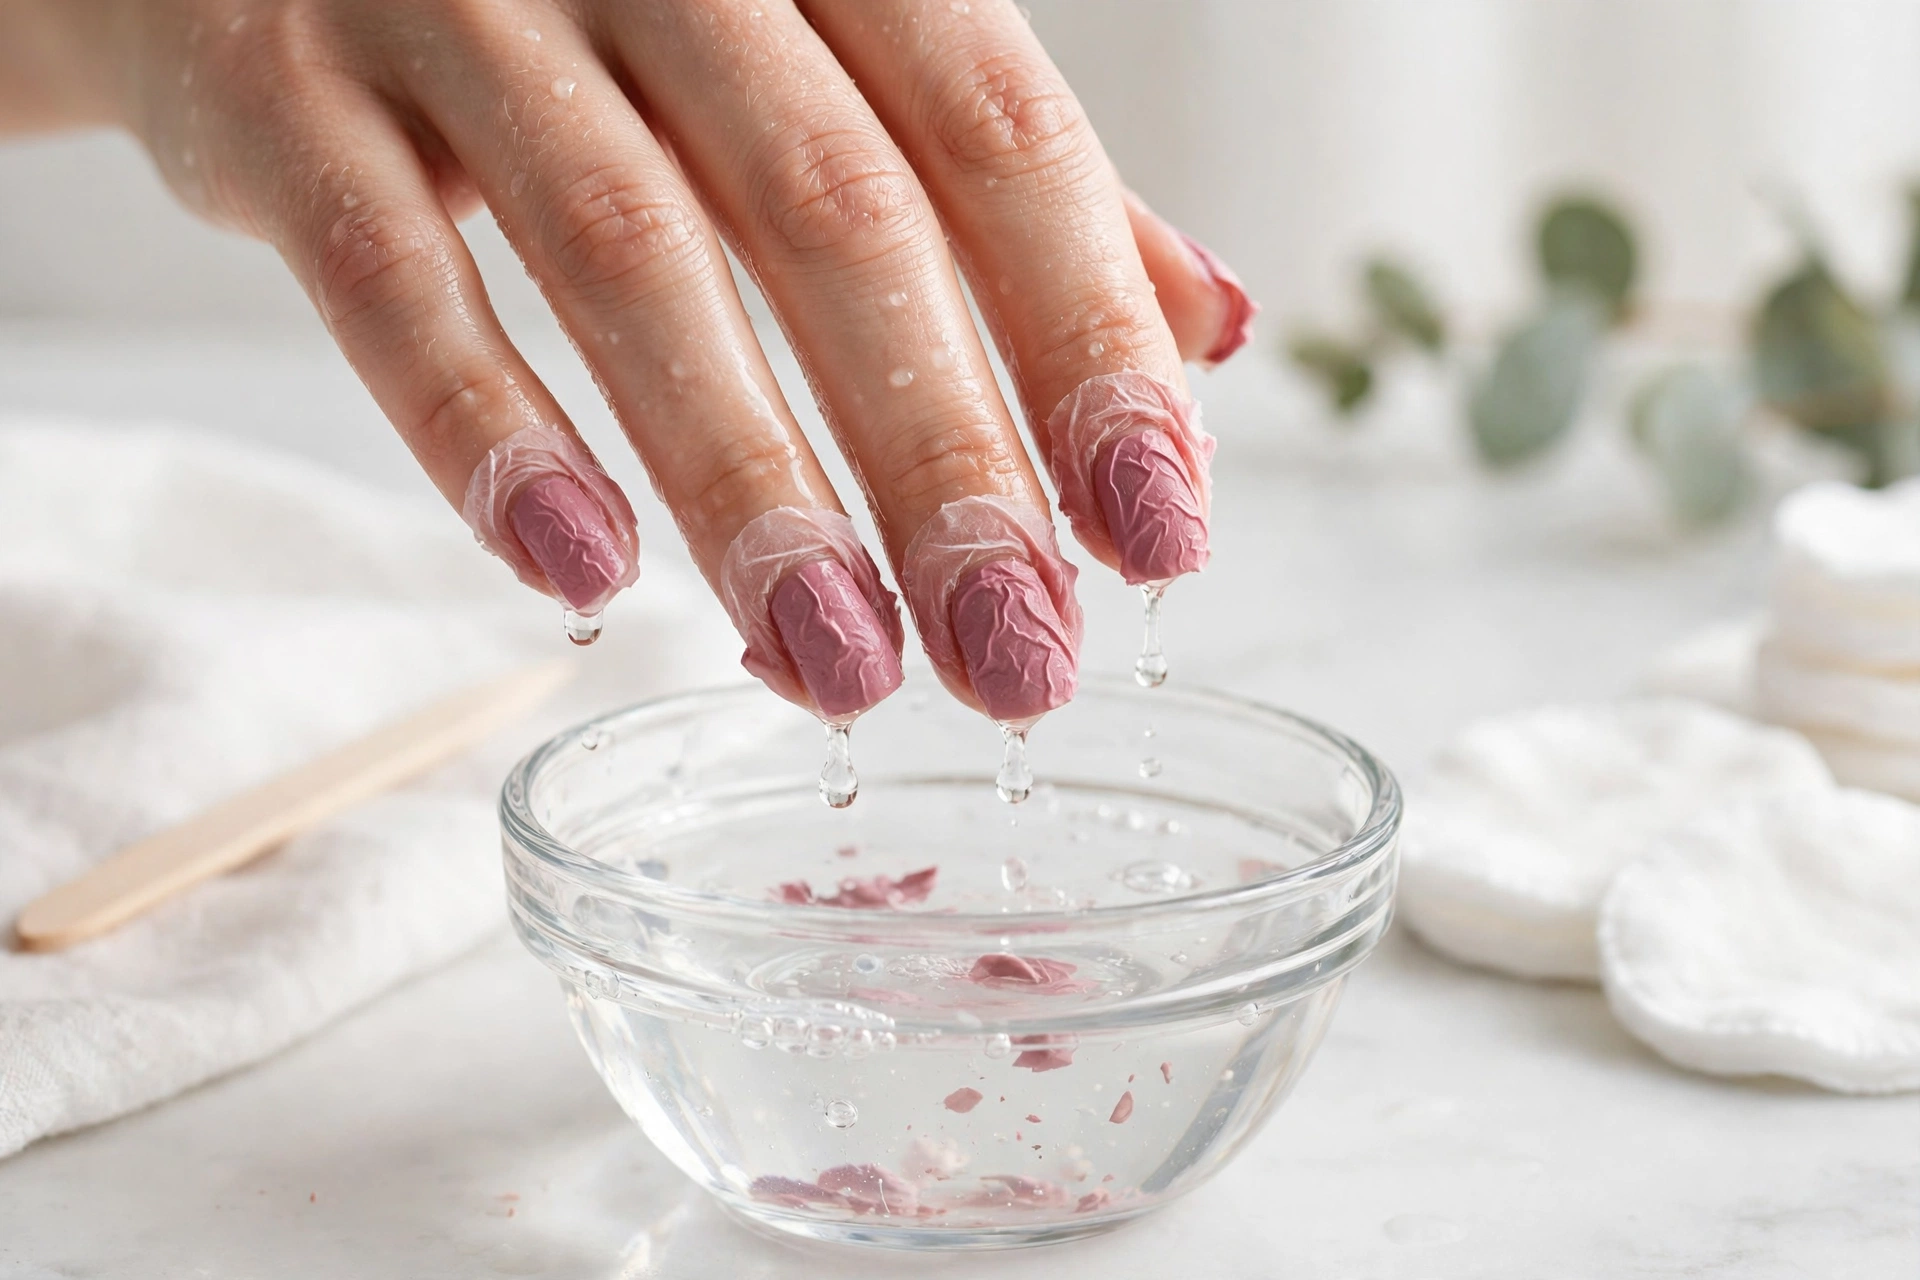
- Soak your fingertips for 10–15 minutes. You’ll feel the gel softening and wrinkling.
- Lift one hand out and gently push the softened gel off with a wooden stick, one nail at a time. Re-dip any stubborn nail for a few more minutes instead of scraping.
- Wash, oil, and moisturize immediately.
Warnings for this method: work in a ventilated room (the fumes are strong in a bowl), keep acetone away from open flames or heaters because it’s flammable, and don’t soak longer than 15–20 minutes. Past that point, you’re just drying out your skin without extra benefit.
Method 3: Reusable Soak-Off Clips
If you remove gel regularly, soak-off clips are worth it: small reusable clamps that hold the acetone-soaked cotton against each nail — same idea as foil, less fiddly. Follow Method 1’s steps, swapping foil for clips, and add a couple of minutes since clips are slightly less snug. They pay for themselves after two or three uses.
Foil vs Bowl vs Clips: Which Method Should You Pick?
| Foil wraps | Bowl soak | Soak-off clips | |
|---|---|---|---|
| Total time | 20–30 min | 15–20 min | 20–30 min |
| Gentleness on skin | Gentlest (limited contact) | Harshest (fingertips submerged) | Gentle (limited contact) |
| Setup effort | Fiddliest | Easiest | Easiest |
| Cost over time | Pennies per removal | Pennies per removal | Small one-time purchase |
| Best for | First-timers, sensitive skin | When you’re in a hurry | Regular DIY users |
First-timers learning how to remove gel nails at home should go with foil: it’s the most forgiving, with minimal skin exposure and the widest margin for error.
Troubleshooting: When Things Don’t Go to Plan
Even with the right method, a few things can go sideways. Here’s how to handle the common ones:
Glitter gel won’t budge. Glitter resists acetone more than regular gel. File off extra bulk first, then soak the full 20 minutes. Slow works; scraping doesn’t.
Dark colors left a stain. Deep reds and blacks often leave faint surface staining, which looks alarming but is usually just pigment, not damage. A gentle buff lightens it and it grows out. A good base coat prevents most of it next time.
Gel is stuck in one spot. Rewrap with fresh acetone-soaked cotton for five more minutes. A second soak loosens what the first one didn’t — pushing harder never does.
It’s lifting at the cuticle but stuck at the tip. Totally normal. The free edge is where gel is thickest. After the full soak, start pushing from the cuticle side where it’s already loose and work toward the tip.
Skin feels tight or irritated. You likely skipped the oil barrier or soaked too long. Rinse well, moisturize generously, and use the barrier step next time. If skin is cracked or sore, give it a day before any further acetone contact.
Safety Notes Worth Reading
Acetone works brilliantly, but it’s still a strong solvent, so a few common-sense precautions:
- Ventilate the room. Open a window or run a fan. Acetone fumes are strong, especially with the bowl method.
- It’s flammable. Keep it away from open flames, candles, and heaters.
- Protect surfaces. Acetone damages wood finishes, some plastics, and fabrics. Work over a towel you don’t care about.
- Skip DIY if the nail looks wrong. Greenish discoloration, swelling, pain, or a nail lifting off the bed on its own means skip the soak and see a professional — removal guides assume healthy nails.
DIY vs Salon: What Does Each Cost?
Many salons use a similar acetone-soak method, though techniques vary by salon. There’s no secret technique; you’re mostly paying for convenience.
Typical ranges (these vary by city, so treat them as rough guides): salon removal runs about $10–15 in the US or £5–15 in the UK, often free with a new set. DIY costs a few dollars in supplies you mostly own already.
If you remove gel often, DIY saves real money over a year. If you wear it occasionally and hate fiddly tasks, the salon fee buys you zero hassle. As far as your nails are concerned, both routes use a similar method.
What NOT to Do
If you want to remove gel nails at home without damage, avoiding these mistakes is half the battle. Almost everyone has done at least one of them, and they’re the entire reason gel gets a reputation for “ruining nails”:
Peeling it off. The number one offender: every peel takes layers of your nail with the gel. If you catch yourself mid-peel, cover the lifted edge with a bandage until you can soak it off.
Scraping with metal tools. Metal pushers, tweezers, the edge of a card: all too aggressive on softened gel and the nail beneath it. Wood is your friend.
Picking at it over days. Slowly chipping gel off across a week causes the same damage as peeling, just in installments. Commit to one proper removal session instead.
Skipping the file step. Then soaking for five minutes, deciding “acetone doesn’t work,” and peeling everything off. The file step is what makes the acetone work — respect it.
Using non-acetone remover. Regular polish remover barely dents gel. You’ll soak for an hour, get nowhere, and give up. The bottle needs to say 100% acetone.
Aftercare: The 7-Day Recovery Routine
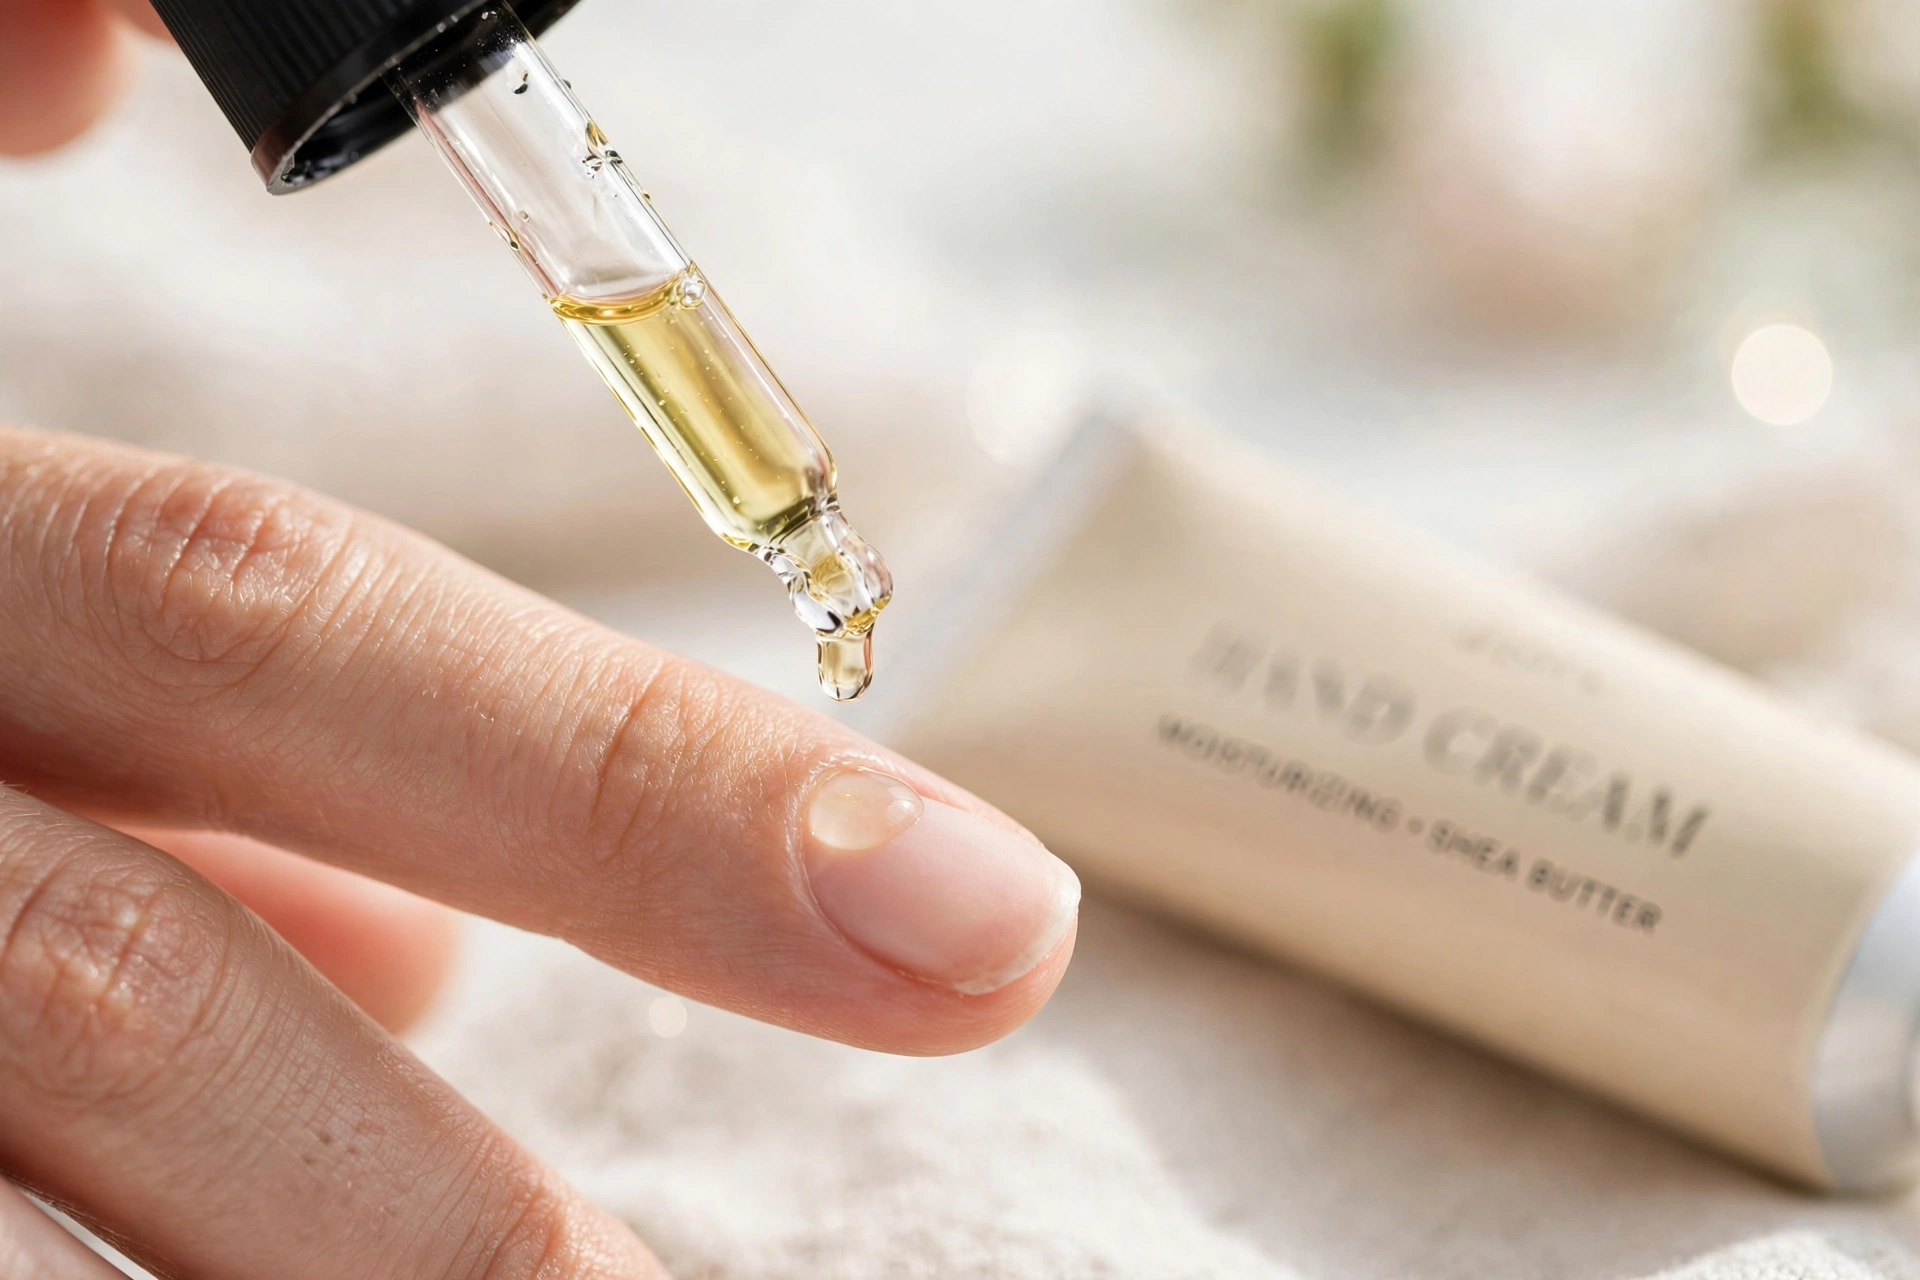
Learning how to remove gel nails at home without damage doesn’t end when the gel comes off. Even perfect removal leaves nails dry because acetone strips moisture, so here’s a simple week-after recovery routine:
- Oil twice a day. Cuticle oil morning and night, massaged into nail and surrounding skin: the single most effective recovery step. Olive or coconut oil works in a pinch. For more DIY ideas, see our guide to home remedies for glowing skin.
- Keep them short for a bit. If nails feel thin or bendy, file to a shorter, rounded shape for a week. Less length means less leverage for breaks.
- Moisturize after every hand wash. Keep hand cream by the sink. Every wash strips oils; put them back.
- Consider a strengthening treatment. A keratin/protein nail strengthener, worn as a base coat, helps fragile nails while they recover.
- Take a break if nails feel weak. A week or two without gel lets the nail plate recover; if they feel fine, go again sooner. A break week is also a good moment to reset the rest of your routine — see our night skin care routine guide.
Worth knowing: once a nail is damaged, no product can repair it. It has to grow out, which takes months. Everything above is really about protecting the new growth underneath. White spots and surface peeling from one bad removal will grow out with consistent care.
FAQs
How long does it take to remove gel nails at home?
Plan for about 30 minutes total, including setup and aftercare. The soak itself is 10–15 minutes for soft gel polish, and longer for soak-off builder gel or glitter — check your product first, since some builder gels must be filed rather than soaked. That’s completely normal when learning how to remove gel nails at home — not a sign something’s wrong.
Can I remove gel nails without acetone?
Not well. Filing it all off risks over-filing damage, and viral hot-water-and-oil tricks don’t work on real gel. Acetone is the standard for a reason. If the smell or dryness bothers you, the foil method keeps skin contact minimal and moisturizing afterward handles the dryness.
Can I use the same method for builder gel (BIAB)?
Check your product first — some builder gels soak off, others need filing. If yours soaks off, make two adjustments: file off more of the bulk before soaking (builder gel is thick), and expect a longer soak — 15 to 25 minutes. Check at 15 and rewrap if needed. Hard gel generally doesn’t soak off at all — it must be carefully filed down instead, and when in doubt, see a professional.
Why won’t my gel nails come off even after soaking?
Usually one of three things: the top coat wasn’t filed enough (most common), the acetone isn’t 100% pure, or the wraps came off too early. Re-file lightly, re-soak with fresh acetone cotton, and give it the full time.
Why are my nails stained or yellow after removal?
Dark polishes — especially reds and blacks — often leave surface staining. That’s just pigment sitting on the nail surface rather than actual damage, and it grows out. A gentle buff lightens it. Wearing a proper base coat under dark colors prevents most of it next time.
Is it better to get gel removed at the salon?
Not for your nails’ sake. Many salons use a similar acetone-soak method, though techniques vary by salon. You’re paying for convenience rather than a superior technique. The one exception is hard gel, which must be filed rather than soaked — professional filing experience helps there.
How often should I take a break from gel nails?
With proper soak-off removal and regular oiling, many people wear gel continuously without problems — the damage often comes from bad removal, not the gel itself. If nails start feeling thin, sore, or bendy, that’s the signal for a one-to-two-week break with daily cuticle oil.
Final Thoughts
Knowing how to remove gel nails at home without damage is one of those small skills that saves money and keeps your nails healthy for years of future manicures. The whole method boils down to five things: identify your gel type, file the top coat, soak with real acetone, never force anything, and oil afterward.
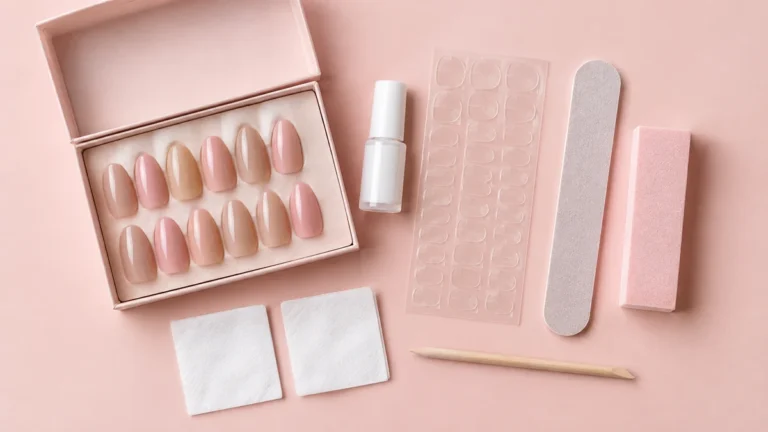
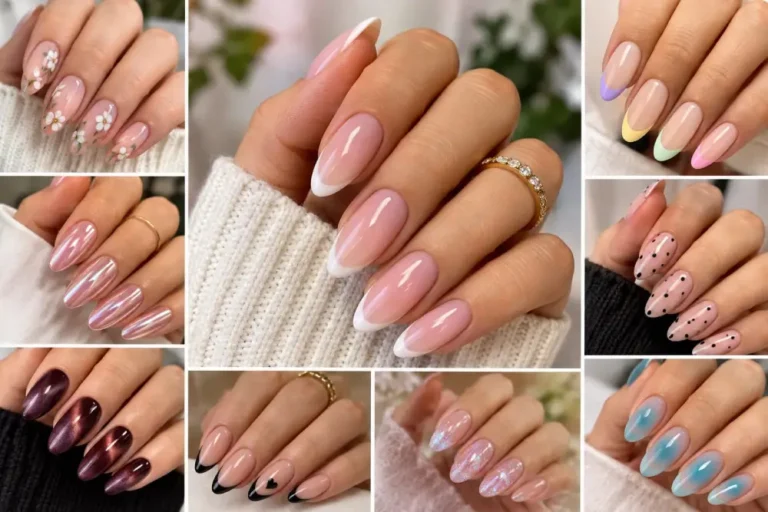
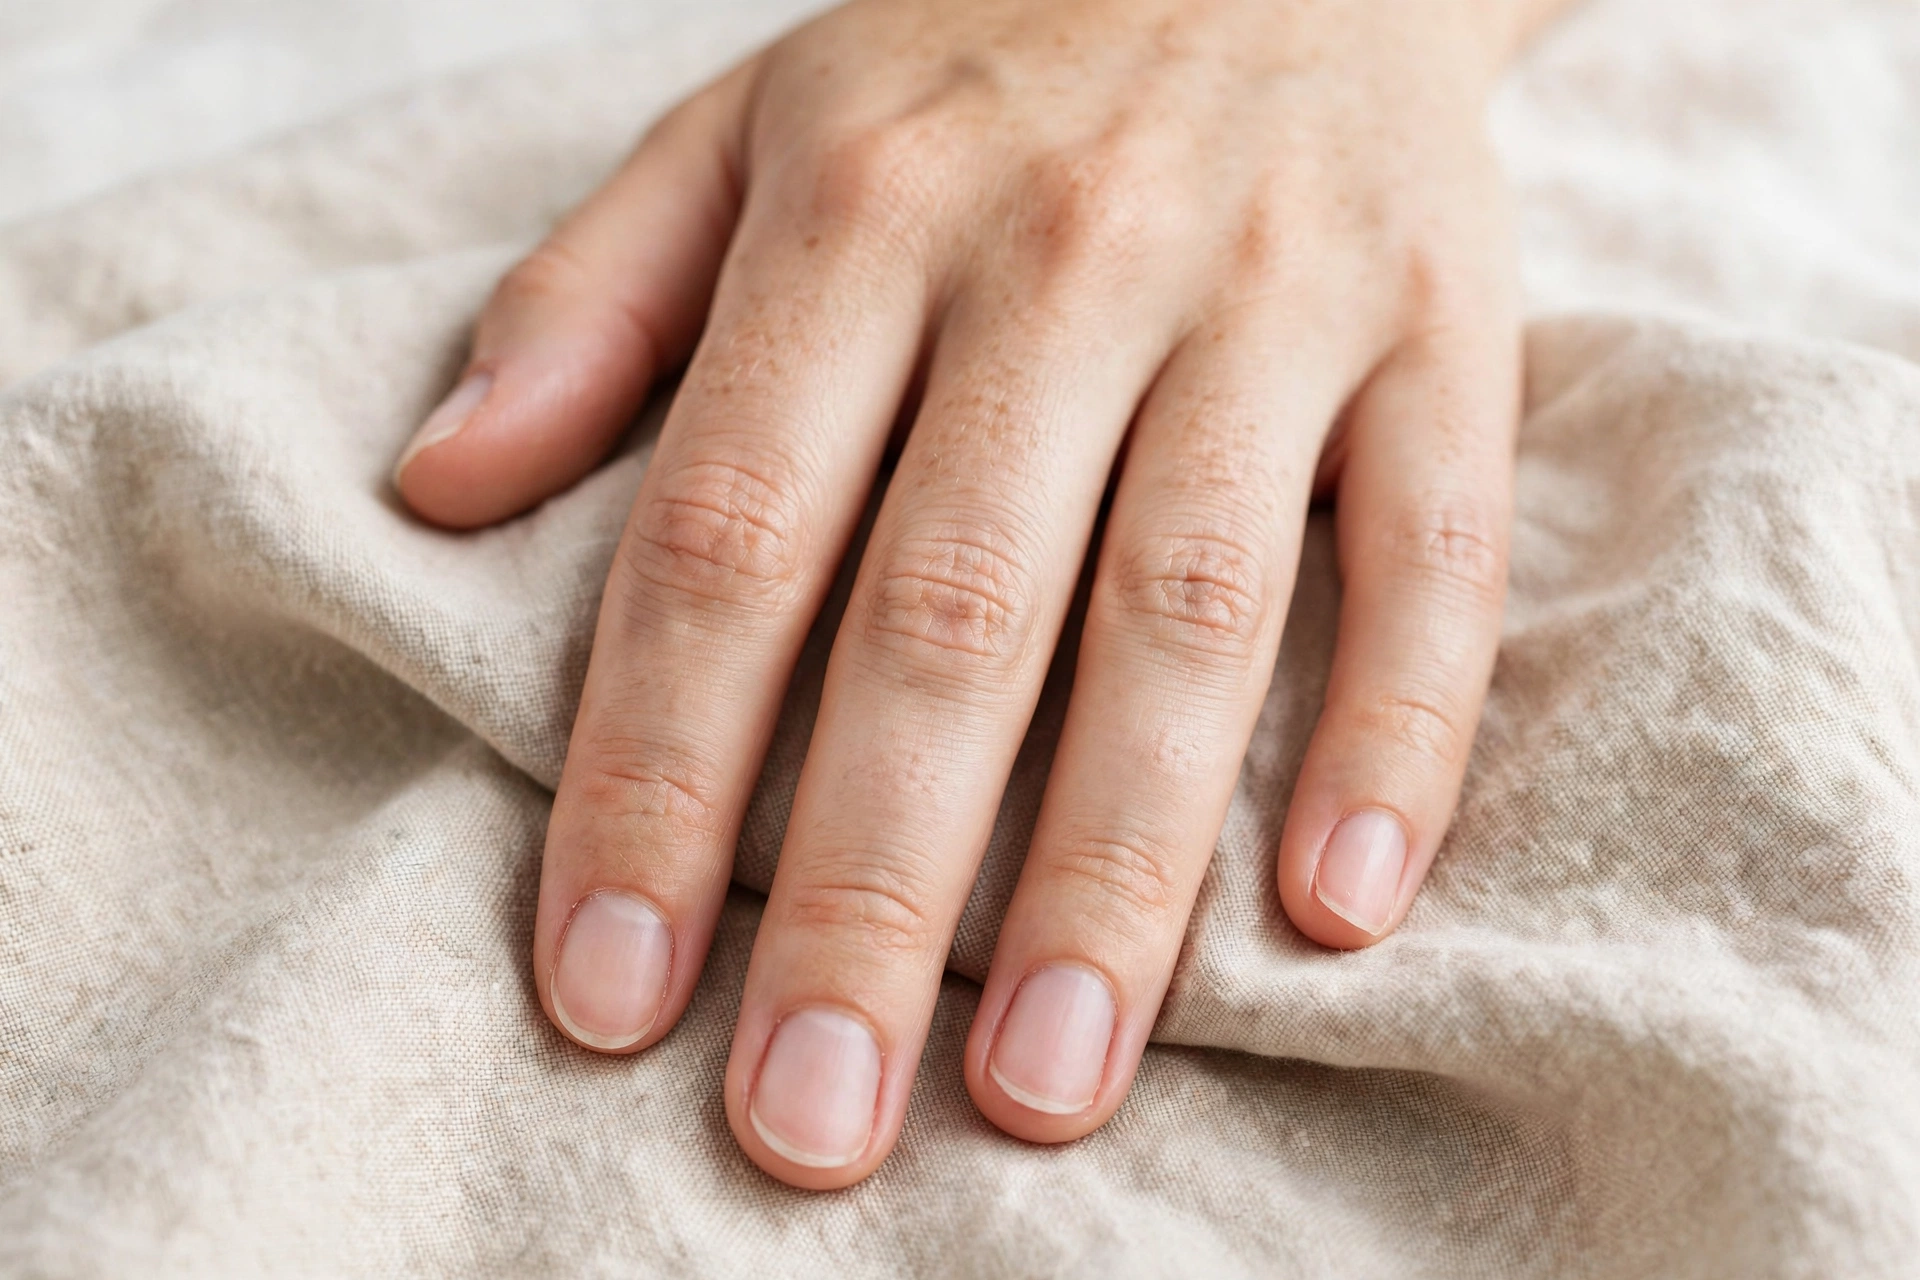
Your nails will look plain for a few days after removal. That’s completely normal — bare and healthy beats pretty and peeling. Give them a week of oil and moisture, and they’ll be ready for whatever comes next. When they’re ready, browse our gel nail design ideas for your next set. If you’d like a polished look while your nails recover, a gentler, no-commitment alternative is press-on nails.
This article is for general informational purposes only and is not professional medical or dermatological advice. If you have persistent nail problems, skin reactions, or concerns, check with a qualified professional.